146
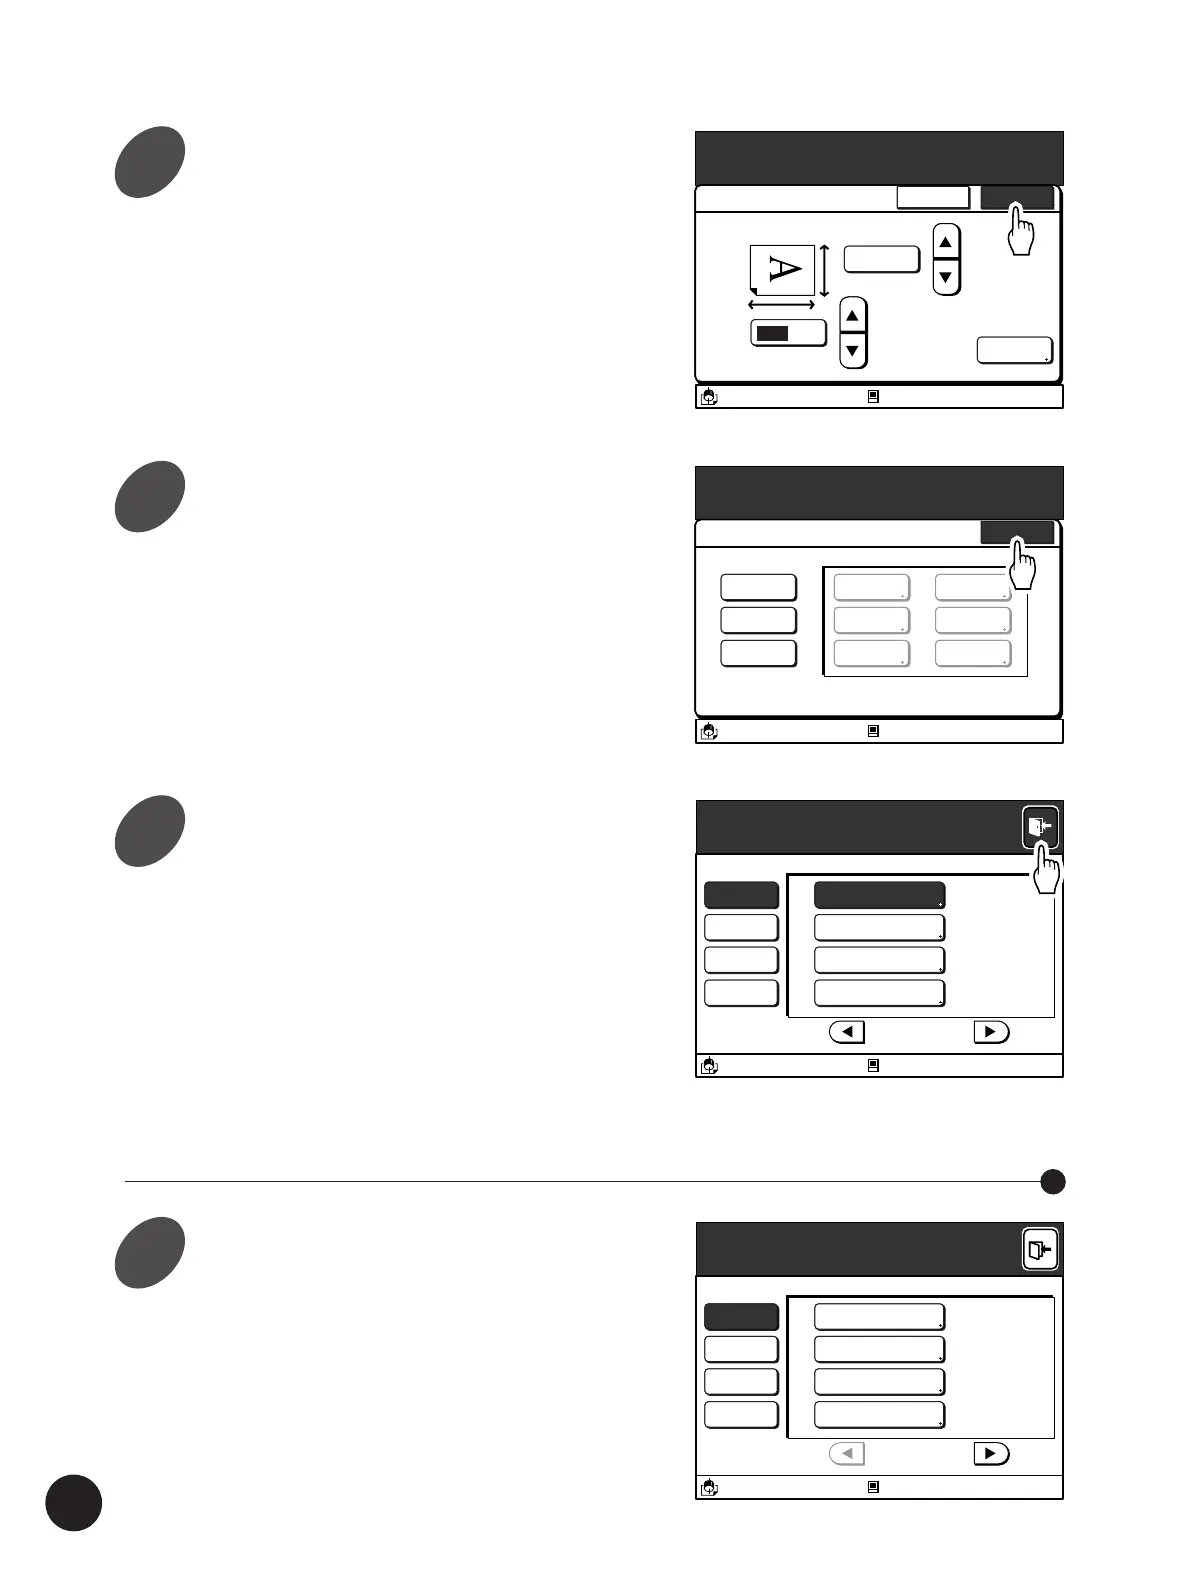
Touch the [OK] button.
The window returns to the main [Custom Paper
Entry] window.
Touch the [Cancel] button to cancel the
registration of the current custom paper size.
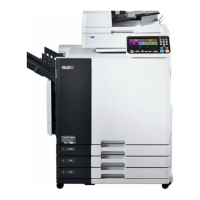
Touch the [Close] button.
The window returns to the [Properties] window.
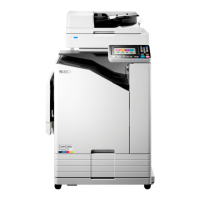
Touch the [Exit] button on the
upper right corner of the window.
The registered custom paper sizes can be
selected when setting up the paper information.
☞ p.20... Preparing to Print
☞ p.97... Changing Printing Paper Information
Changing Settings and Names of Custom Paper Sizes
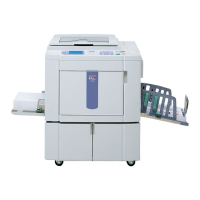
Display the [Properties] window.
Refer to the step 1 of the section [Registering
Custom Paper Sizes] on page 144.
Using Custom Paper
A3/Black
13:59
Cancel OK
Cutom Paper Entry
(90mm
~
340mm)
126
mm
Rename
U-1
(140mm
~
555mm)
186 mm
Properties
Blocked
Properties
A3/Black
13:59
Close
Custom Paper Entry
U-1-Registered
Register
Change
Clear
U-1
U-2
U-3
U-4
U-5
U-6
Blocked
Properties
A3/Black
13:59
P.7/10
System Idling Action 12 hour
=
Data Mode Power-OFF Schedule 22:00
=
Copy Mode Energy Saving Mode 5 mn
=
All Custom Paper Entry
Blocked
Properties
A3/Black
13:59
P.1/10
System Reproduction Size 1-to-1
=
Data Mode Scanning Contrast Auto
=
Copy Mode Image Processing Line
=
All Copy-Md-Selections
Blocked
7
8
9
1



 To Next Page