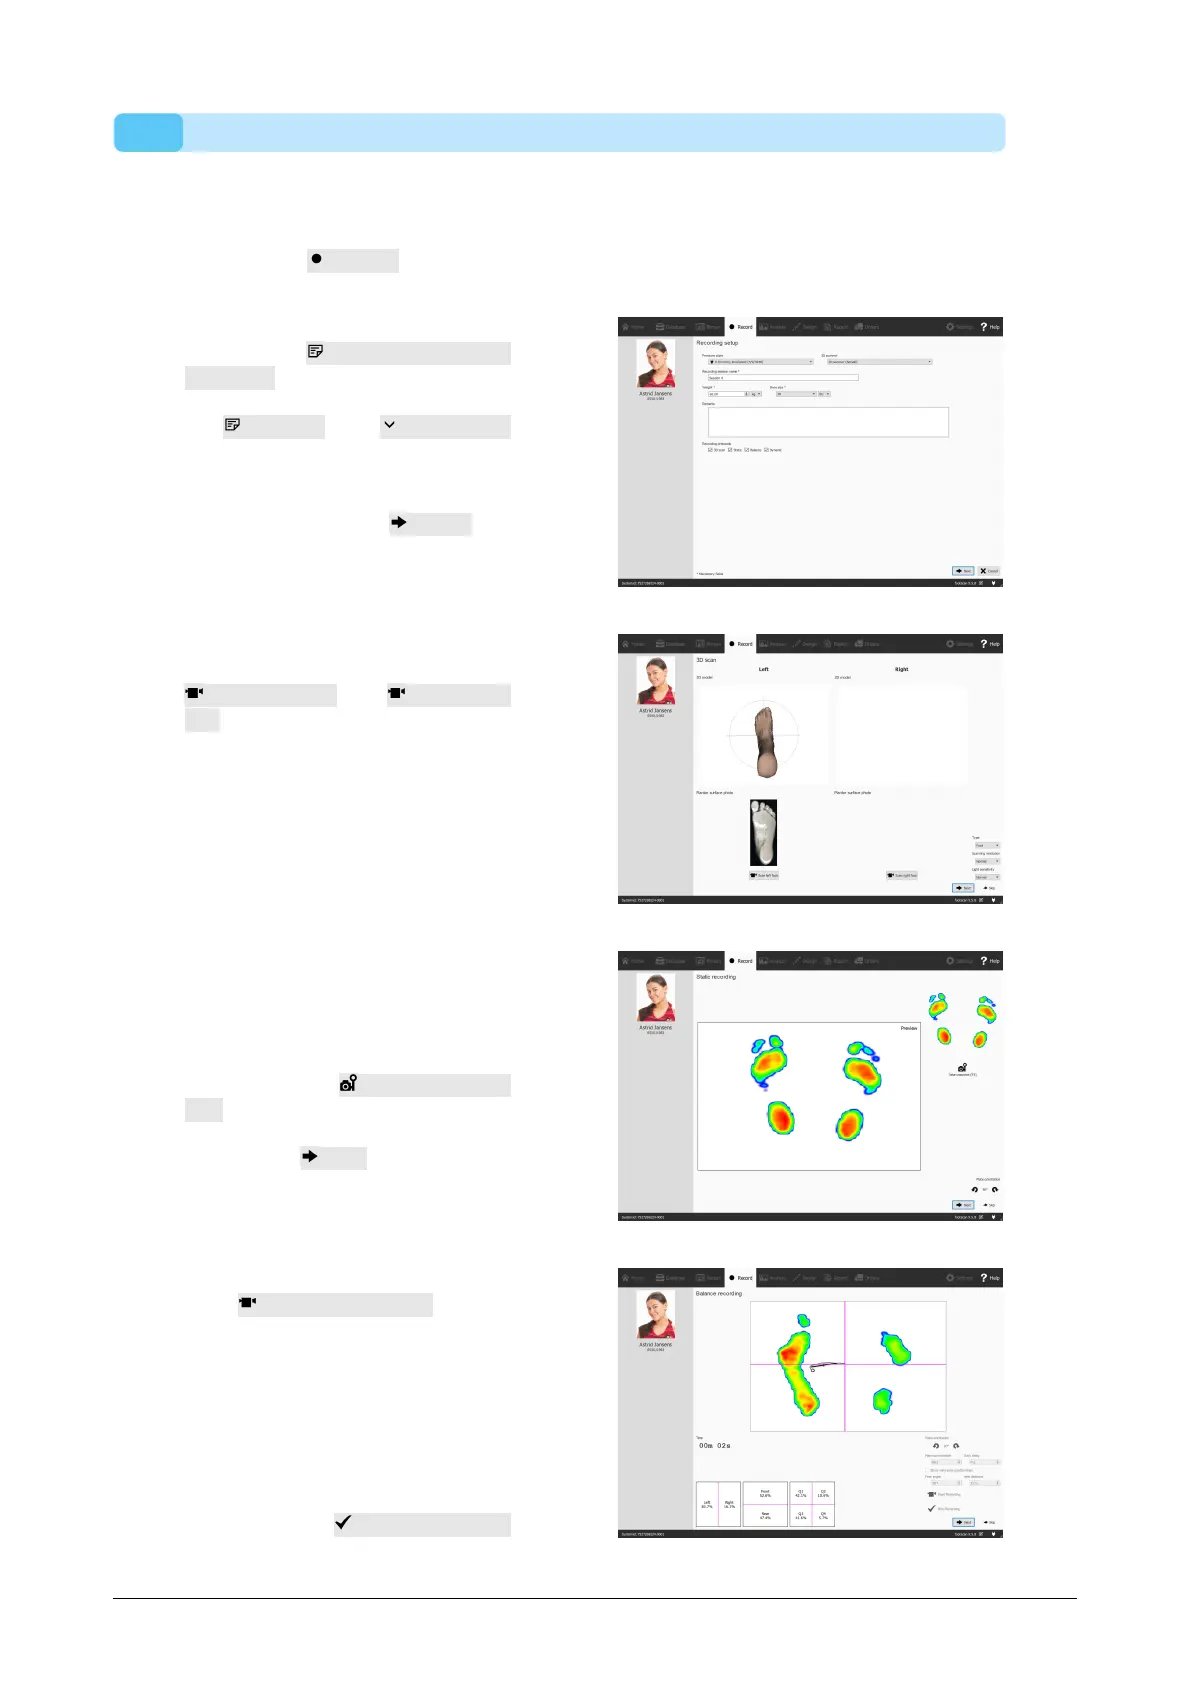
3.3 Create a New Recording
The Record wizard is responsible for creating new measurements. It consists of five
stages: Record Setup, 3D Scanner Recording, Static Recording, Balance Recording
and Dynamic Recording. Other screens are inactive while going through the Record
wizard. Click Record in the Client screen to create a measurement.
Provide a Recording session
name * for the upcoming
measurement session, as well as
the Weight * and Shoe size *
of the subject. Choose which
recordings you want to perform by
toggling the recording protocol
checkboxes. Click Next to
proceed.
The 3D Scan Recording is
performed on each foot separately
and can be initiated by clicking the
Scan left foot and Scan right
foot buttons. For an accurate
recording, it is important to stand
as still as possible in the center of
the 3D scanner while it is
scanning. The result of the 3D
scan will be shown as a top-down
3D view and plantar surface photo
of the scanned foot as soon as the
3D data has been processed.
The Static Recording contains a
large preview window showing the
activity on the plate. Stand on the
plate and click Take snapshot
(F5) to make a static recording.
Retry until you have a satisfactory
result. Click Next to continue.
The Balance Recording shows the
activity on the plate in a preview.
T h e Start Recording button
becomes active when there is
pressure on the plate, click this
button to start a balance
recording. Stand as still as
possible on the plate during the
recording, the recording stops
automatically when the recording
duration has elapsed or when the
user clicks the Stop Recording
button.