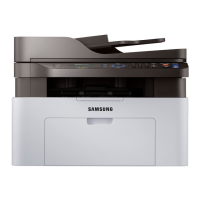
Scanning and sending through email
150
7. Scanning
5
Enter the login name and password if you configured on SyncThru™ Web
Service (see "SyncThru™ Web Service" on page 263).
6
Enter the sender’s and recipient’s email address.
• Add to Address: Allows you to add an email address in the Recent
results to the Address Book.
• Delete: Allows you to delete an email address in the Recent results. Press
the email address you want to delete. Then press Delete.
7
Set the scan quality by Duplex and Resolution.
8
Press the (Start) button to scan and send the file.
9
The machine begins scanning and then sends the email.
• To cancel the current scan job, press (Stop) on the control panel. Or
you can delete current and pending jobs using Job Status on the control
panel. Select the job you want to cancel and press Delete (see "Job
Status button" on page 32).
• While the machine is sending a scanned data, you cannot use the
machine to copy or to send a fax.
4
Resending to the last email address
To resend to the last used email address:
1
Place the originals face up in the RADF or place a single original face
down on the scanner glass and close the RADF (see "Loading originals"
on page 72).
2
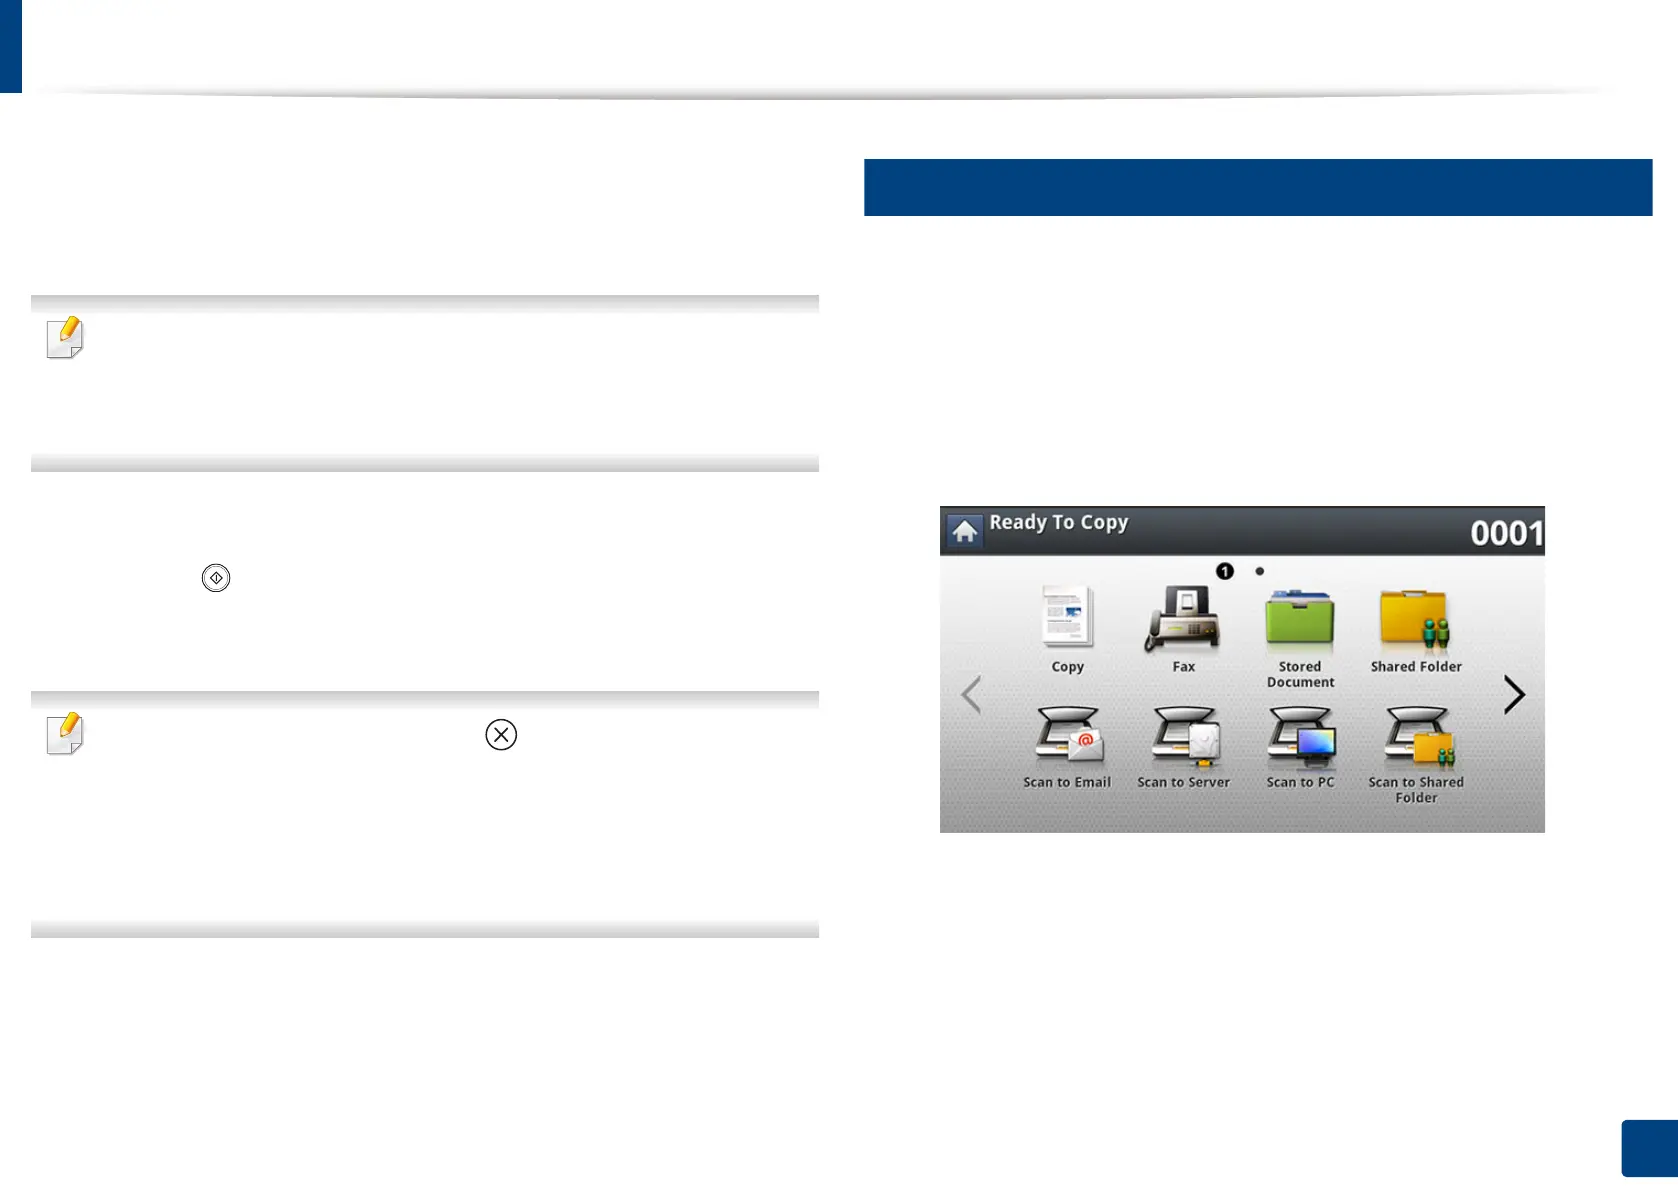
Press Scan to Email from the display screen.
3
Set the scan features in the Advanced, Image, or Output tabs.
 Loading...