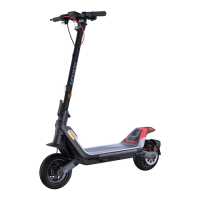
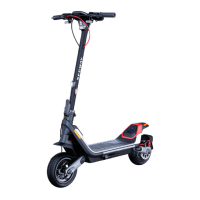
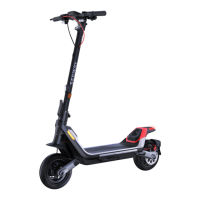
9‐10 Segway®PersonalTransporteri2,x2,x2TurfPartsReplacement
6. LiftUICstraightupuntilclearoflocatorpin
(referto1in
Figure9‐10).
Figure9‐10:LiftorLowerUICOverLocatorPin
7. AngleUICupwardfromrear(referto2in
Figure9‐10)toexposeUI
CconnectorstoA
andBCUha
rnesses.Whilepressing
connectorlockingtabs,gentlyremove
connectorstodisconnect.Donotstrain
harnesses.SeeFigure9‐11.
Figure9‐11:DisconnectorConnectAandBHarnesses
8. LiftoffUICandplaceinESDbagoronclean
ESDworksurface.
To install UIC:
1. MakesureSegwayPTispoweredoffand
unplugged.
2.
Inspect harnesses for damage to insulation or
kinks. Ensure connector locking mechanism is
intact.
If harness wires are pinched or exhibit insulation
damage or the connector is damaged so as to
prevent positive locking upon installation, the
harness must be replaced.
3. OrientUICinconsolehousing.Makesure
CUharnessesareproperlypositionedin
plasticguideclipstopreventcrushingof
harnesses.
4. Toav
oidcrushingsteeringsensorharnesses,
makesureharnessesareproperly
positionedinchannelaroundUICmounting
bosses.SeeFigure9‐12.
5. Besurere
tentionputtyisinstalledand
keepsharnessseatedcorrectlyaround
bosses.
6. Connect(2)CUha
rnessconnectorstofront
ofUIC.
7. OrientholeinUI
Coverlocatorpin(referto
1inFigure9‐10)an
dlowerUICintoconsole
housing,takingca
retofoldharnessesinto
voidwithoutpinching.
Figure9‐12:PositionHarnessesinChannel
Aharness
Bharness
UIC
console
locatorpin
REARVIEW
 Loading...