Section 2: Table Assembly • May 2, 2016
© Copyright 2016 ShopBot Tools, Inc. page 2-1
Section 2. Table Assembly
Introduction
The ShopBot table provides a rm foundation for all other components. This section contains instruc-
tions to assemble, square, and level the table.
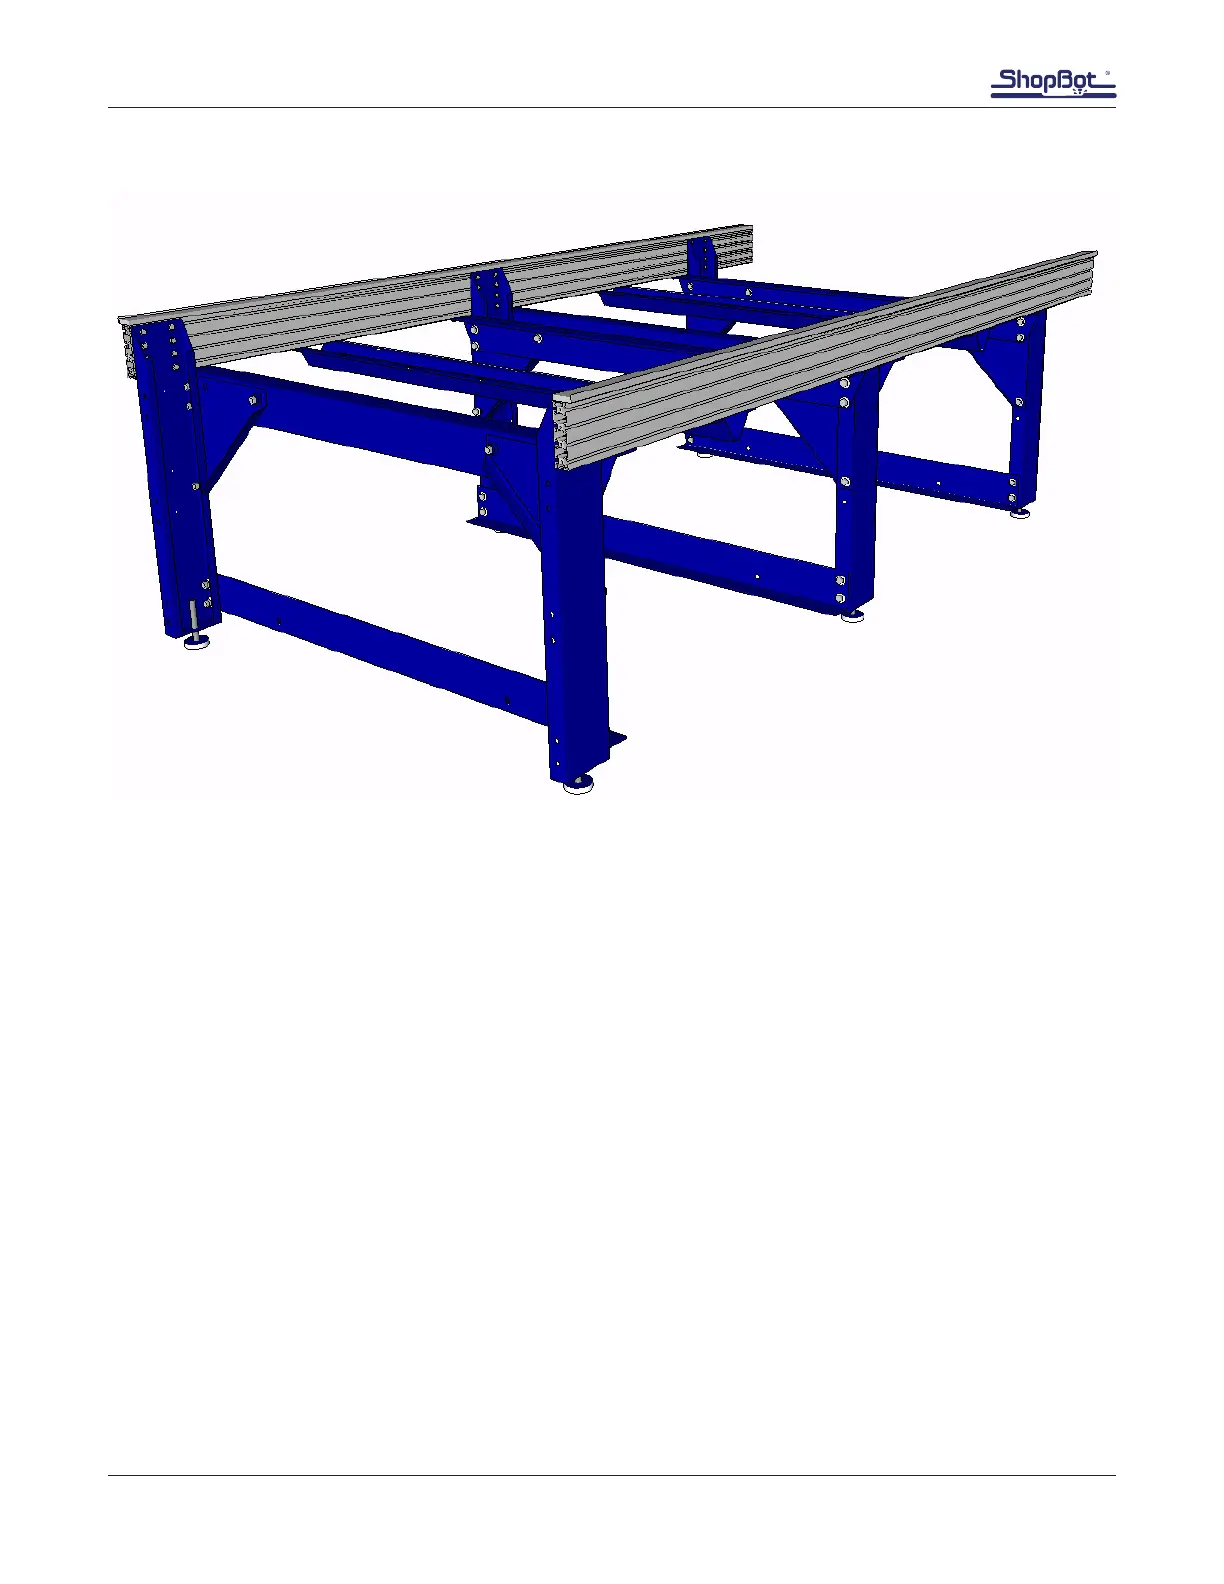
The diagrams in this manual depict a 96” x 48” table, the most common ShopBot table size. The table
layout may look a little different (fewer or more legs, tool changer bar, etc.) depending on the size,
shape, and accessories, but the same basic steps will be followed. The table drawings provided will
detail the specic measurements.
Note: It is critical to follow the table drawing carefully to ensure correct assembly of the table and
accessories.
The table leveling and squaring steps should be completed with the table is in its nal location. Moving
the table after these steps may alter the level and square.
Note: This section shows a conventional table with a 6” Z-axis. Tables congured for 12” and 24” axes
have extra table side extrusions and table legs with added mounting holes.