Section 2: Table Assembly • May 2, 2016
© Copyright 2016 ShopBot Tools, Inc. page 2-15
The rear table side should be moved half the difference between the
two diagonal measurements. In this example, there is a 2” differ-
ence between the measurements, so the rear table side should be
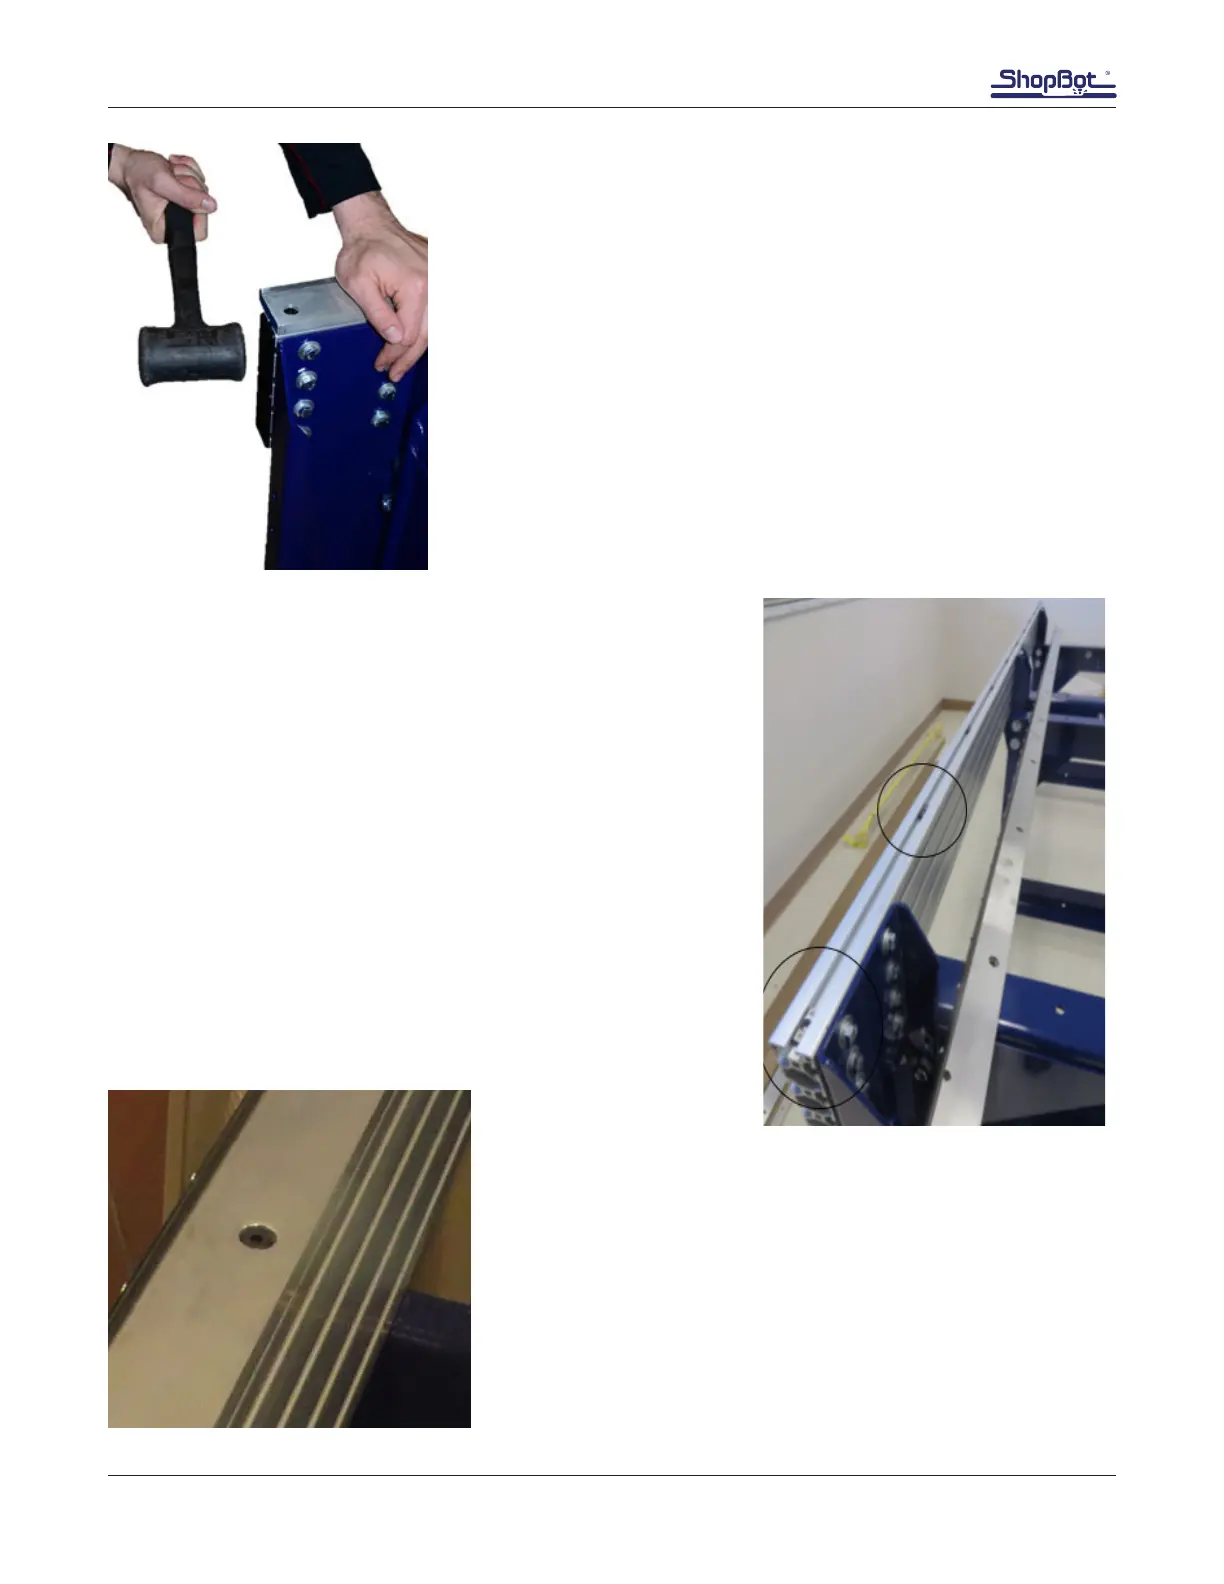
moved 1”. With one person holding the opposite diagonal in place,
use a rubber mallet (or a hammer and protective block of wood) to
carefully knock the table into square. Fully tighten the bolts once
the diagonal measurements are veried. Ensure all table leg and
table support bolts are tight.
Install Rails
Lay the rail on top of the side with the rack on the outside of the
table side. Mark on the inside of the rail where the T-nuts go un-
der each counter-bored hole in the top of the rail.
Set the rail aside, and slide the T-nuts into position, smooth side
up.
Set the rail on top of the sides to make sure the T-nuts are visible
under the counter-bored holes. Adjust as necessary.
Place one 5/16 x 3/4” button head screw into each count-
er-bored hole in the top of each rail.
Using a 5/16” allen wrench, loosely install the bolts into the
T-nuts to prevent any rocking, while still allowing some side to
side play.
Do not fully tighten the bolts on either rail.