Section 10: PRS Alpha Control Box Wiring • May 2, 2016
© Copyright 2016 ShopBot Tools, Inc. page 10-8
Thread the proximity switch into the hole until it rests on the target.
Back it out 1 to 2 turns so there is a 1/32” – 1/16” (1-2mm) gap
between them.
Loosely thread the 1/2” nuts onto the proximity switch so that the
end plate is “sandwiched” between the two nuts.
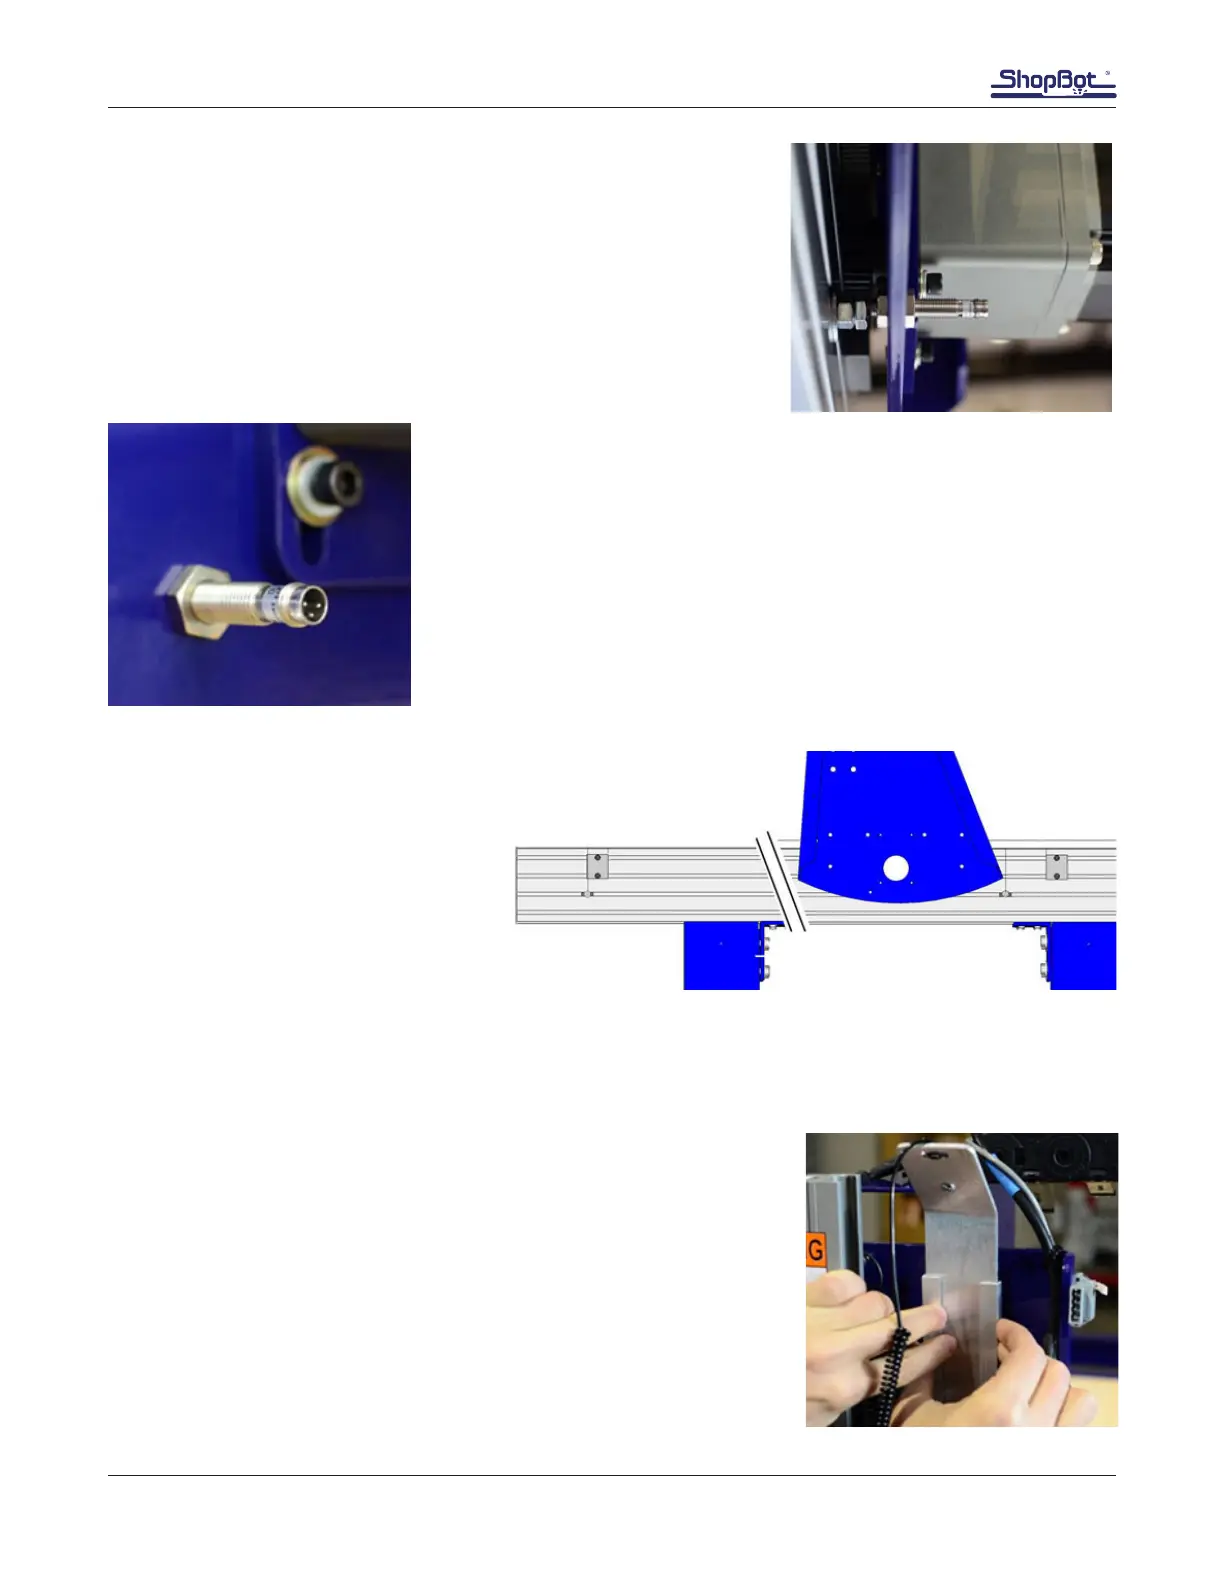
This image shows the X proximity switch from slightly below. The X1
motor is in the background.
Rotate bolt so the three prongs are oriented as shown in the image at
left. This ensures the cable will route cleanly.
Make sure the switch to target clearance is still 1/32” – 1/16” (1-2mm),
and snug both nuts with a 1/2” wrench.
Set Stop Block Positions
Ensure stop blocks are loosened.
Move gantry to one end of rail, and
back off gantry to access stop blocks.
Tighten stop block screws securely,
ensuring stop blocks do not move
during tightening.
Repeat process at other end of rail.
Check Y-Axis Proximity Switches
Run YZ car to the complete right and ensure proximity switch is triggered.
Repeat for left side.
Mount Z Zero Plate Assembly
Sandwich the Z plate between the two U channel brackets with the
VHB tape facing opposite from the upturned Z plate ange.
Center Z plate between Z rail and the YZ plate ange. Position
brackets 1” down from top of YZ plate. Remove backing tape from
VHB tape and press the brackets onto the YZ plate.