Section 4: Cable Carrier Installation • May 2, 2016
© Copyright 2016 ShopBot Tools, Inc. page 4-7
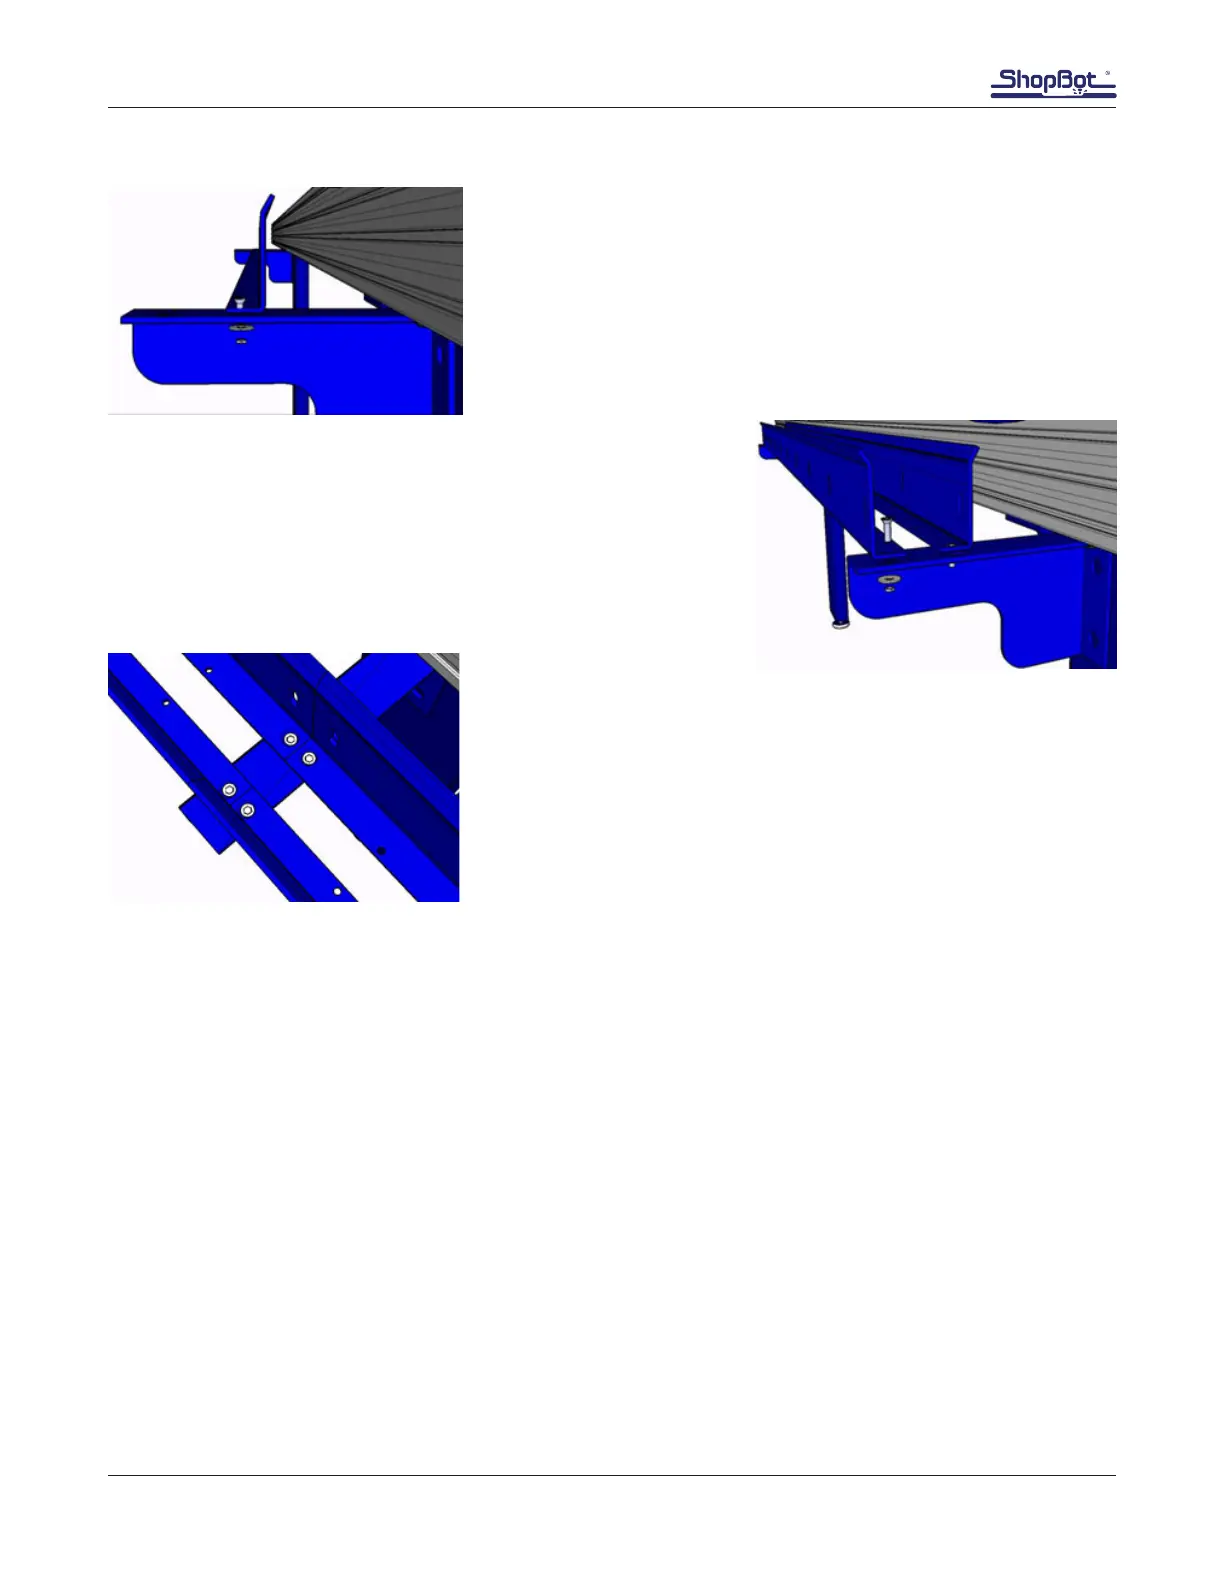
Install the X-Axis Trough: 6” Z-Axis
Position the rst cable carrier trough so the holes closest to the
edges are over the inside holes in the trough brackets.
Fasten the trough to the bracket using 1/4” at head screws,
at washers, and nylock nuts. Leave these loose until range of
motion is checked.
Repeat installation of the other trough piece, using the outer
holes on the bracket.
For models that need extended lengths of trough (longer than 96”
in the X), use the second set of holes in the cable carrier bracket
to butt the trough sets together.
Machines with 12” and 24” Z-Axis
Machines with two side rails require alternate mounting brackets for the X-axis trough brackets. The
brackets are attached to the outside of the lower frame rail with T-nuts.
Slide a 5/16-18 T-nut into each of the top three grooves on the lower table side extrusion, with the
anged face of the nuts facing towards the inside of the table. Loosely thread a 5/16-18 x 3/4 Button
Head Screw and 5/16 Lock Washer through the trough bracket into each T-nut, as shown below.
Repeat this step with the remaining bracket(s) (extended tables may have 3-4 brackets). Keep the
mounting hardware loose so the brackets can slide along the table side in order to be moved into the
proper position.
Attach the trough to the brackets in the same manner as for the tools with the 6” Z.