Section 5: Control Box Installation • May 2, 2016
© Copyright 2016 ShopBot Tools, Inc. page 5-4
Installation
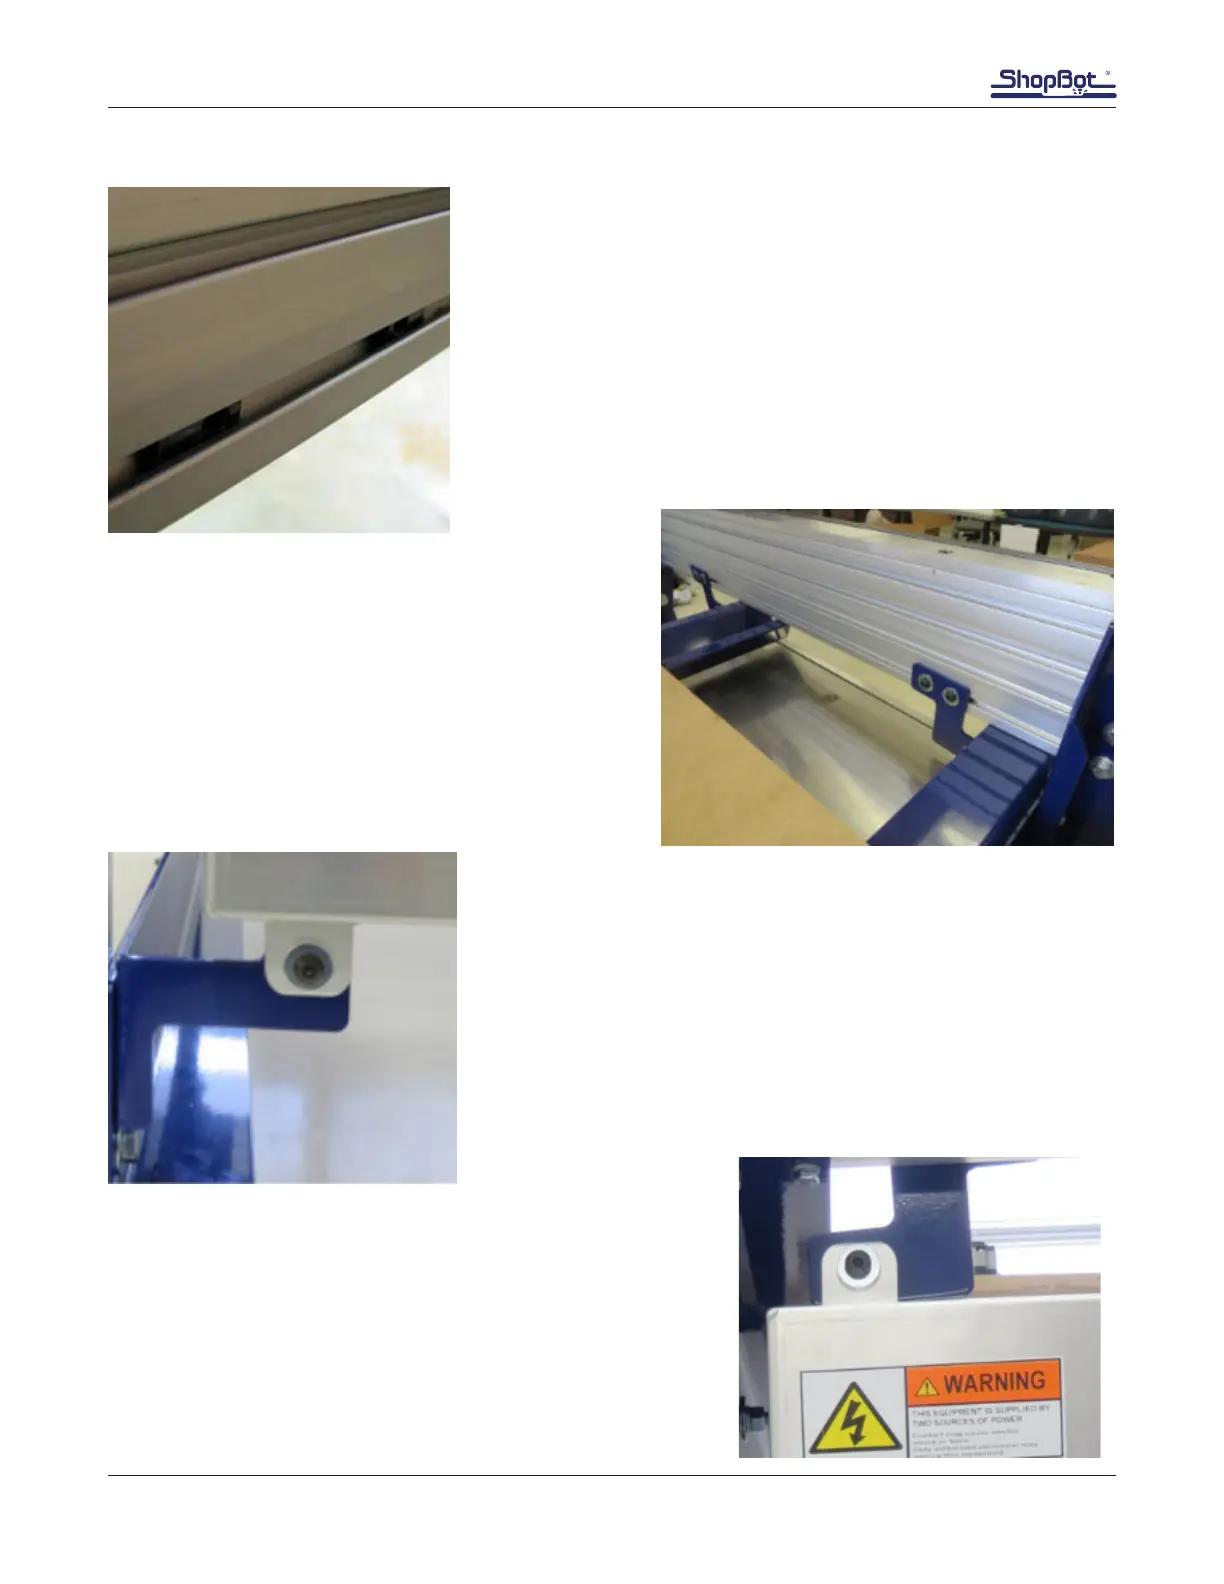
Snap in T-nut ball and spring pivot inserts on the inside face of
the tableside in lowest slot.
Loosely attach the two upper control box brackets to
the T-nuts inside the table side slot with 3/4” button
head screws and at washers.
Be aware that their orientation may need to be ipped
to keep from interfering with the existing cross sup-
ports.
Mount the lower control box bracket to the lower left tab of the
control box using at a 1” button head screw , at washer, con-
trol box tab, through the bracket, washer, and a nylock nut.
Note: it is important that the control box tabs sit on the same
side of the blue brackets at both the top and the bottom of the
control box.
Space the upper control box brackets to the approximate
distance of the tabs on the control box. Lift the control box into
place and mount with a button head screw, at washer, control
box ange, through the bracket, at washer, and a nylock nut
for each bracket.