Section 8: Wire and Cable Routing • May 2, 2016
© Copyright 2016 ShopBot Tools, Inc. page 8-2
Finishing
• Close or partially close all cable carrier gates.
• Move tool along each axis looking for even movement and binding.
• If binding or height tensions occurs, relieve tension and re-secure cables as needed.
• Clip off all zip tie ends using wire snips.
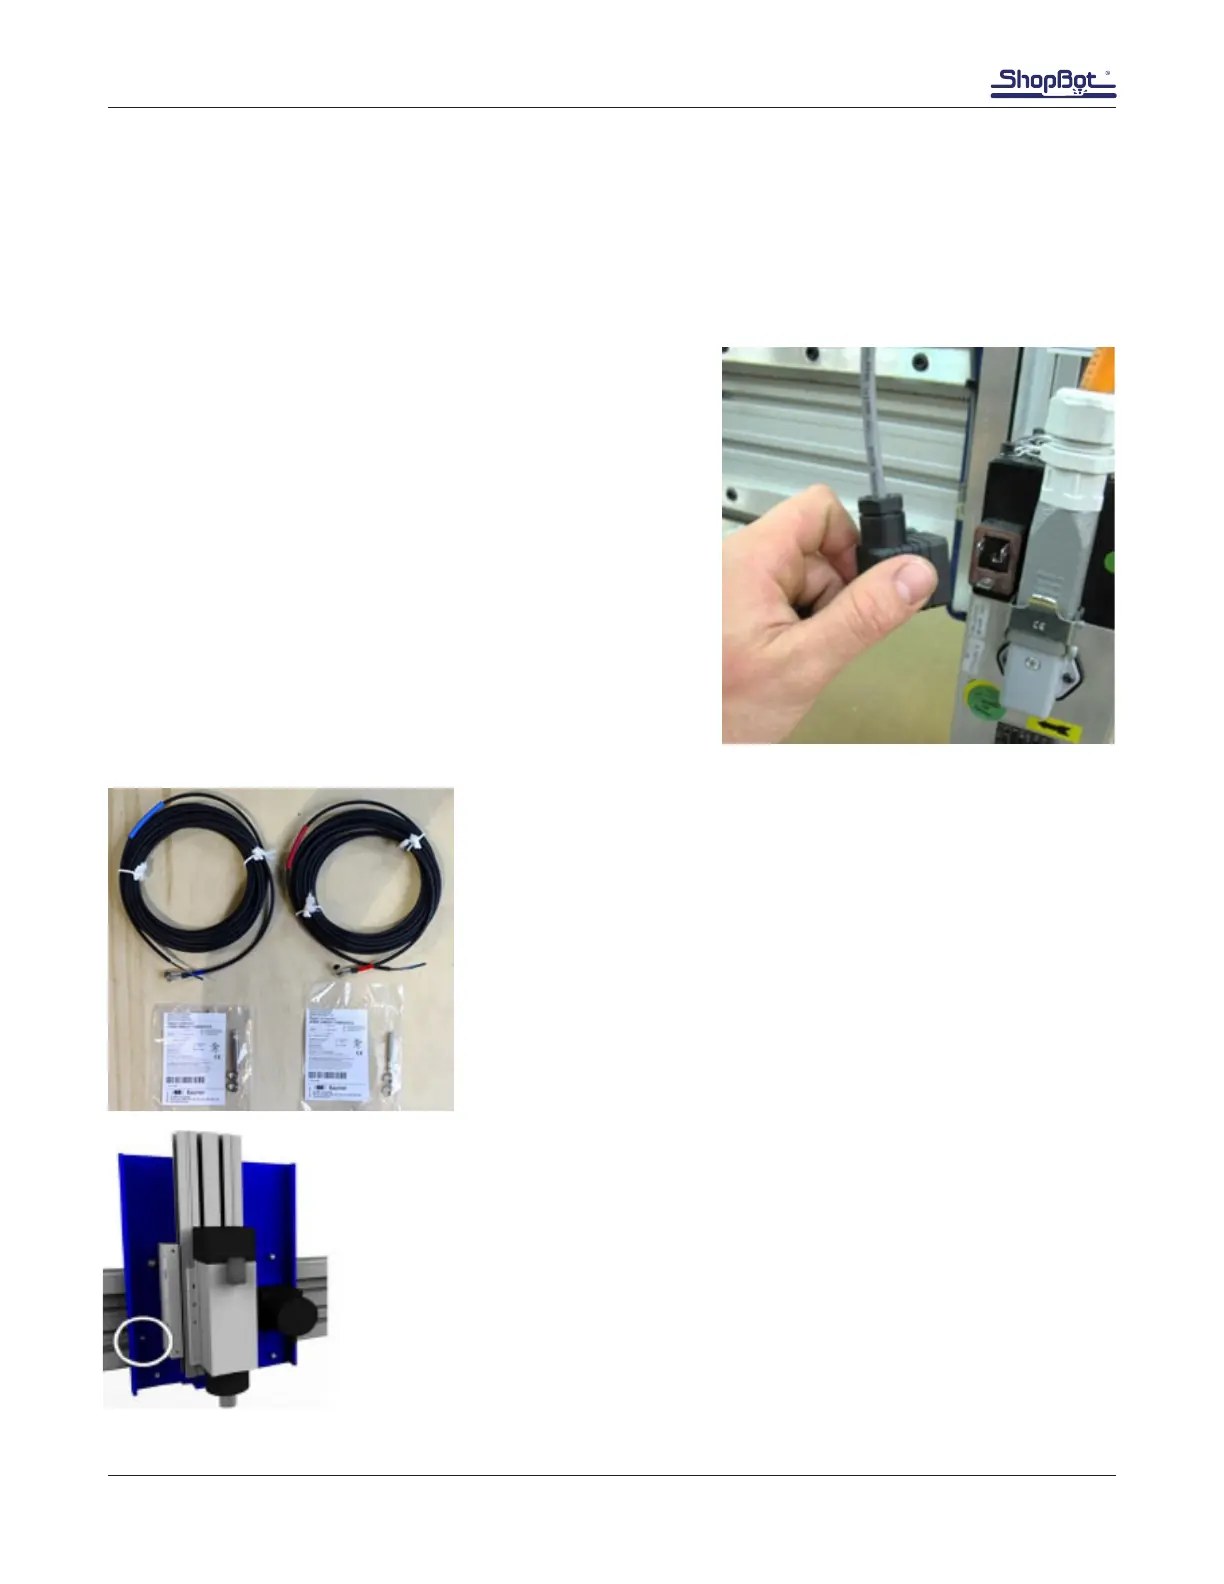
Spindle Fan Cable Installation
Uncoil cable.
Connect plug and tighten screw, locking it into place.
Zip tie the cable to the spindle power cable up to the point
where it would enter the Y carrier.
Proximity Switch Installation
Locate the proximity switches and the corresponding cables.
The cables are marked with colored tape at both ends for ease of
identication.
Blue indicates Y-axis. Red indicates X-axis.
Note: The tape at the far end of the cable may be loose. If so,
secure it with scotch tape or similar to prevent it from falling off
during cable routing.
Y Proximity Switch
Locate 8mm threaded hole to the left of the spindle/router