DMS-1200 Release 6 Operations Manual
Section 2 – Hardware Installation 13
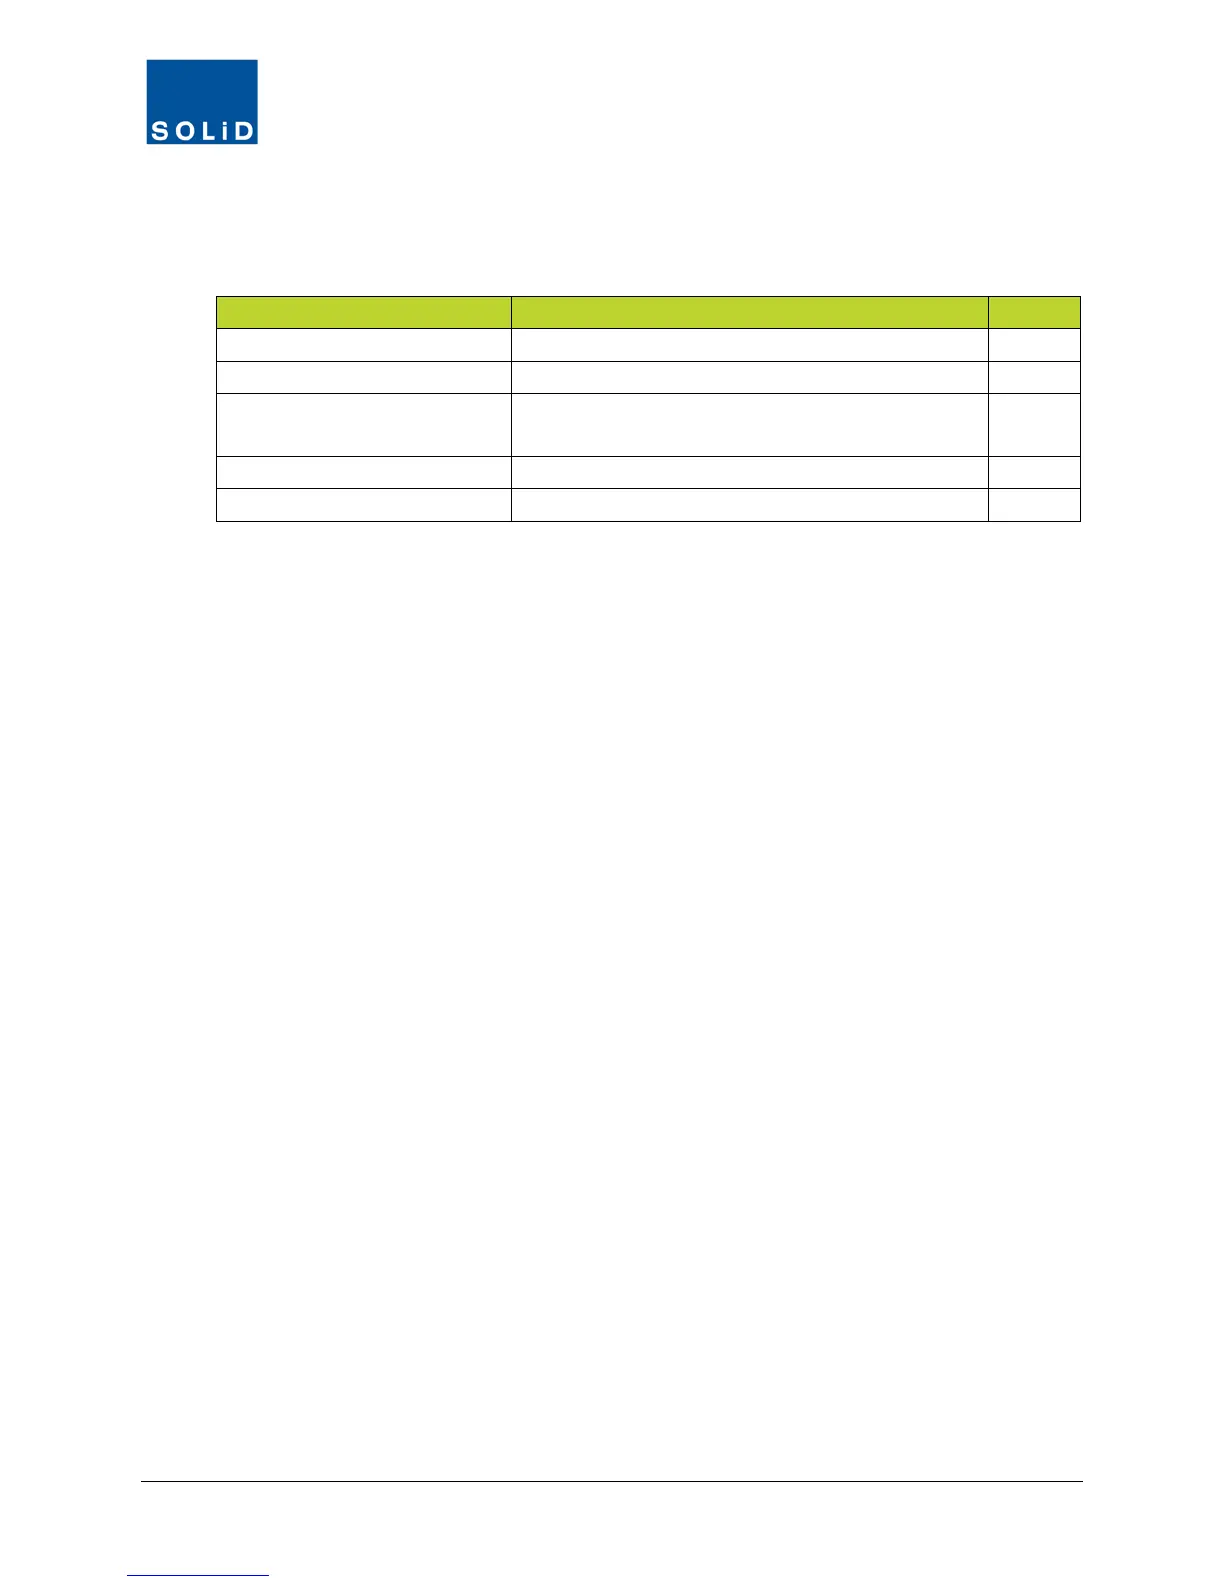
2.1 Required Materials
Before you begin, make sure you have the following items. Those items marked with an “O” ship
with the unit. Items marked with an “X” are not included. Tools are not included.
WAN port connection
(for making remote connection)
Straight type CAT5 Ethernet cable (Qty 1) X
Straight type 2m CAT5 Ethernet cable (Qty 1)
Connection to power supply
AC 110-220V Power Cable (Qty 1)
Table 2.1 – Tools and Accessories for Installing DMS Equipment
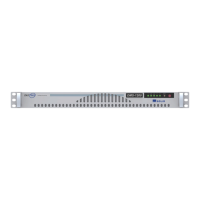
2.2 Installing the DMS Hardware
1. Using the rack mount brackets, install the DMS-1200 in the rack, making sure to leave 1U of
space above and below the DMS and other DAS components. This gap provides air
circulation to help dissipate heat from the equipment.
2. Insert M6 screws in the mounting holes and tighten the screws to secure the unit.
3. Connect the server to a power source (typically a wall socket) using the supplied power
cable; then power on the server.