1-1
SECTION 1
GENERAL
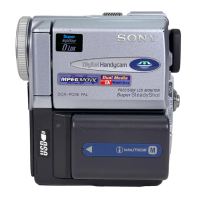
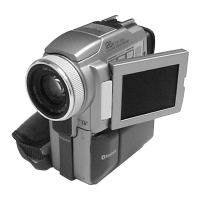
DCR-PC6E/PC9/PC9E
This section is extracted from instruction
manual. (DCR-PC6E/PC9E)(3-068-332-11)
4
English
Main Features
Taking moving or still images, and playing them back
•Recording a picture on a tape (p. 30)
•Recording a still image on a tape (p. 55)
•Playing back a tape (p. 46)
•Recording still images on “Memory Stick”s (DCR-PC9E only) (p. 159)
•Recording moving pictures on “Memory Stick”s (DCR-PC9E only) (p. 168)
•Viewing a still image recorded on “Memory Stick”s (DCR-PC9E only) (p.183)
•Viewing a moving picture on “Memory Stick”s (DCR-PC9E only) (p. 187)
Capturing images on your computer
•Using with an analog video unit and your computer (DCR-PC9E only) (p. 113)
•Viewing images recorded on “Memory Stick”s using the USB cable (DCR-PC9E only) (p. 189)
Other uses
Functions to adjust exposure in the recording mode
•Back light (p. 40)
•NightShot/Super NightShot (p. 41)
•PROGRAM AE (p. 68)
•White balance (p. 71)
•Adjusting the exposure manually (p. 73)
•Flexible Spot Meter (p. 74)
Functions to give images more impact
•Digital zoom [MENU] (p. 134) The default setting is set to OFF. (To zoom greater than 10×, select the
digital zoom power in D ZOOM in the menu settings.)
•Fader (p. 60)
•Picture effect (p. 63)
•Digital effect (p. 65)
•Digital program editing (p. 101)
•Title (p. 125, 129)
•MEMORY MIX (DCR-PC9E only) (p. 174)
Functions to give a natural appearance to your recordings
•Manual focus (p. 76)
•Sports lesson mode (p. 68)
•Landscape mode (p. 68)
Functions to use after recording
•END SEARCH/EDITSEARCH/Rec Review (p. 44)
•DATA CODE (p. 48)
•Photo search (p. 94)
•Photo scan (p. 96)
•Tape PB ZOOM (p. 87)/Memory PB ZOOM (DCR-PC9E only) (p. 196)
•Zero set memory (p. 89)
•Title search (p. 90)
10
3
2
English
Quick Start Guide
This chapter introduces you to the basic
features of your camcorder. See the page in
parentheses “()” for more information.
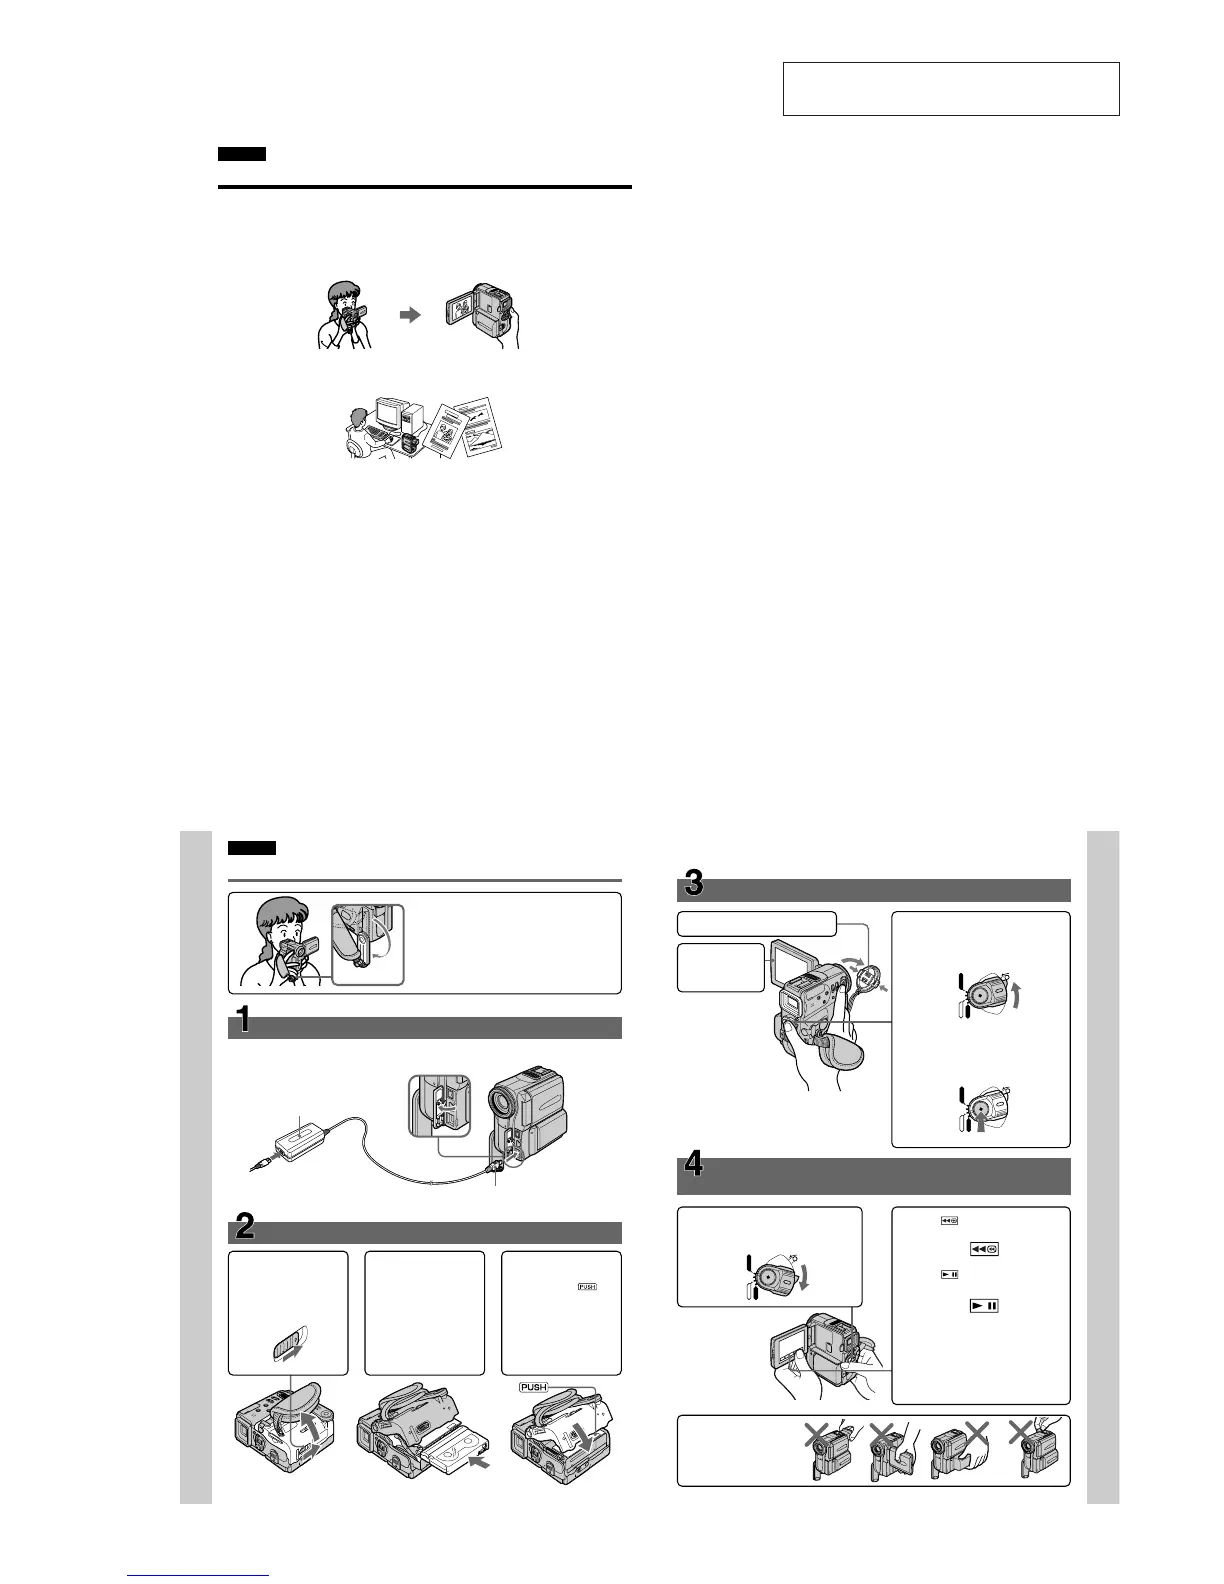
Pull down the Holding Grip to hold your
camcorder as illustrated.
Inserting a cassette (p. 27)
Connecting the mains lead (p. 24)
Use the battery pack when using your camcorder outdoors (p. 18).
1Slide OPEN/ZEJECT
in the direction of the
arrow and open the
lid.
2Push the middle
portion of the back of
the cassette to insert.
Insert the cassette in a
straight line deeply
into the cassette
compartment with
the window facing
out.
3Close the cassette
compartment by
pressing the
mark on the cassette
compartment.
After the cassette
compartment goes
down completely,
close the lid until it
clicks.
Quick Start Guide
Holding Grip
AC power adaptor (supplied)
Connect the plug with its v
mark facing the Holding
Grip.
Open the DC IN
jack cover.
11
Viewfinder
When the LCD panel
is closed, pull out the
view finder untill its
click to focus on the
subject
Quick Start Guide
Recording a picture
(p. 30)
Monitoring the playback picture on the LCD
screen
(p. 46)
NOTE
Do not pick up your
camcorder by holding the
viewfinder, the LCD panel,
the battery pack or the jack
cover.
1
Set the POWER switch to VCR (DCR-
PC9E)/PLAYER (DCR-PC6E) while
pressing the small green button.
2
Press of the touch panel to
rewind the tape.
3
Press of the touch panel to
start playback.
NOTE
When using the touch panel, press
operation buttons lightly with your
thumb supporting the LCD screen from
the backside of it. Do not press the LCD
screen with sharp-pointed objects such
as pens.
1
Remove the lens cap.
3
Set the POWER switch to CAMERA
while pressing the small green
button.
POWER
MEMORY
VCR
CAMERA
OFF
(CHARGE)
LOCK
POWER
MEMORY
VCR
CAMERA
OFF
(CHARGE)
LOCK
POWER
MEMORY
VCR
CAMERA
OFF
(CHARGE)
LOCK
4
Press START/STOP. Your camcorder
starts recording. To stop recording,
press START/STOP again.
2
Press OPEN to
open the LCD
panel.
When you purchase your camcorder, the clock
setting is set to off. If you want to record the date
and time for a picture, set the clock setting before
recording (p. 25).