14215700-IG, Edition 15.0
May 2020, Original document
113
Configuration Steps Overview
Below is an overview of the steps to follow in order to configure the Spectralink IP-DECT/Virtual IP-
DECT Server solution after having installed all system components and completed all pre-con-
figuration tasks.
After following these steps, you will be able to make calls between handsets:
1. Power up the Spectralink IP-DECT/Virtual IP-DECT Server and Spectralink DECTMedia
Resource/Spectralink Virtual IP-DECT Media Resource (if used).
For more information, see:
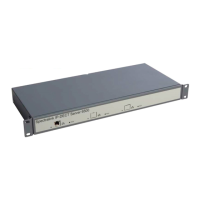
l "Installing Spectralink IP-DECT Server 200" on page70
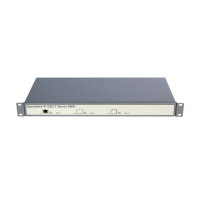
l "Installing Spectralink IP-DECT Server 400" on page77
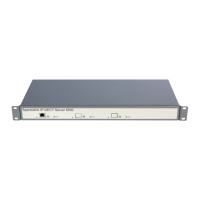
l "Installing Spectralink IP-DECT Server 6500 and Spectralink DECTMedia Resource" on
page78
l "Deploying Spectralink Virtual IP-DECT Server One and Spectralink Virtual IP-DECT
Media Resource on VMware ESXi" on page85
2. Change the IP address of the Spectralink IP-DECT/Virtual IP-DECT Server.
For more information, see "To Configure a Static IP Address and Other Network Settings" on
page126.
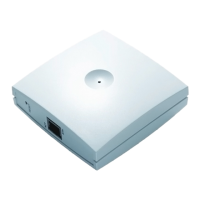
3. Power up the Spectralink IP-DECT Base Station.
For more information, see "Installing Spectralink IP-DECT Base Station" on page90.
Note:
Not relevant to the Spectralink IP-DECT Server 200.
4. Change the IP address of the Spectralink IP-DECT Base Station.
For more information, see "To Configure a Dynamic IP address" on page125.
Note:
Not relevant to the Spectralink IP-DECT Server 200.
5. Configure the Spectralink IP-DECT Base Station with the address of the Spectralink IP-
DECT/Virtual IP-DECT Server.
For more information, see "Assigning Server Address to Spectralink IP-DECT Base Station
and Spectralink DECTMedia Resource/Spectralink Virtual IP-DECT Media Resource" on
page185.
Note:
Not relevant to the Spectralink IP-DECT Server 200.
Spectralink IP-DECT Server 200/400/6500 and Virtual IP-DECT Server One Installation and Configuration Guide