39MS 362, MS 362 C
– Lubricate the piston, piston rings
and cylinder wall with oil, b 15
: Use the clamping strap (1)
0000 893 2600 to compress the
rings around the piston.
– Check correct installed position
of rings, b 6.8
Apply the clamping strap (1) so that
the piston rings do not project
beyond the cylinder wall.
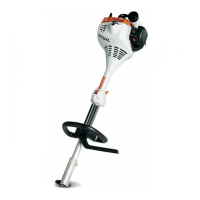
: Align the cylinder so that the
intake port (arrow) points toward
the tank housing.
While sliding the cylinder over the
piston, hold the clamping strap
tightly around the piston so that the
rings do not project
– they might otherwise break.
: Slide the cylinder over the piston,
the clamping strap moves
downwards at the same time.
0001RA109 TG
1
0001RA110 TG
: Remove the clamping strap (1)
and wooden assembly block (2).
Make sure the cylinder gasket is
properly seated.
– Push the cylinder fully home.
: Insert the screws (arrows) to hold
the cylinder and gasket in
position..
– Tighten down the screws through
the holes (arrows) in the cylinder
in a crosswise pattern.
– Tightening torques, b 2.5
– Reassemble all other parts in the
reverse sequence.
0001RA111 TG
1
2
0001RA102 TG
6.6 Crankshaft
– Remove the brake band, b 5.2
– Remove the oil pump, b 11.3
– Remove the brake lever, b 5.3
QuickStop Super, b 5.4
– Drain the fuel and oil tanks,
b 1.2
– Remove the tank housing,
b 12.11.3
– Remove the flywheel, b 7.6
– Machines with handle heating:
Remove the generator, b 13.7
– Remove the cylinder, b 6.5
– Remove the piston, b 6.7
Always install new bearings and oil
seals after removing the crankshaft,
b 6.6.1 and b 6.3.
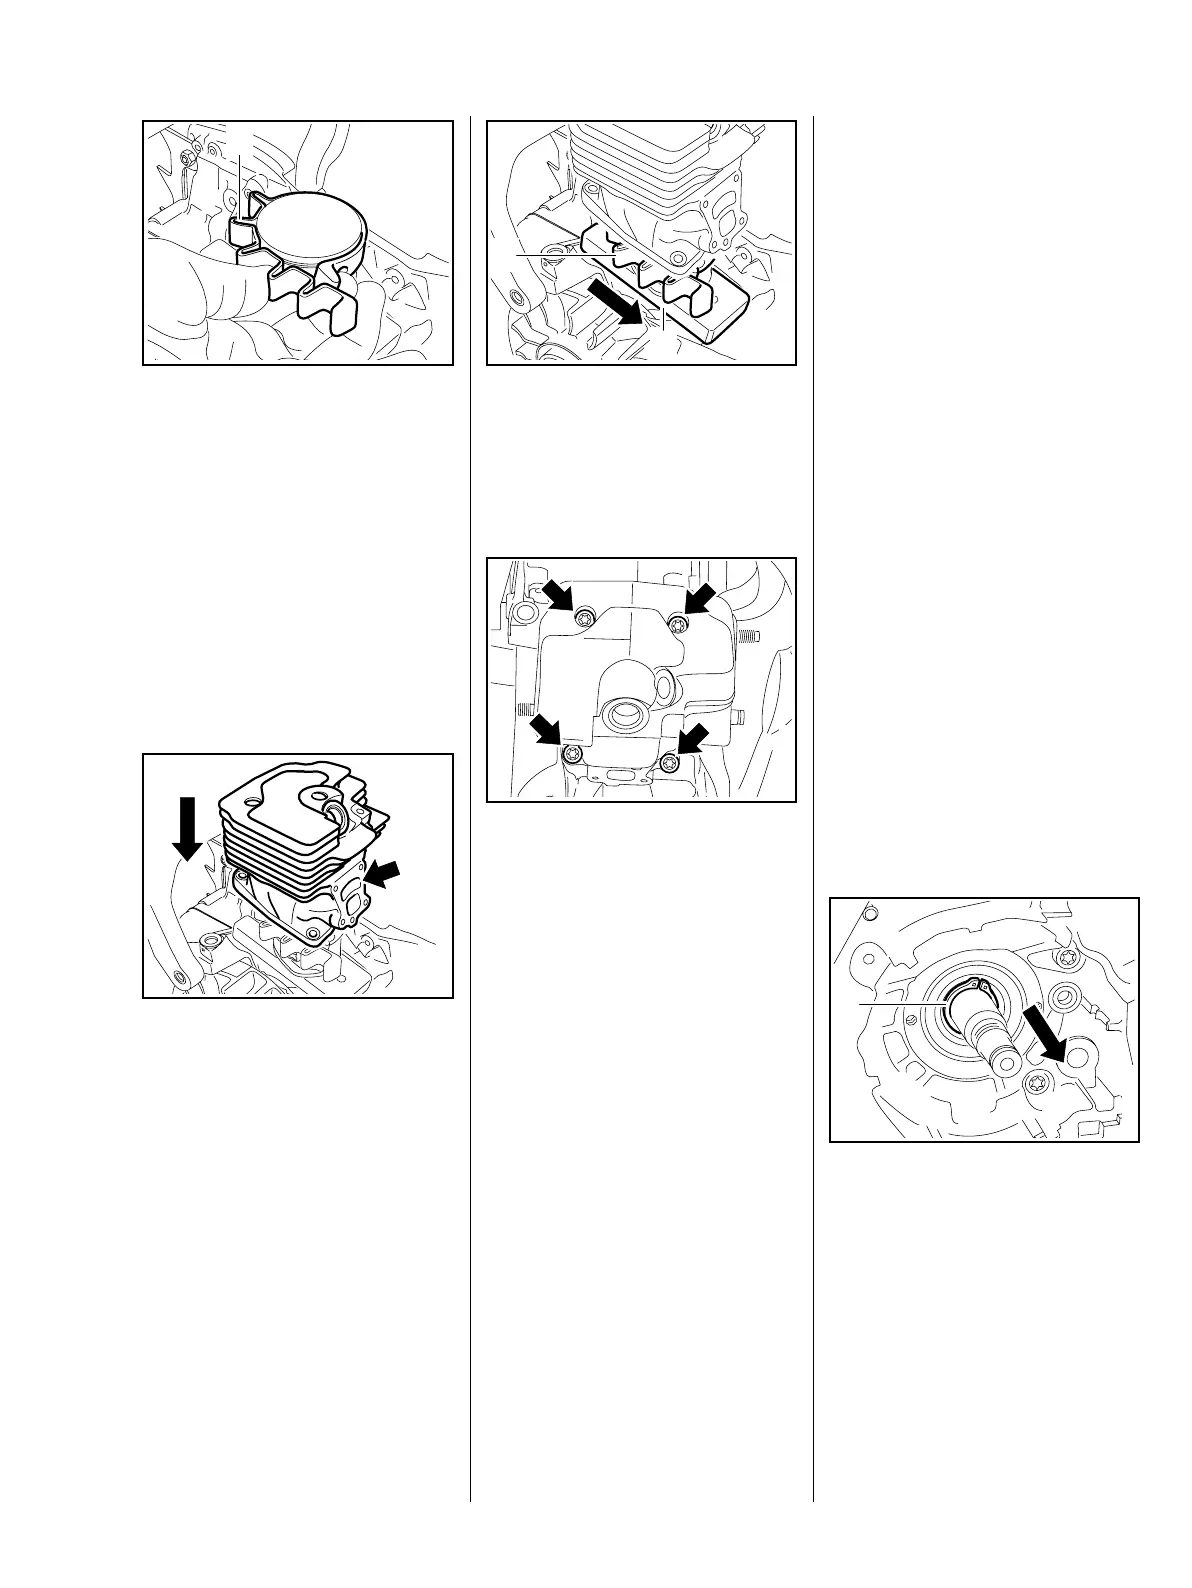
Clutch side of crankcase
: Remove the E-clip (1).
0001RA495 TG
1

 Loading...