Mask testing setups Set user mask edit controls
Learn more about mask se tups. (see page 209)
Set user mask edit controls
From the Mask menu, select Mask Edit Controls.
Overview
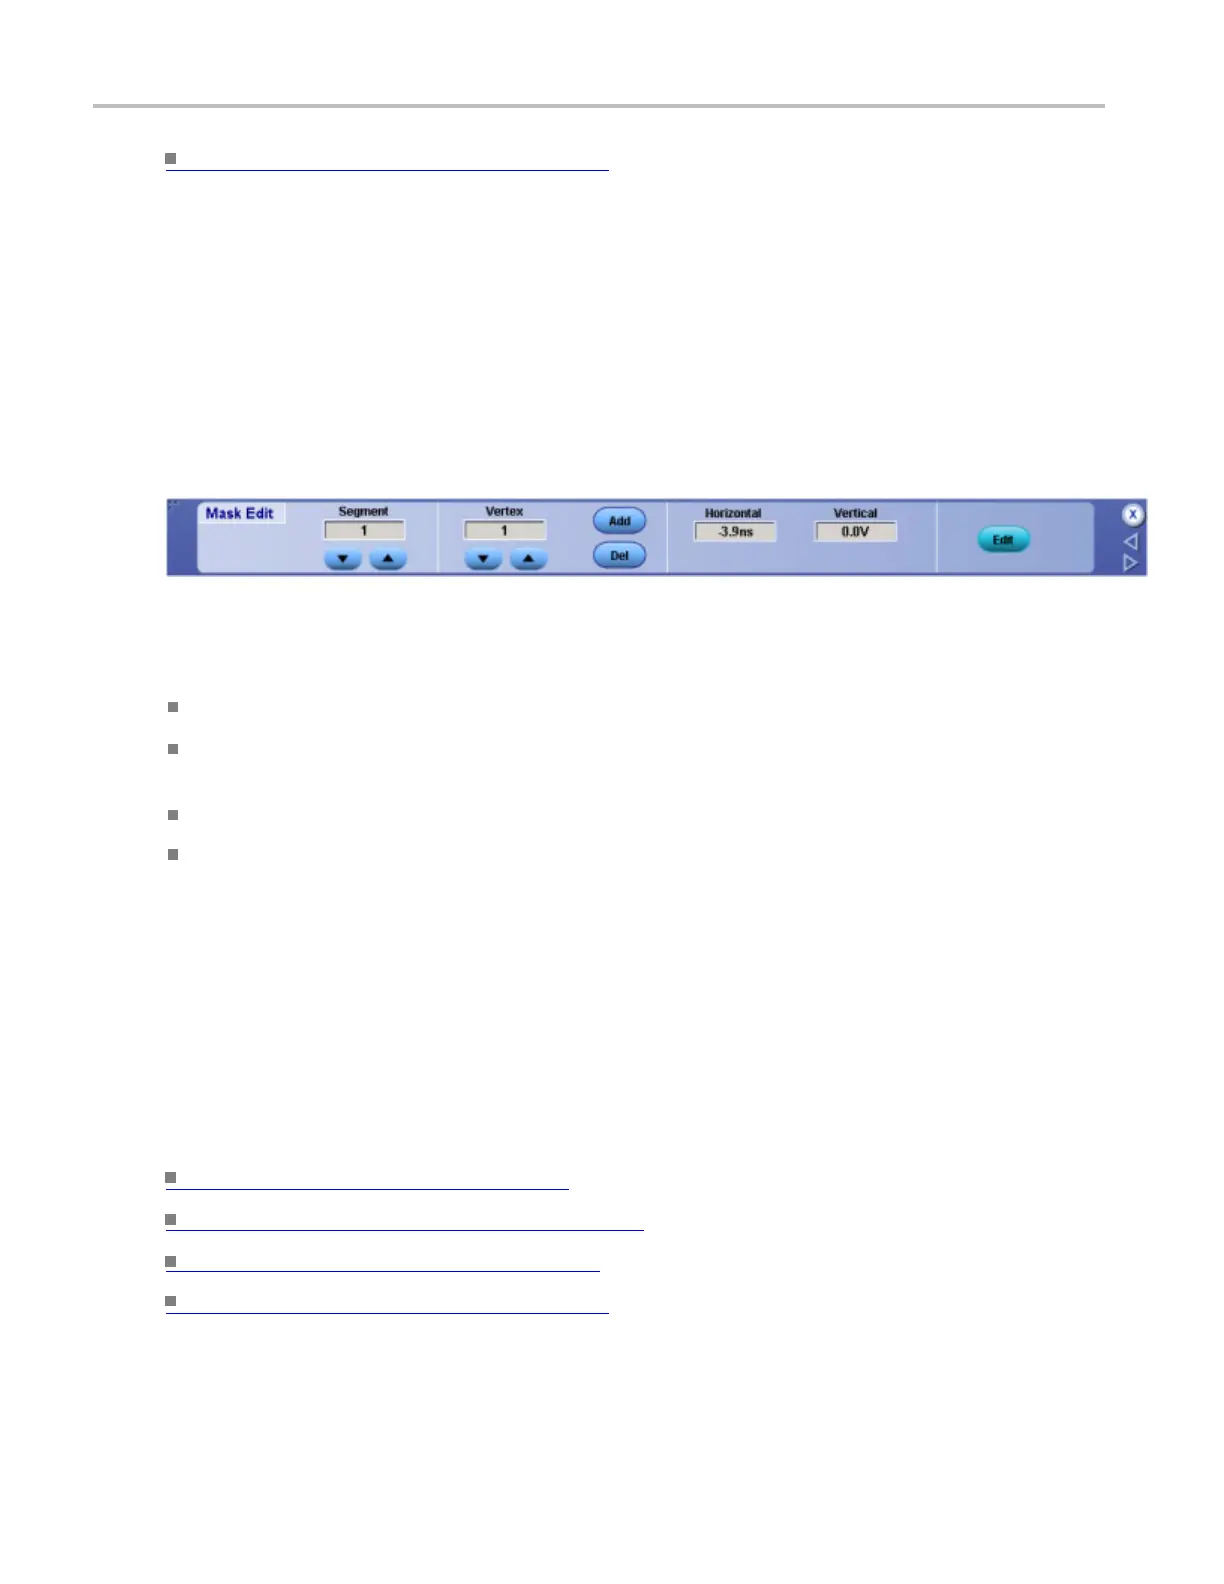
Use this control window to select the segment and vertex for editing and set the Vertical and Horizontal
Mask Values .
To use
Click the up and down arrows to select the segment or the vertex o f the mask to be edited.
Click the Add button to add a point to the boundary in the selected segment and just after the selected
vertex.
Click Del button to delete the selected vertex from the selected segment.
To change the horizontal or vertical values for the selected segment and vertex, click in the Horizontal
or Vertical entry boxes to activate the multipurpose knobs to enter a value.
Beh
avior
The Segment up and down arrows increase or decrease the segment number by one. The Verte x up and
do
wn arrows increase or decrease the vertex by 10. To set a specific number click the Vertex entry box
to activate the pop-up calculator. Clicking the Add control adds a point to the boundary in the selected
segment and just after the s elected vertex in addition to moving any points that follow up one. Clicking
Del deletes the selected vertex from the selected segment and moves any points that follow down one.
What do you want to do next?
Learn about saving masks. (see page 536)
Learn about recalling saved masks. (see page 235)
Learn more about mask types. (see page 209)
Learn more about mask se tups. (see page 209)
234 DSA/DPO70000D, MSO/DPO/DSA70000C, DPO7000C, and MSO/DPO5000 Series
 Loading...


