25. ROUTE SURVEYING
186
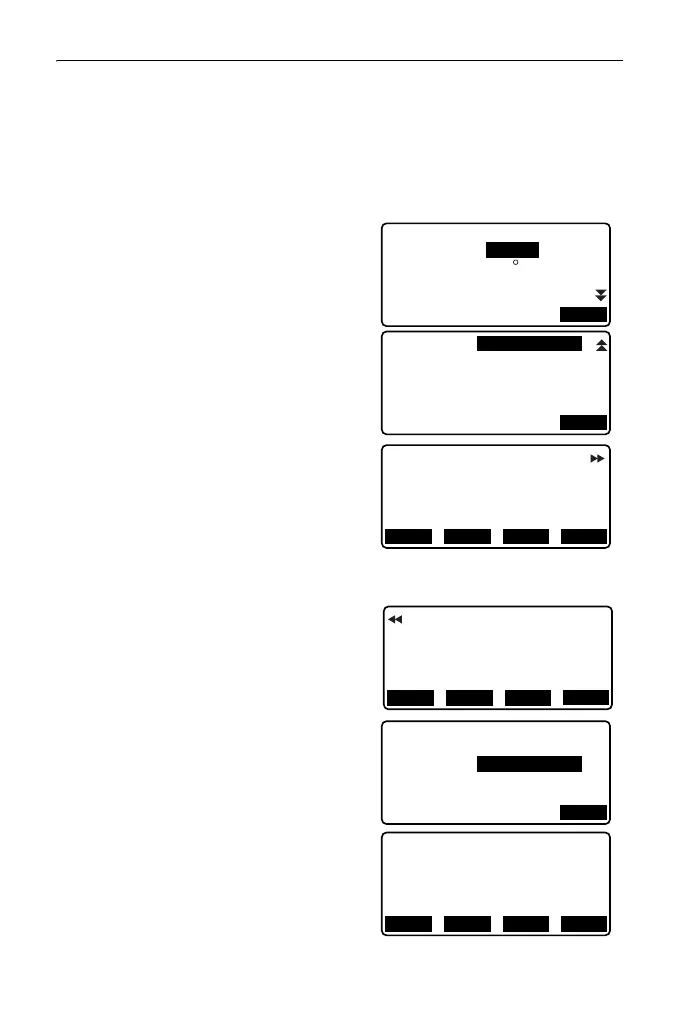
4. Input the coordinates of the IP point,
then press [OK].
• The azimuth angle can be set by
pressing [AZMTH] on the second
page.
5. Input curve properties: direction (of
curve), IA (intersection angle), BP-IP
(distance between BP Point and IP
Point), IP-EP (distance between IP
Point and EP Point), Para A1
(parameter A1), Para A2 (parameter
A2), radius (of curve), and St. ofs (BP
Point offset).
6. Press [OK] in the screen shown in
step 5 to calculate the coordinates and
follow-up distance of the KA1 point,
KE1 point, KE2 point, and KA2 point.
The results are then displayed on the
screens shown here. Press {}/{} to
switch between <IA&Tangent/KA1>/
<IA&Tangent/KE1>/<IA&Tangent/
KE2>/<IA&Tangent/KA2>.
7. In the screens for the KA1 point, KE1
point, KE2 point, and KE2 point that
have been found, press [CENTER] to
move to centerline peg settings.
Input Sta..ing (stationing to CL peg)
and press [OK] to calculate the
coordinates of the arbitrary centerline
peg. The results are then displayed in
this screen.
Right
OK
IP&Tan
BP-IP
IP-EP
141.421m
IA
Direc.
141.421m
90 00’00"
OK
St.ofs
Radius
60.000m
0.000m
Para A1
50.000m
Para A2
50.000m
N
E
142.052
IA&Tangent/KA1
142.052
Sta..ing
59.471m
WIDTH
REC S-O
CENTER
N
E
142.052
IA&Tangent/KA2
257.948
Sta..ing
195.386m
WIDTH
REC S-O
CENTER
OK
IA&Tangent/CL peg
Sta..ing
195.386m
N
E
167.289
IA&Tangent/CL peg
173.517
Sta..ing
100.000m
WIDTH
REC S-O
CENTER