SolenoidOperated,ReliefandLogicControlCartridgeValves(continued)
6.Reinstallthecartridgevalveintothemanifold:
A.LubricatenewO-ringsandbackupringsofsealkitwithcleanhydraulic
uidandinstalloncartridge.TheO-ringsandbackupringsmustbe
arrangedproperlyonthecartridgevalveforproperoperationandsealing.
IMPORTANT
Usecarewheninstallingcartridgevalves.Slightbendingor
distortionofthestemtubecancausebindingandmalfunction.
Makesurethatthedeepwellsocketfullyengagesthevalvebase.
B.Lubricatethreadsoncartridgevalvewithcleanhydraulicoil.Thread
cartridgevalvecarefullyintocorrectmanifoldport.Thevalveshould
goineasilywithoutbinding.
C.Torquecartridgevalveusingadeepwellsockettospecicationshownin
manifoldillustration.
7.Forsolenoidvalve,installsolenoidcoilandO-rings(ifequipped)tothe
cartridgevalve.Torquenuttospecicationshowninmanifoldillustration.
8.Ifproblemsstillexist,removevalveandcleanagainorreplacevalve.
RotaryCartridgeValves
g345658
Figure90
1.Handlebase
7.Setscrew(2used)
2.Handlecap
8.Screw
3.Detentpin9.Lipseal
4.Compressionspring10.Sleevebearing
5.Bushing11.Flowcontrolvalve
6.Setscrew(2used)
1.Removerotaryhandle(manifoldshowninFigure89andFigure90):
A.Loosentwo(2)setscrewsthatsecurehandlecap.Removescrewand
thenlifthandlecapfromvalve.
B.Locateandretrievedetentpin,compressionspring,bushingandlipseal.
Thesleevebearingshouldstayinthecap.
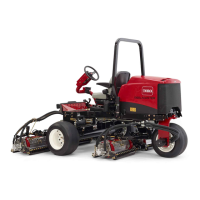
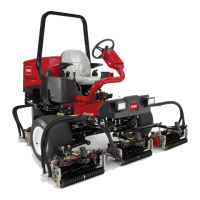
Reelmaster
®
3100-D/3105-D
Page5–115
HydraulicSystem:ServiceandRepairs
20252SLRevA

 Loading...


