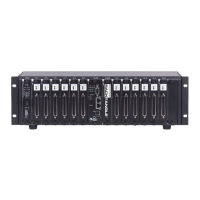
DNR-X-1G Series RACKtangle and HalfRACK Systems
Chapter 4 68
Installation and Configuration
October 2018 www.ueidaq.com
508.921.4600
© Copyright 2018
United Electronic Industries, Inc.
d. Slide and align retained large plastic spacer between lower and upper
boards.
e. From the bottom of the carrier, insert the retained Phillips screw (4-40 x
1 inch) through the carrier, small plastic spacer, lower PCB board, large
plastic spacer, and upper PCB board.
f. Check PCB board LEDs, RESET button, and sync port at the front of the
carrier: RESET button should be free to move.
g. Slide retained small plastic spacer on Phillips screw and install locknut.
h. Gently tighten with 1/4” locknut driver and Phillips screwdriver, taking
care not to over-tighten. Over-tightening can crack PCB boards.
STEP 7: Insert the DNR-CPU-1000/-XX module into the enclosure, being careful to align
the board with the top and bottom guides. Fully insert the module into the guides
and use the insertion lever to seat the board into the backplane connector.
STEP 8: Using the torque screwdriver set to 5 in-lb, screw in the thumbscrews until the
torque screwdriver clicks.
STEP 9: Power up the system by turning ON the power switch on the DNR-POWER-DC
module.
4.11.2 Re-enabling
NVRAM Writes
To re-enable writes to non-volatile memory, repeat the procedure in
Section 4.11.1 except remove the jumper in step 5 instead of installing it.
 Loading...