When verifying two sensors connected to one DTR, verify one sensor and then save or
print the certificate, as the results from the verification of the second sensor overwrites
the results of the first sensor. Check the sensor serial number on the certificate to see that
you have correct results on screen and refresh if needed.
More information
‣
Ethernet connection specification (page 227)
16.4 Corrective action
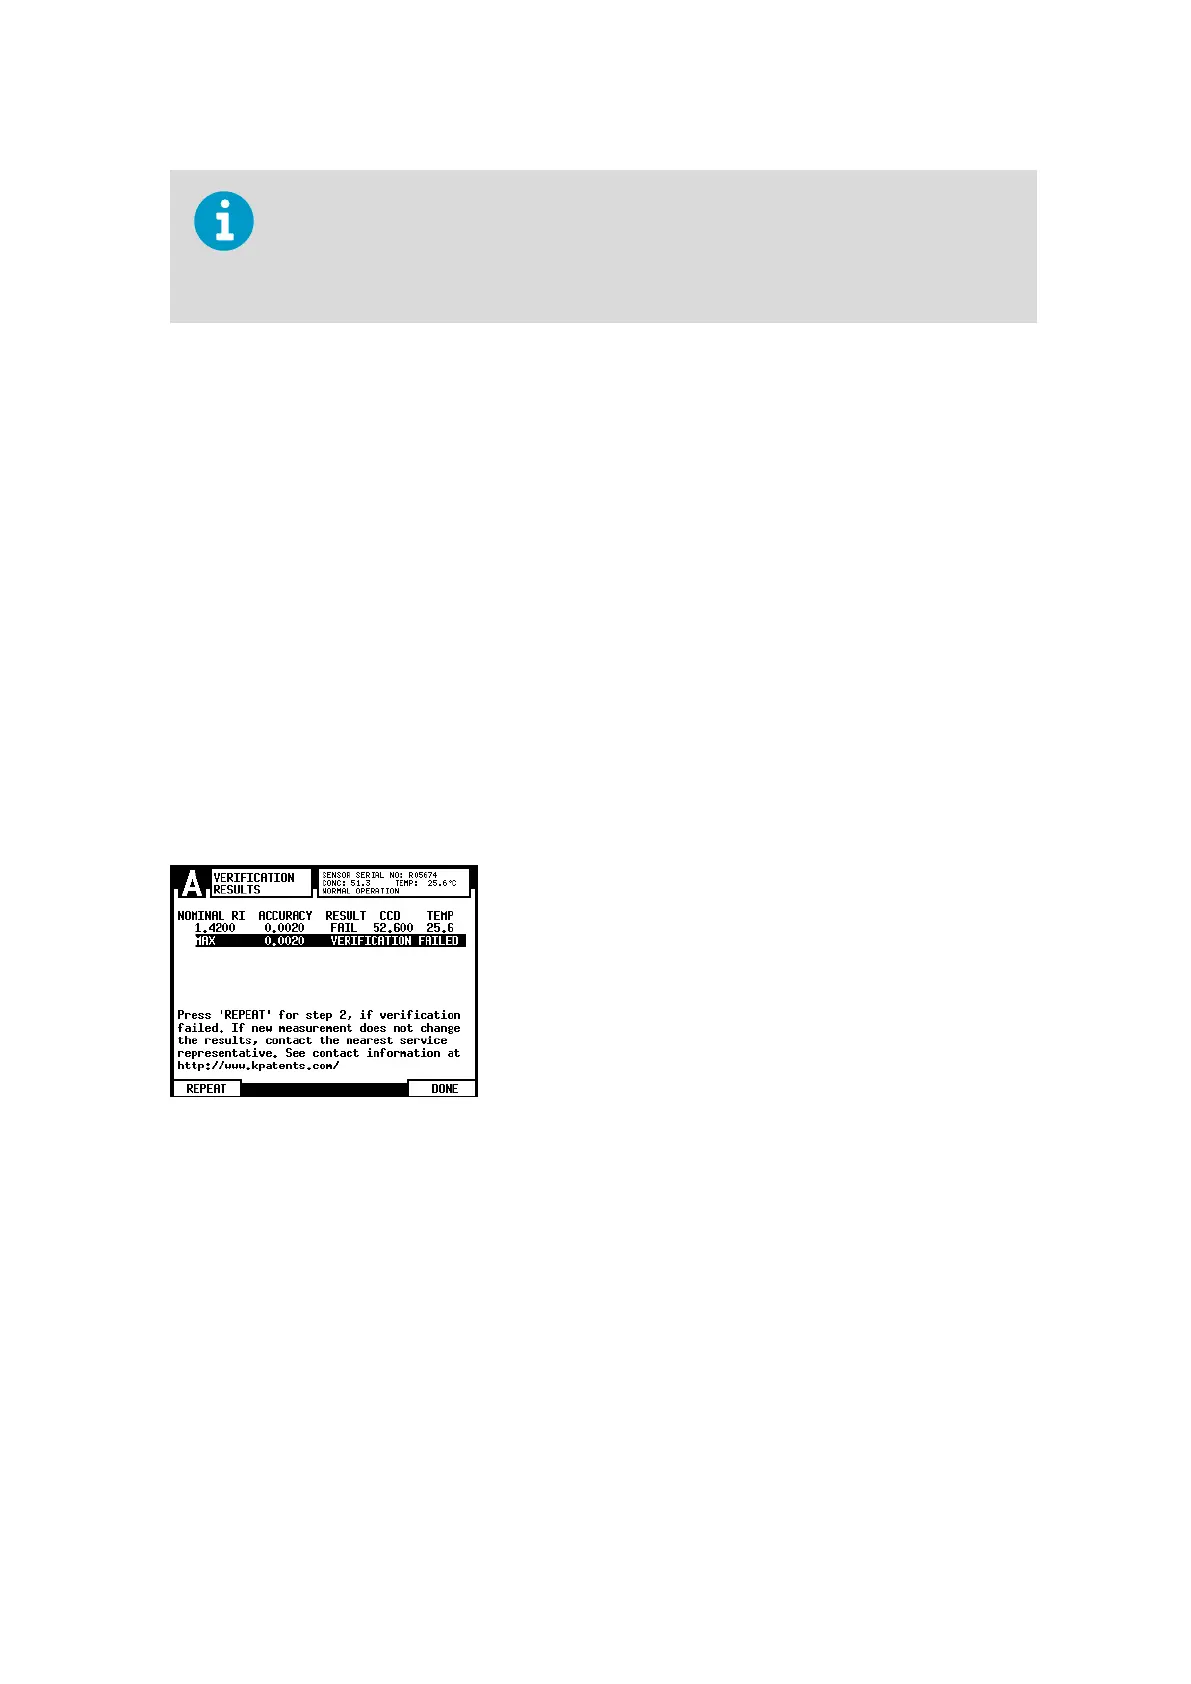
If you get the message VERIFICATION FAILED, see Figure 139 (page 249), check that the
prism and the sample holder are clean and the sample holder sits tightly on the sensor tip
before a standard liquid is applied. Make sure the standard liquids are in good condition and
not past their expiration date. Inspect the prism surface, make sure that it is smooth and
glossy without any scratches. Go back to Verification step 2 by pressing REPEAT to the
verification procedure.
The following are the most common reasons for verification failure:
• Insucient cleaning of the prism.
• Too old calibration liquids
• Bad temperature control (changing temperature)
Figure 139 Verification failed
If verification fails even when repeating the verification procedure, fill in the sensor
verification form (available in Appendix C) and send it to your nearest representative or
email the collected information to helpdesk@vaisala.com and wait for further instructions.
For the sensor verification form collect data from the Verification step 2 display and the
Verification results display. The sensor’s serial number is shown in the upper right corner of
each display. The measured n
D
(RI) is given when VERIFY is pressed in Verification step 2.
The list of CCD and TEMP values are on the verification results display, see the following
figure.
Chapter 16 – Sensor verification
249

 Loading...


