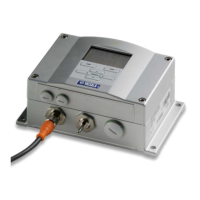
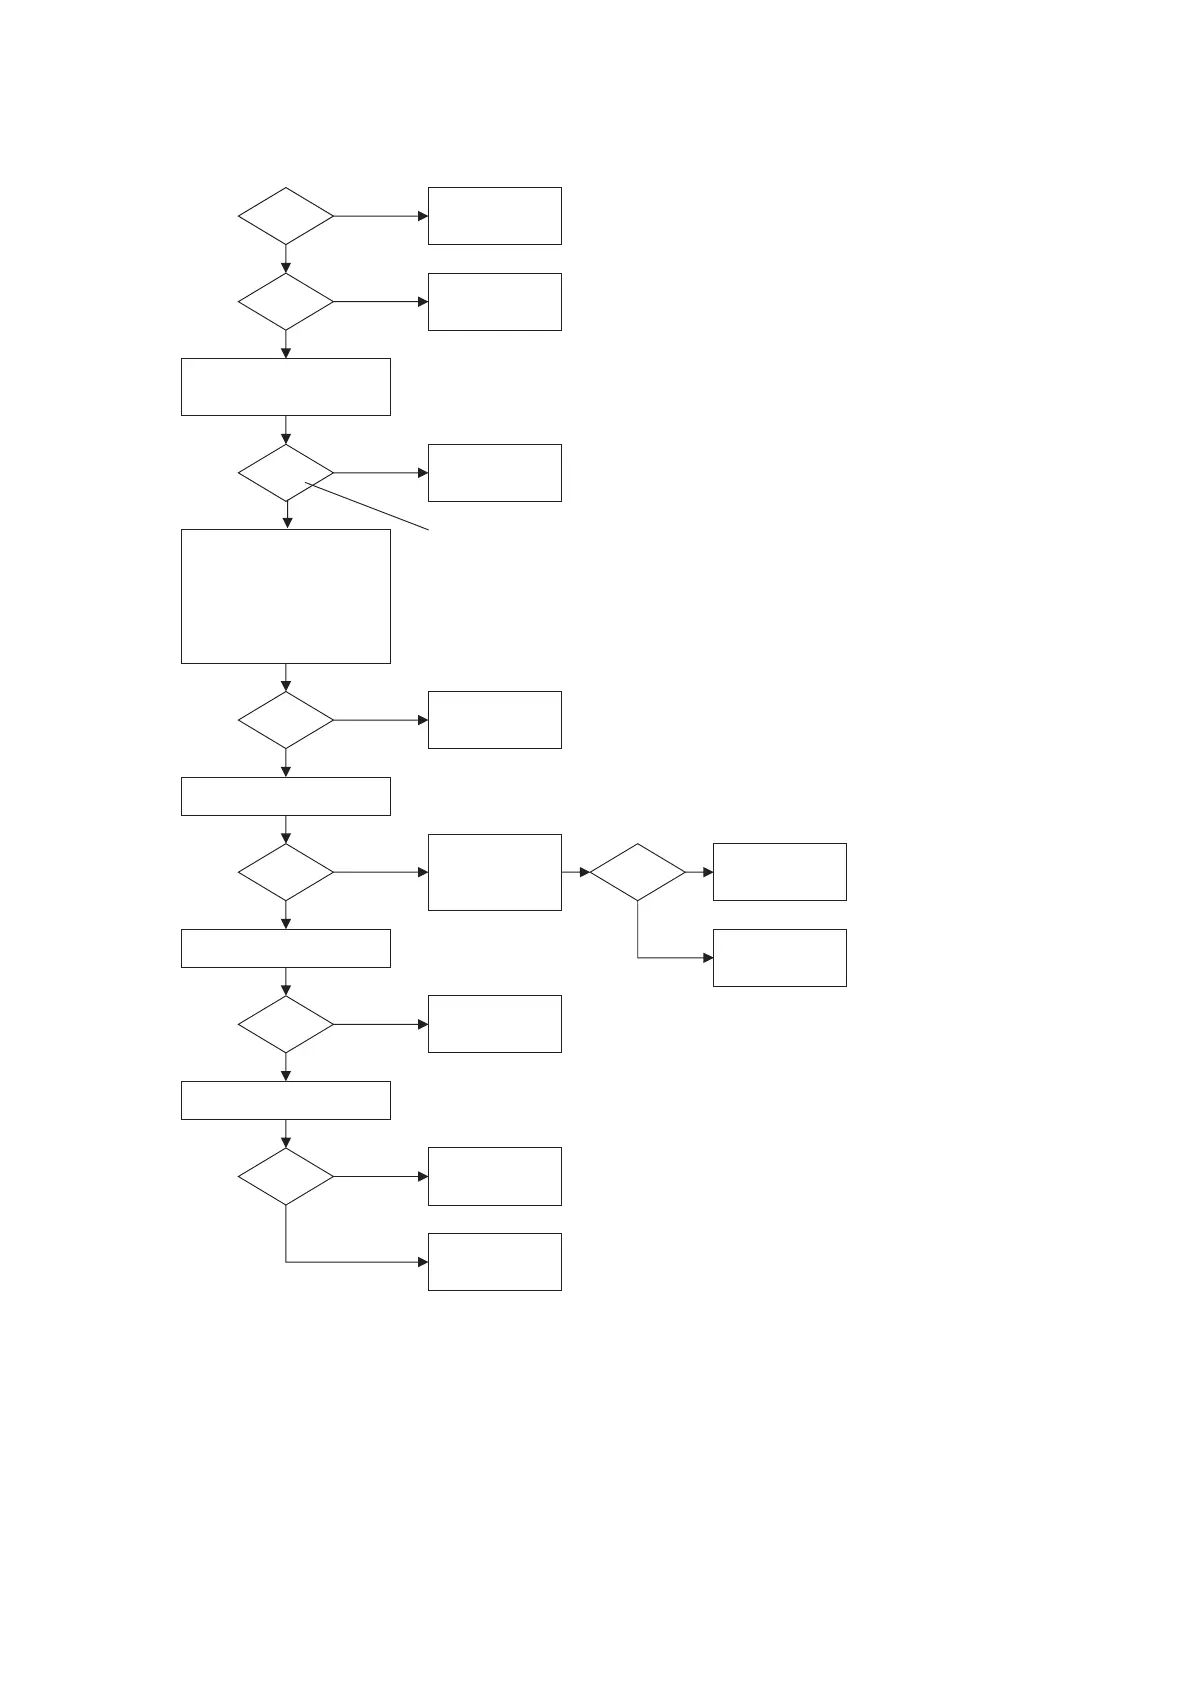
Power supply OK
Mains
OK?
Have it fixed
Disconnect +24 V from
motherboard PR-10600
Power supply
module bad
No
Yes
Yes
Yes
Yes
Yes
Yes
Yes
No
No
No
No
No
No
Reconnect +24 V to
Motherboard PR-10600;
Disconnect processor card
PR-10500 cable,
Remove H1 interface card
PR-10701 and (optional
extension card PR-108xx)
Motherboard
PR-10600 bad
Reconnect Processor card
PR-10500
Disconnect
keyboard,
display cable and
backlight cable
Processor card
PR-10500 bad
Front panel bad
Reconnect H1 interface
card PR-10701
H1 interface card
PR-10701 bad
Reconnect optional extension
card PR-108xx
Extension card
PR-108xx bad
Power supply OK
+24 V
OK?
+24 V
OK?
+24 V
OK?
+24 V
OK?
+24 V
OK?
+24 V
OK?
+24 V
OK?
No
Yes
Important safety considerations
-
Always switch off the mains before
disconnecting or reconnecting
cables, modules, and similar
-
Beware of the high voltage
terminals 34 and 35
Measuring instructions
-
Use a DMM (Digital Multimeter) to
measure the voltage
-
Measure the +24 V from terminals
41+/42- (except when otherwise
indicated)
-
The +24 V DC supply is OK if the
voltage is above 21 V
Measure the voltage
directly from the power
module leads (red & black)
9.1.2
 Loading...