WAGO-I/O-SYSTEM 750 Mounting 77
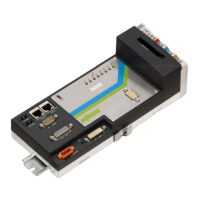
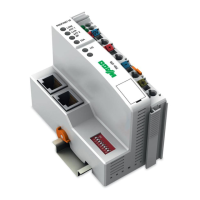
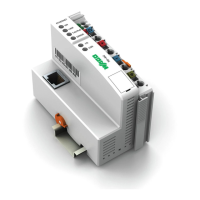
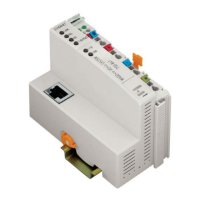
750-8208 PFC200 CS 2ETH RS CAN DPM
Manual
Version 1.1.0, valid from FW Version 02.06.20(09)
5.6 Inserting Devices
Perform work on devices only if they are de-energized!
Working on energized devices can damage them. Therefore, turn off the power
supply before working on the devices.
5.6.1 Inserting the Controller
1. When replacing the controller for an already available controller, position
the new controller so that the tongue and groove joints to the subsequent I/O
module are engaged.
2. Snap the controller onto the carrier rail.
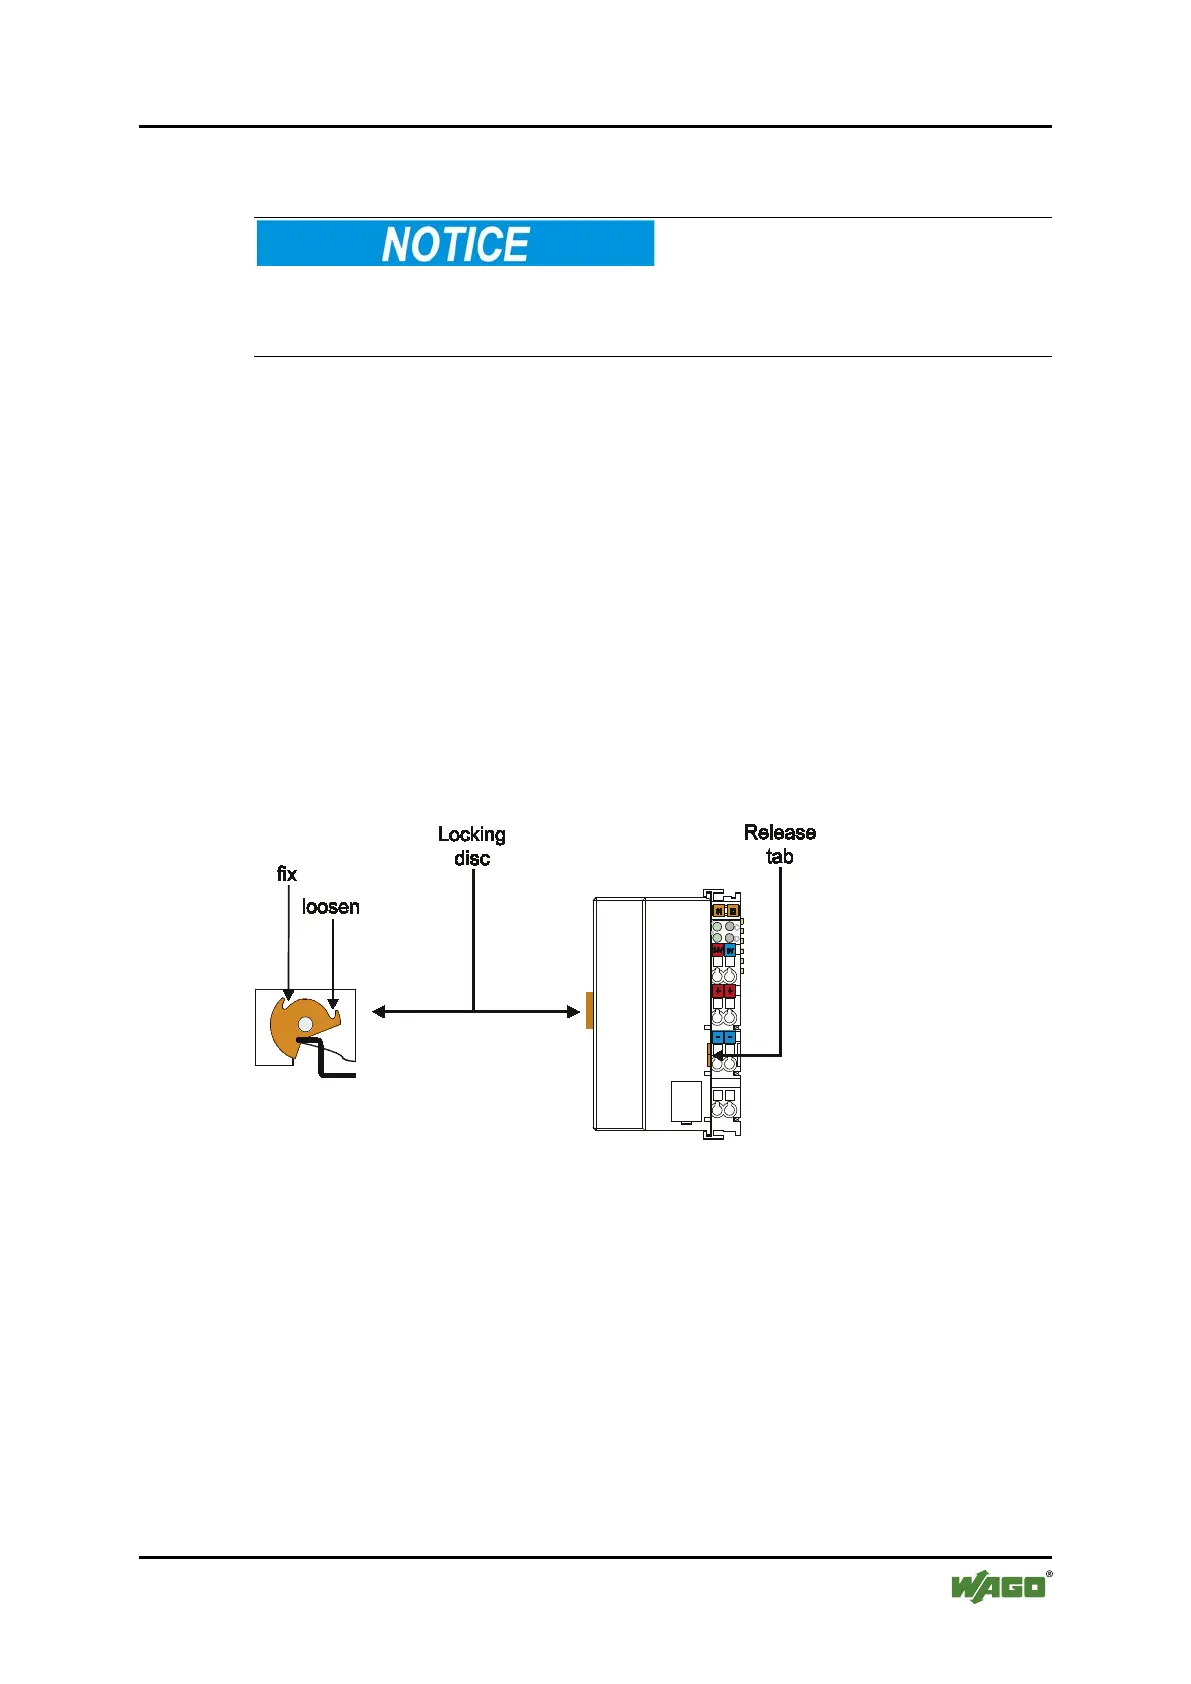
3. Use a screwdriver blade to turn the locking disc until the nose of the locking
disc engages behind the carrier rail (see the following figure). This prevents
the controller from canting on the carrier rail.
With the controller snapped in place, the electrical connections for the data
contacts and power contacts (if any) to the possible subsequent I/O module are
established.
Figure 25: Release Tab of Controller
 Loading...