03/2003
4-133
8850/ 510DP
REP 10.8
Repairs and Adjustments
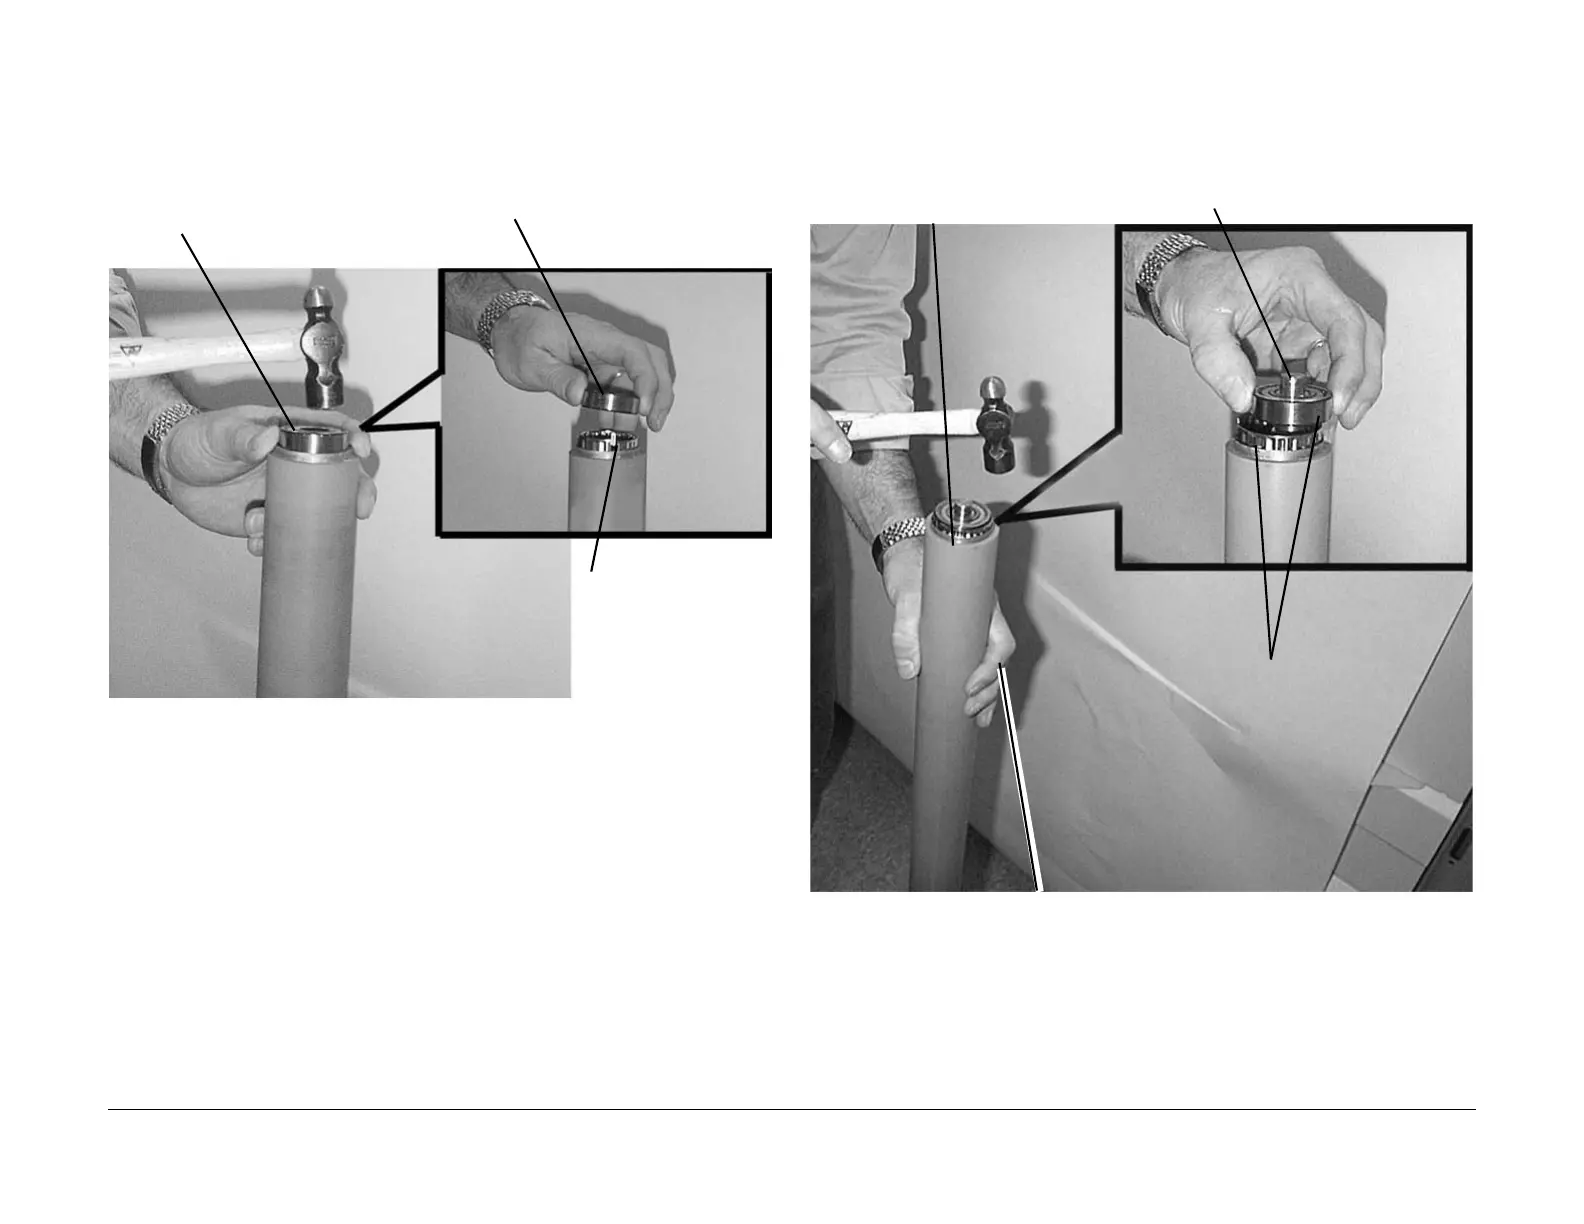
NOTE: If a block of wood or flat object is available to place over the Bearing, use it to seat
the Bearing
Figure 8 Installing the Bearing
2. (Figure 9): Install the second Bearing.
NOTE: If a 3/4 inch or 13 mm socket is available place it over the Shaft to tap the Bearing
in place.
Figure 9 Installing the Second Bearing
3. The replacement is the reverse of the removal.
1
Insert the TOL
Spacer Ring and
Bearing
2
Place the Bearing on the new
Pressure Roll
3
Lightly tap the Bearing evenly
around the circumference until
the Bearing is flush with the
edge of the tube
1
Align the Shaft with the hole
in the Bearing just installed
and install the Shaft
2
Insert the TOL
Spacer Ring and
Bearing
3
Support the Roll so that
the Shaft remains in the
bottom Bearing
 Loading...


