03/2003
6-24
8850/ 510DP
Installation Procedure
General Procedures
Install the Printer
1. (Figure 5): Prepare the Printer for installation.
Figure 5 Preparing the Printer for Installation
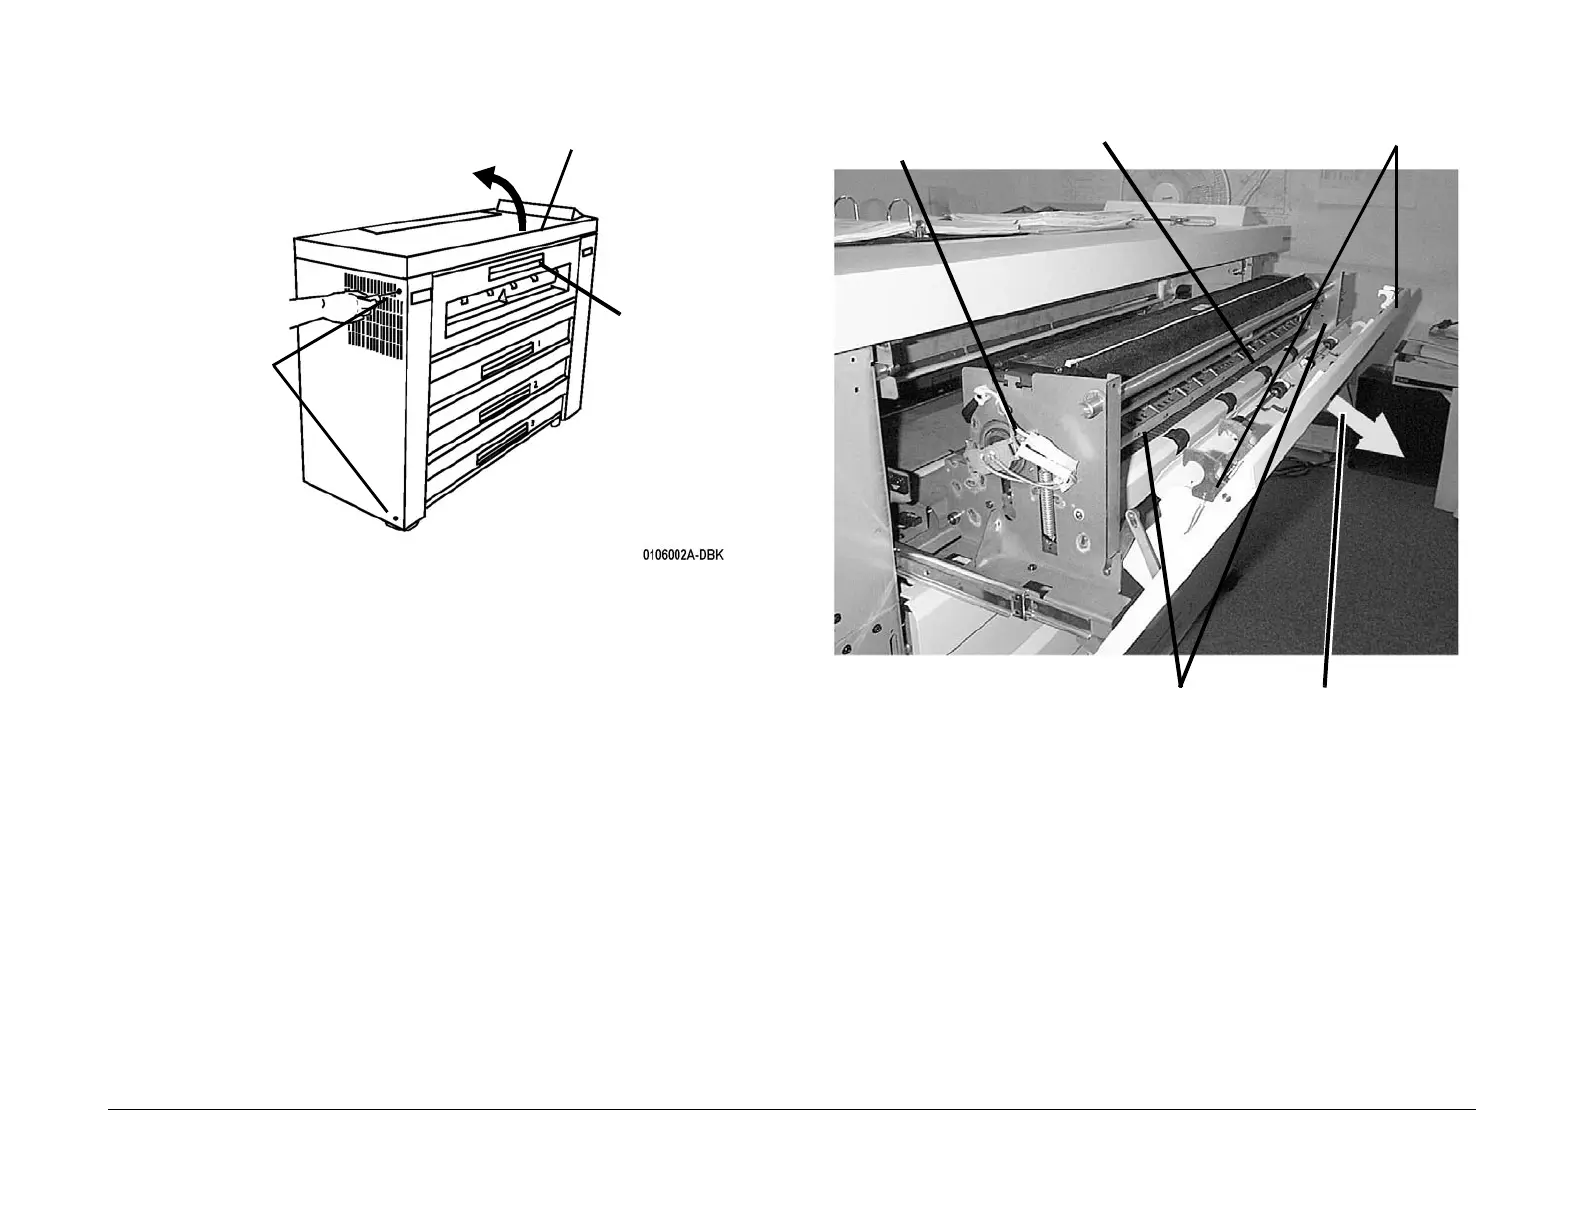
2. (Figure 6): Lower the Fuser Drawer Cover and remove the packaging.
Figure 6 Removing the Fuser Packaging
3. If the Heat Lamps are installed, close the Fuser Drawer Cover. Slide the Fuser Assembly
back into the Printer. Then continue with Step 5.
If the Heat Lamps are not installed, continue with Step 4.
NOTE: The Heat Lamps may not be in the Media Drawer. The Heat Lamps are being
shipped in the Heat Roll on SPS 510dp and newer version of 8850 Printers.
CAUTION
When handling the Fuser Heat Rods, body oils must never contact the glass. Use a sheet of
paper to support the glass during handling.
4. (Figure 7): Remove the Fuser Heat Rods from the Roll Media Supply Drawer 1. Refer the
(REP 10.1) Replacement and install the Heat Lamps. After installing the Lamps continue
with Step 5.
2
8850: Loosen two
locking screws and
open door slightly.
510dp: Release the
latch located on the
left side of the door to
open the door
3
Raise Top Cover until it
locks in service position
1
Remove all external
shipping tape
4
Unlatch and pull
open the Fuser
Drawer
1
Unlatch the Fuse
Drawer Cover
2
Lower the Fuser
Drawer Cover
Remove packing material
from the center of the
Stripper Finger Assembly
3
Remove foam from
both ends of the strip-
per finger assembly
5
Check that the Fuser
Heat Lamps are in
stalled.
 Loading...


