| Getting Started | 19
Port Name Description
①
USB
• Connect to a USB flash drive for storing screenshots, recording
videos or capturing packets. If multiple USB flash drives are
connected, only the latter one can be identified.
• Insert a PSTN box CPN10 for connecting to the PSTN (Public
Switched Telephone Network).
②
VC Hub/Phone
• If you want to use wired sharing to present, connect this port to
the Codec port on the VCH50 video conferencing hub.
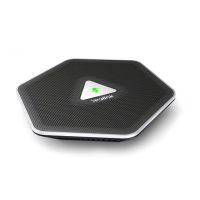
• If you need an audio device, connect this port to the Internet port
on the CP960 Conference phone.
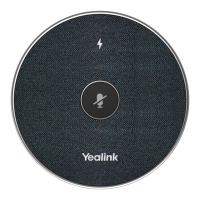
• Connect to VCM34.
③
Display Connect to a monitor.
④
Security Slot Allow you to connect a universal security cable to the codec, so
you can lock the codec down. The system cannot be removed when
locked.
⑤
Line Out Connect to an audio output device via an audio cable (3.5mm).
⑥
Internet
Connect to the PoE via the network cable.
Bottom of VC200 Codec
Port Name Description
⑦
VESA Fix VC200 to the TV stand or a tripod via a 1/4”-20 UNC screw.
⑧
Reset Key Reset the system to factory defaults.
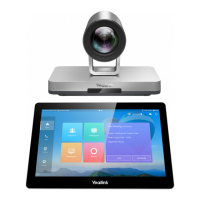
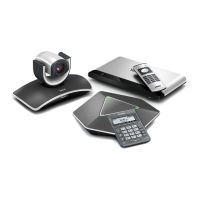
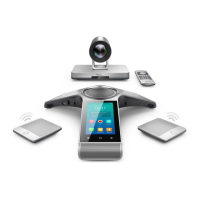
Hardware of VP59 Codec
You can use VP59 as a video phone on your desktop, you can also use it as a video conferencing device in a small
meeting room (20-30 square meters).
 Loading...