| Accessories with Your System | 207
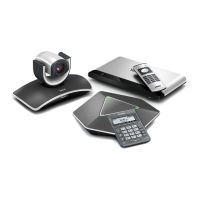
Accessories with Your System
This section describes the how to use the accessories. For more information on other accessories, refer to related
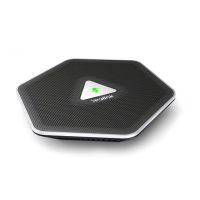
guide. VCC22 video conferencing cameras, CPW90-BT Bluetooth wireless microphones and VCM34 are not
applicable to VP59.
•
Using the VCC22 Video Conferencing Cameras
•
Using the CPW90-BT Bluetooth Wireless Microphones with VCS
•
Using CTP20
•
Using VCM34
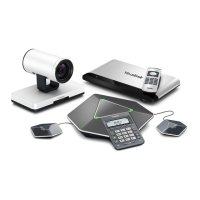
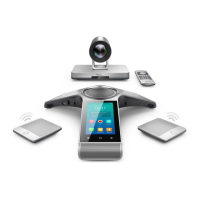
Using the VCC22 Video Conferencing Cameras
You can connect up to 9 VCC22 video conferencing cameras to the VC880/PVT980 video conferencing system.
For VC800 video conferencing system, you can connect up to 8 VCC22 video conferencing cameras. For more
information, refer to Yealink VCC22 Camera Quick Start Guide. VCC22 video conferencing cameras are not
applicable to VC500/VC200/PVT950/VP59.
•
Controlling VCC22 Camera
•
Configuring Multi-Camera Default Layout
•
Adjusting the Camera Layout During a Call
Controlling VCC22 Camera
When the system is idle, you can choose the desired camera to capture video images, and adjust the camera angle and
focal length.
Procedure
1.
Do one of the following:
• On your web user interface, go to Home > Camera Layout.
• On your remote control, press the right navigation key twice to go to the cameras list.
• On your CP960 conference phone, tap Camera > The current control camera.
• On your CTP20, tap Camera.
2.
Select the desired camera and then adjust the angle and the focus.
Configuring Multi-Camera Default Layout
During a call, if you connect VCC22, all the local video streams are synthesized to one video stream, and sent to the
far site. You can configure the default layout when you connect multiple cameras.
Procedure
1.
On your web user interface, go to Setting > Camera > Camera > Multi-camera Default Layout.
2.
Configure and save the following settings:
 Loading...