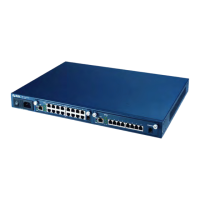
IES-2000/3000 User’s Guide
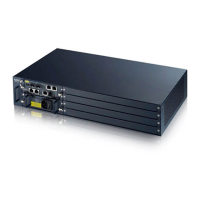
Installation and Configuration with the EEC1020 2-5
• Select the Ethernet Port 13 and Port 14 Trunk checkbox to activate trunking of the two uplink ports or
deselect the checkbox to deactivate trunking of the two uplink ports.
• To set the VDSL mode, select the desired mode from the
VDSL Mode drop-down list according to your
band plan. This
parameter governs all the VDSL ports on VLC1012.
• Click the
Apply button at the bottom of the page.
Step 2. To configure a VDSL port, go to the Port Setup page by clicking its link on the Home page. Click a
VDSL port (1 to 12) in the
Index column to go to the individual port setup page. On the individual port
setup page:
• Click the
Active checkbox to enable the port.
• Select the
Upstream and Downstream speed from the respective pull-down list.
• Leave the
Spanning Tree Protocol checkbox unchecked on a VDSL port.
• If your network requires tagged VLAN, fill in the
Default VLAN ID for the port.
If your network does not require tagged VLAN, the default port-based VLAN configuration should be sufficient
for the vast majority of cases and no modifications are necessary. The default port-based VLAN configuration
allows traffic from a subscriber to go to the uplinks only; no communication between subscribers is possible.
For tagged VLAN, the process is more involved. The configuration of the uplink MUST be the last step in the
configuration procedure, because once you change the settings, you will not be able to connect to the line card
with your computer, which is without tagged VLAN capability. If you wish, you can configure the VLAN
associated with the VDSL ports before the uplink ports, or you can do this over the network after the line card is
put into service.
Note that in a typical setup, each VDSL port is assigned a different VLAN ID (VID) to isolate the subscribers,
while the uplink port should be a member of every subscriber VID and the management VID.
Procedure:
Step 1. On the Home page, go to the Switch Setup page by clicking on its link. On the Switch Setup page,
change the VLAN type by selecting
802.1Q from the VLAN Type pull-down list and click the Apply
button at the bottom of the page. This operation takes about 10 seconds.
Step 2. To configure tag-based VLAN for the subscribers, click the VLAN Setup link in the Home page to go
to the
802.1Q VLAN Static Entry Setup page. Select an entry from the Index column (2 to 12) to go to
the individual VLAN setup page. Leave entry 1 intact and do not alter the
Management VLAN ID
textbox yet.
Step 3. On the Edit 802.1Q VLAN Static Entry page,
− Fill in the VID for the subscriber in the
VLAN ID textbox.
− Select a descriptive name for the subscriber and fill it in the
Name textbox.
− Click the
Active checkbox to activate this entry.
 Loading...