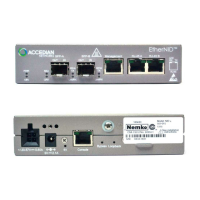
2: Hardware Installation
Rack mounting
To install the EtherNID in a standard 19” rack, attach the optional 1U rack mount bracket as shown.
An optional 1U bracket is available that can hold two units.
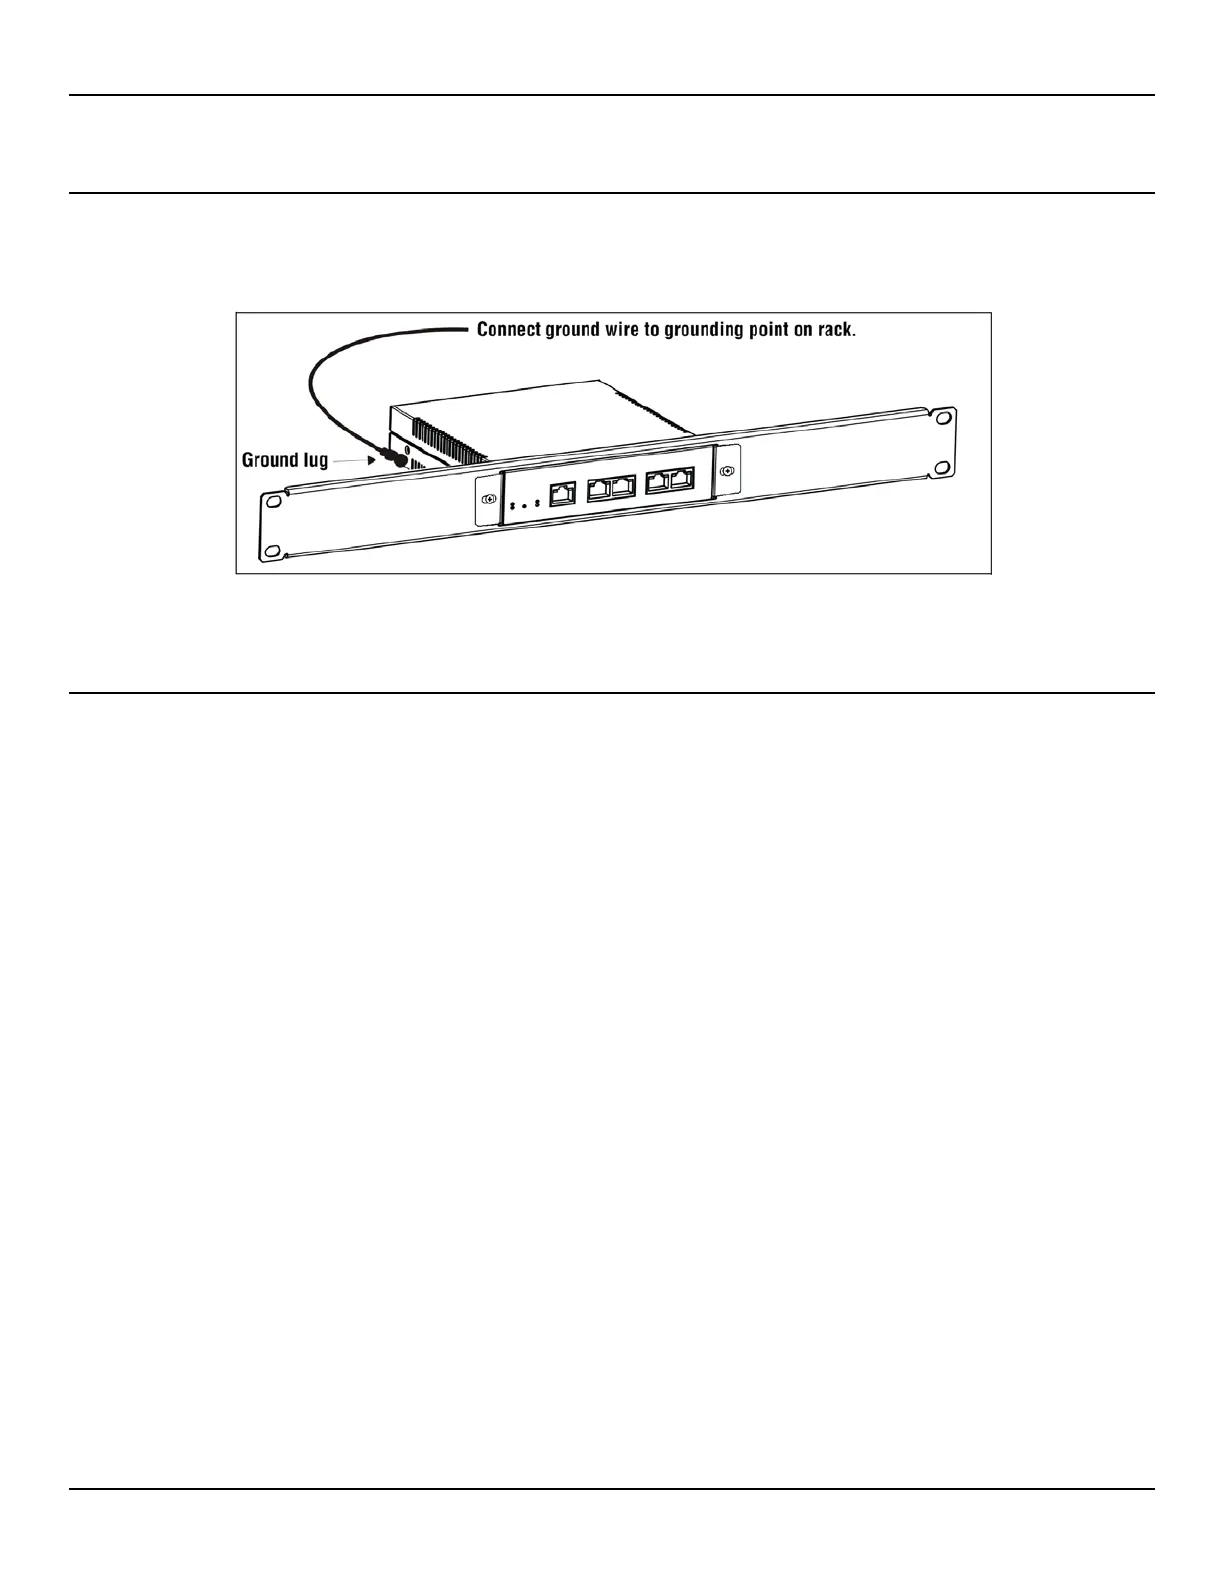
Grounding the EtherNID
Connect the EtherNID to a ground point on the rack as follows:
1. Turn OFF power to the unit. However, to channel ESD voltages to ground, do not unplug the power cable.
Remove all network interface cables.
Before proceeding to the next step, ensure that power is removed from the DC circuit. To ensure that all power is
OFF, locate the circuit breaker on the panel board that services the DC circuit, switch the circuit breaker to the
OFF position, and then tape the switch handle of the circuit breaker in the OFF position.
2. Strip one end of a 10-AWG wire to expose approximately 0.75 in. (20 mm).
3. Crimp the ground lug around the exposed wire.
4. Use a Phillips #2 screwdriver to fasten the ground lug to the bottom hole on the left side of the unit (towards the
rear) using a 4-40, 3/16 stainless steel screw with an oversized washer.
5. Connect the other end of the wire to a grounding point on the rack.