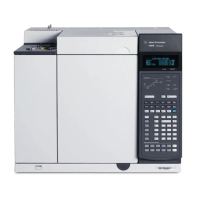
Agilent 7820 GC Service
195
To replace the cover, make certain that the slot in the brass
bushing (lower right corner) is vertical and that the bushing is
fully seated. Installation is then the reverse of removal.
The pneumatics top cover
The pneumatics cover protects the flow manifolds in the back top
of the GC.
1 Disconnect any vent tubing connected to the split and
septum purge vents.
Raise and remove the detector top cover.
Remove the screw on the left side of the pneumatics cover that
secures the cover to the GC.
Loosen the screw on the back of the GC that secures the
pneumatics cover to the GC.
Lift and remove the cover.
The electronics top cover
1 Raise or remove the detector top cover.
Remove the screw on the left side of the electronics cover.
Loosen the screw on the back of the electronics cover.
Remove the cover.
The right side cover
1 Remove one screw on the side of the right hand side panel.
Loosen one screw and remove one screw on the back of the
GC.
Slide the panel toward the back of the GC and lift off. Place the
tip of the driver in one of the top ventilation slots and push back.
The left side cover
1 Remove two screws on the side of the left hand side panel.
Remove one screw on the back of the GC.
The rear covers
The upper and lower rear covers are held by several screws
each, but all are visible from behind the GC. Note that some of
the screws are in slots rather than holes; these screws do not
need to be completely removed.

 Loading...


