Connect Power and I/O Cables
Connect the power cord and LAN, GPIB, or USB cable as desired. After you turn on the instrument (as described below),
the instrument will run a power-on self test and then display a message about how to obtain help, along with the
current IP address. It also displays the GPIB address (if applicable).
The instrument's default measurement function is DC Voltage (DCV), with autoranging enabled.
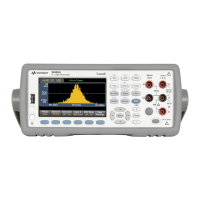
Power Switch
Press the power switch in the lower left corner of the front panel. If the instrument does not turn on, verify that the
power cord is firmly connected and that the fuse is good and the line voltage selector is set correctly, as described
above. Also make sure that the instrument is connected to an energized power source. If the LED below the power
switch is off, there is no AC mains power connected. If the LED is amber, the instrument is in standby mode with AC
mains power connected, and if it is green, the instrument is on.
In certain circumstances, the amber LED can come on even if the wrong line voltage is selected. In this
case, the instrument may not power on.
If the power-on self test fails, the display shows Error in the upper right corner. It also displays a message describing
the error. See SCPI Error Messages for information on error codes. See Service and Repair - Introduction for
instructions on returning the instrument for service.
To turn off the instrument, press and hold the power switch for about 500 ms. This prevents you from accidentally
turning off the instrument by brushing against the power switch.
If you turn off the instrument by disconnecting power (this is not recommended), the instrument will
turn on as soon as you re-apply power. You will not need to press the power switch.
12 Agilent Truevolt Series DMM Operating and Service Guide
 Loading...