Section 6 Correction Software
6-28
(5) Check the data displayed on the screen, and select the “OK” button in section [7],
or select the “Quit” button in section [8] to return to the “Initial Menu Screen,”
shown in Fig. 6-4, without performing measurement. When the “OK” button of
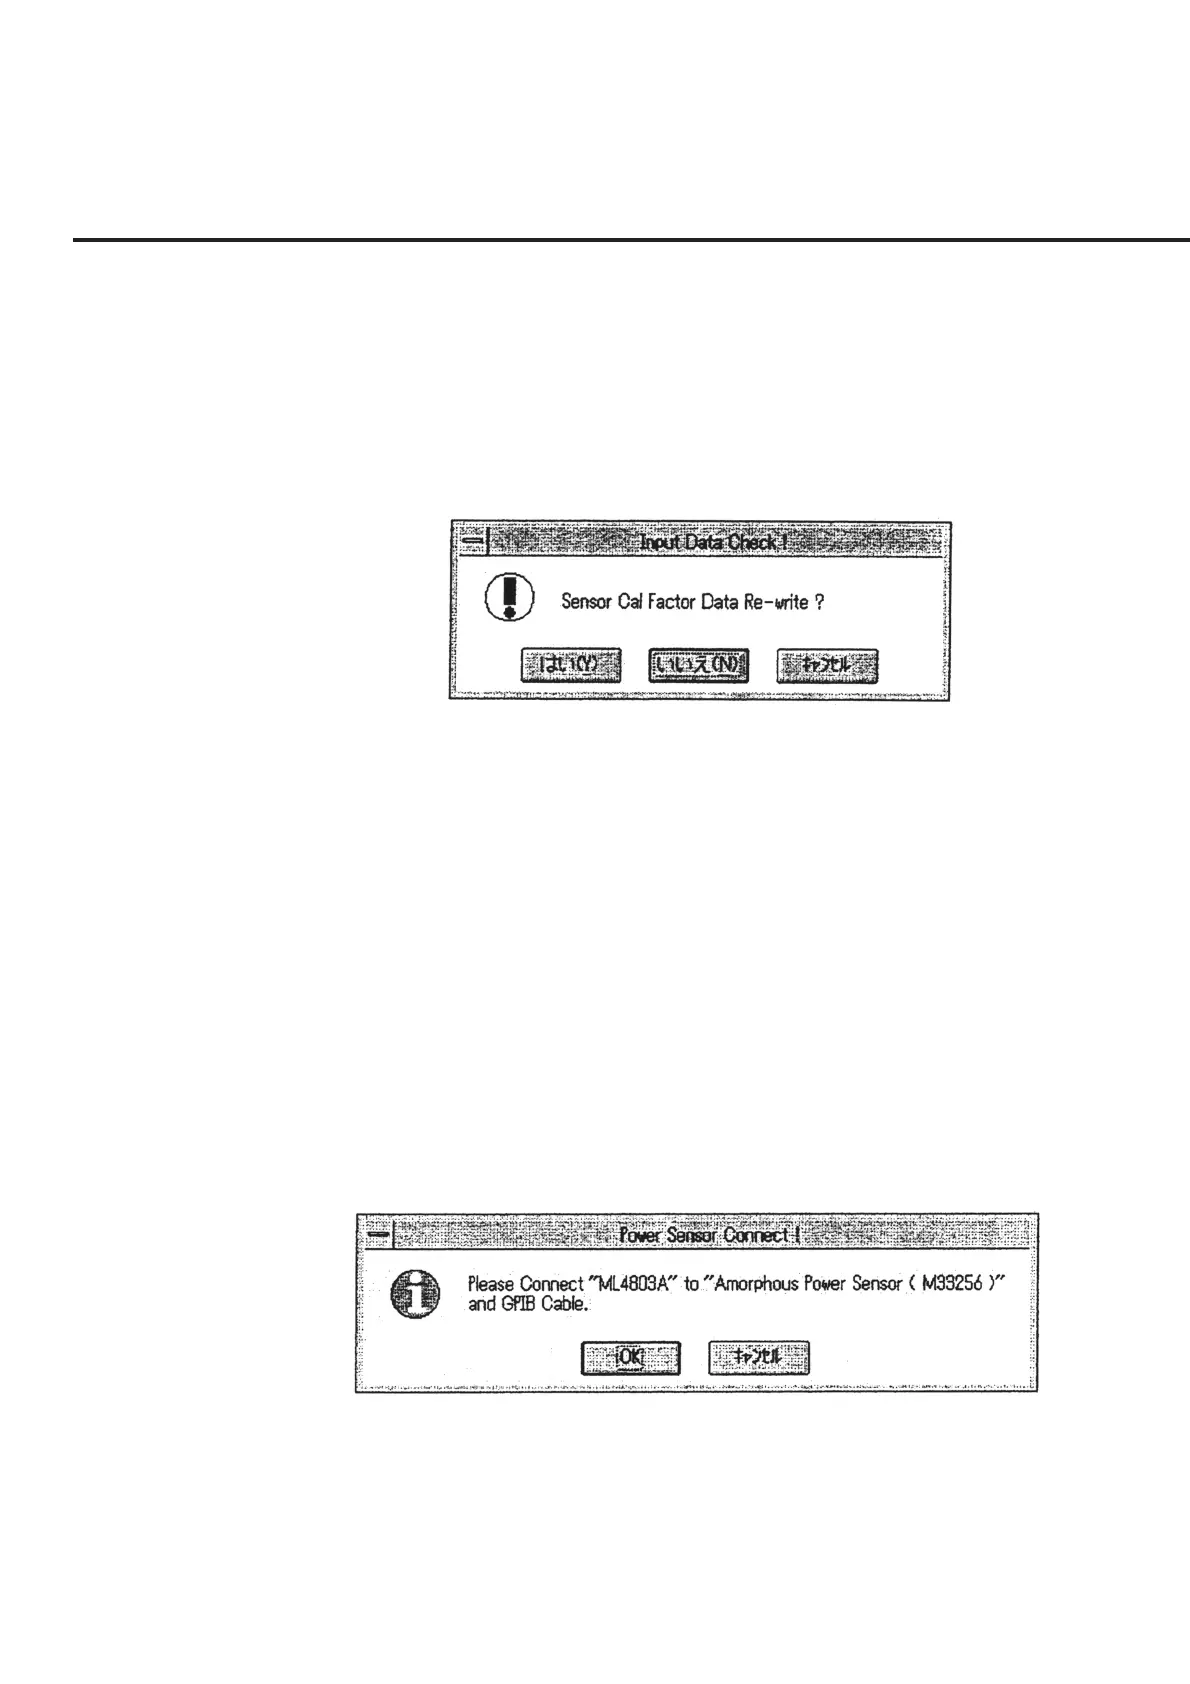
section [7] is selected after the serial number of the power sensor to be used or
any other data is modified, a message requesting confirmation of storage of the
modified information, as shown in Fig. 6-23, will be displayed. The section be-
low shows the procedures to follow upon selection of the buttons in this message
box.
Fig. 6-23 Message Requesting Confirmation of Storage of Modified In-
formation
“Yes” When this button is selected, the modified information will be stored
and used as the default value when this program is activated.
“NO” When this button is selected, modified information will not be stored.
However, the modified information will be applied until this pro-
gram ends.
“Cancel” When this button is selected, the screen returns to the “Power Sensor
Cal Factor Input Screen” shown in Fig. 6-22.
(6) When the measurement is resumed, a message requesting confirmation of the
power sensor connection as shown in Fig. 6-24 is displayed together with the
serial number. Check the connection between the power meter and the specified
power sensor, and click the “OK” button. Selecting the “Cancel” button causes
the screen to return to the “Initial Menu Screen” shown in Fig. 6-4.
Fig. 6-24 Power Sensor Connection Confirmation Message