5-15
3. Use the power cord to connect the EUT to the auxiliary power output connector of the safety analyzer.
4. Power on the safety analyzer. Press 6-Patient leakage on the panel.
5. Press the APPLIED PART button repeatedly to select AC and DC measurement. When DC is selected, the "DC" text
is displayed next to the limit.
6. Check that the patient leakage current is not greater than 10 µA in normal condition and is not greater than 50 µA
in single fault condition.
5.6.4 Patient Auxiliary Current Test
1. Connect the safety analyzer to a 264 V AC 60 Hz power supply.
2. Use the power cord to connect the EUT to the auxiliary power output connector of the safety analyzer.
3. Connect one patient of the EUT to the RA terminal of the safety analyzer and all the other patients to the LA
terminal of the safety analyzer.
4. Power on the safety analyzer. Press 8-Patient Auxiliary Current Test on the panel to access the interface for
thepatient auxiliary current test.
5. Press the APPLIED PART button repeatedly to select AC and DC measurement. When DC is selected, the "DC" text
is displayed next to the limit.
6. Check that the patient auxiliary current is not greater than 10 µA in normal condition and is not greater than 50 µA
in single fault condition.
5.7 Network Print Test
HP LaserJet Pro M202dw laser printer is recommended for this monitor.
Tools required:
Hub and network cable
5.7.1 Equipment Connection and Setup
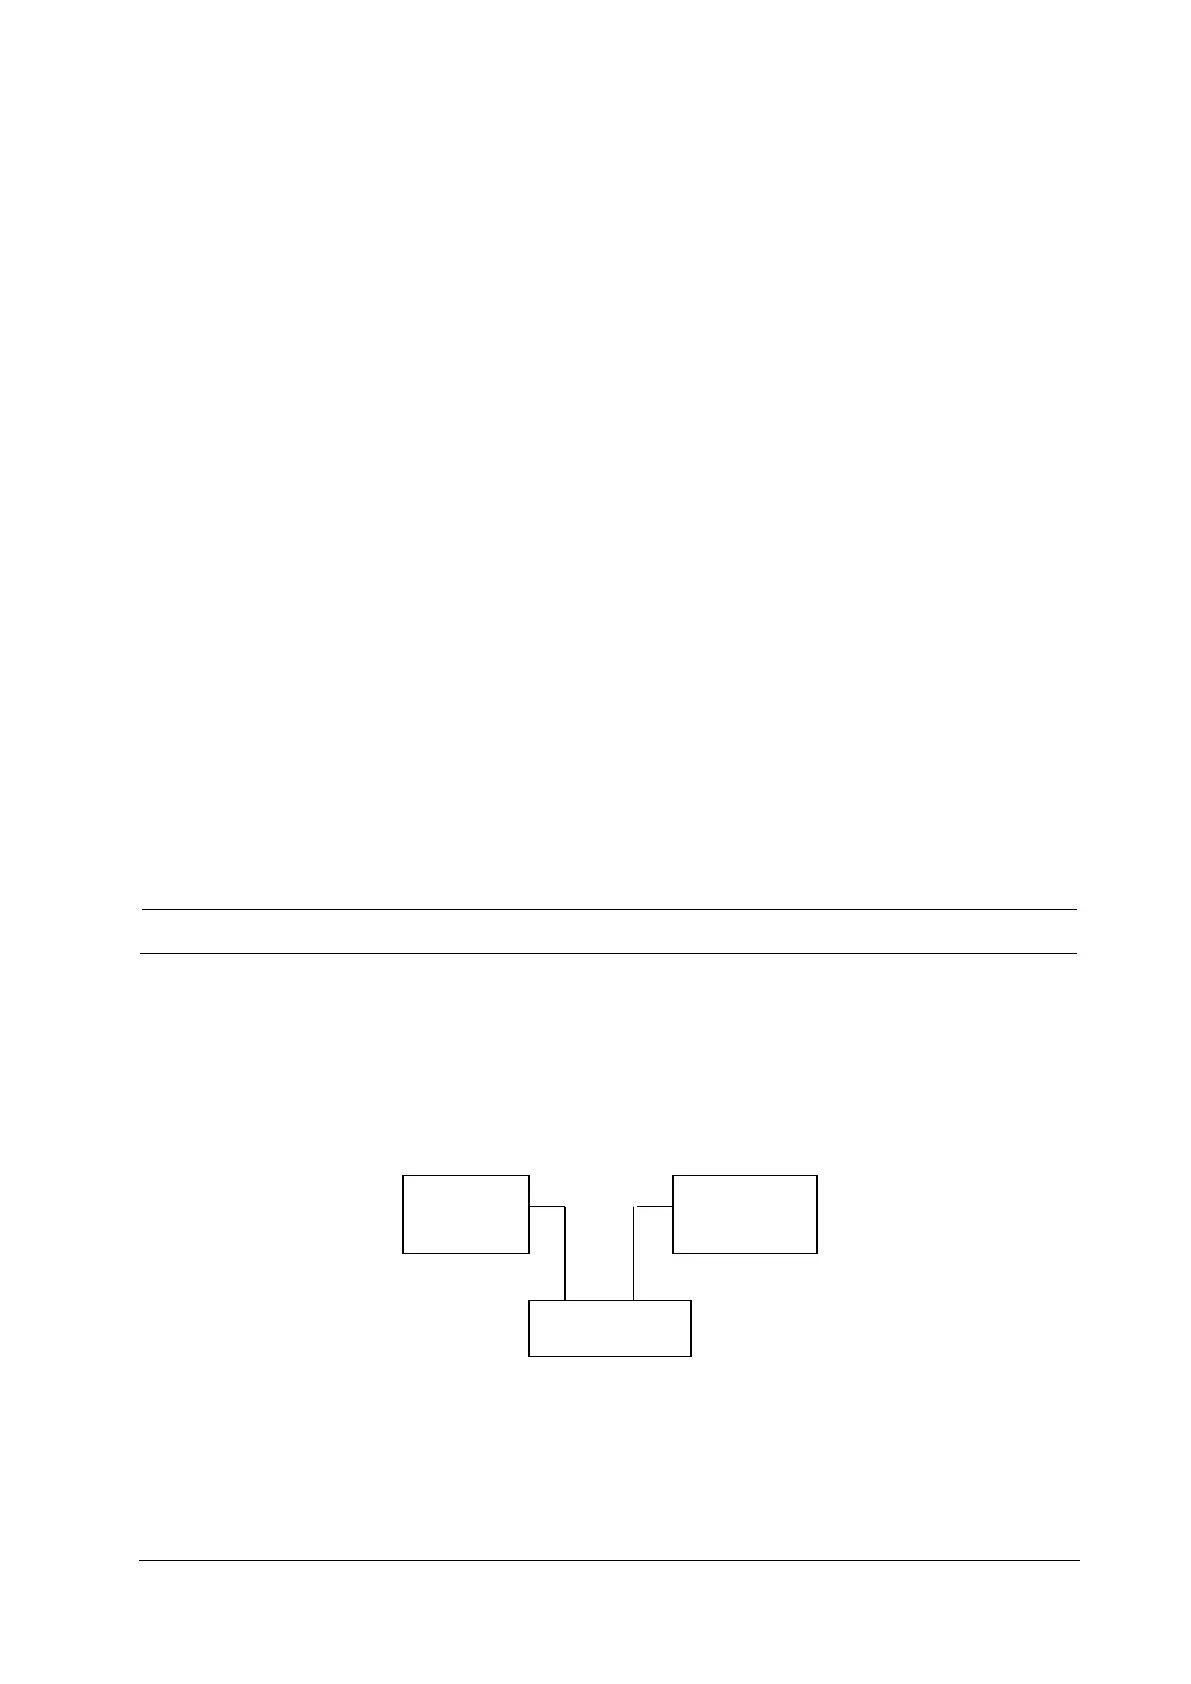
1 Connect the monitor and network printer to a HUB using common network cables as follows:
2 Set the IP address:
Combination 1: N1+Dock
1) Use current Dock net setting: Select Main Menu→Maintenance→User Maintenance→ enter the password →Dock
Setup. Set Net Setting Type to Use current Dock net setting. Select the IP setup tab, and set the IP address of the
Monitor
Network
printer
HUB
Network cable Network cable