Managing the System
Disk Management
Cisco Small Business NSS 322, NSS 324, and NSS 326 Smart Storage Administration Guide 110
3
To expand the capacity of a disk volume:
CAUTION
Do not turn off power to the NAS during this process.
STEP 1
Choose
Disk Management > RAID Management
from the Navigation menu. The
RAID Management
window opens.
STEP 2
Click on the volume that you wa nt to expand.
STEP 3
Click
Expand Capacity
. The
Exp and ca p a c ity
window opens.
STEP 4
On the drive that you want to expand capacity, click
Change
.
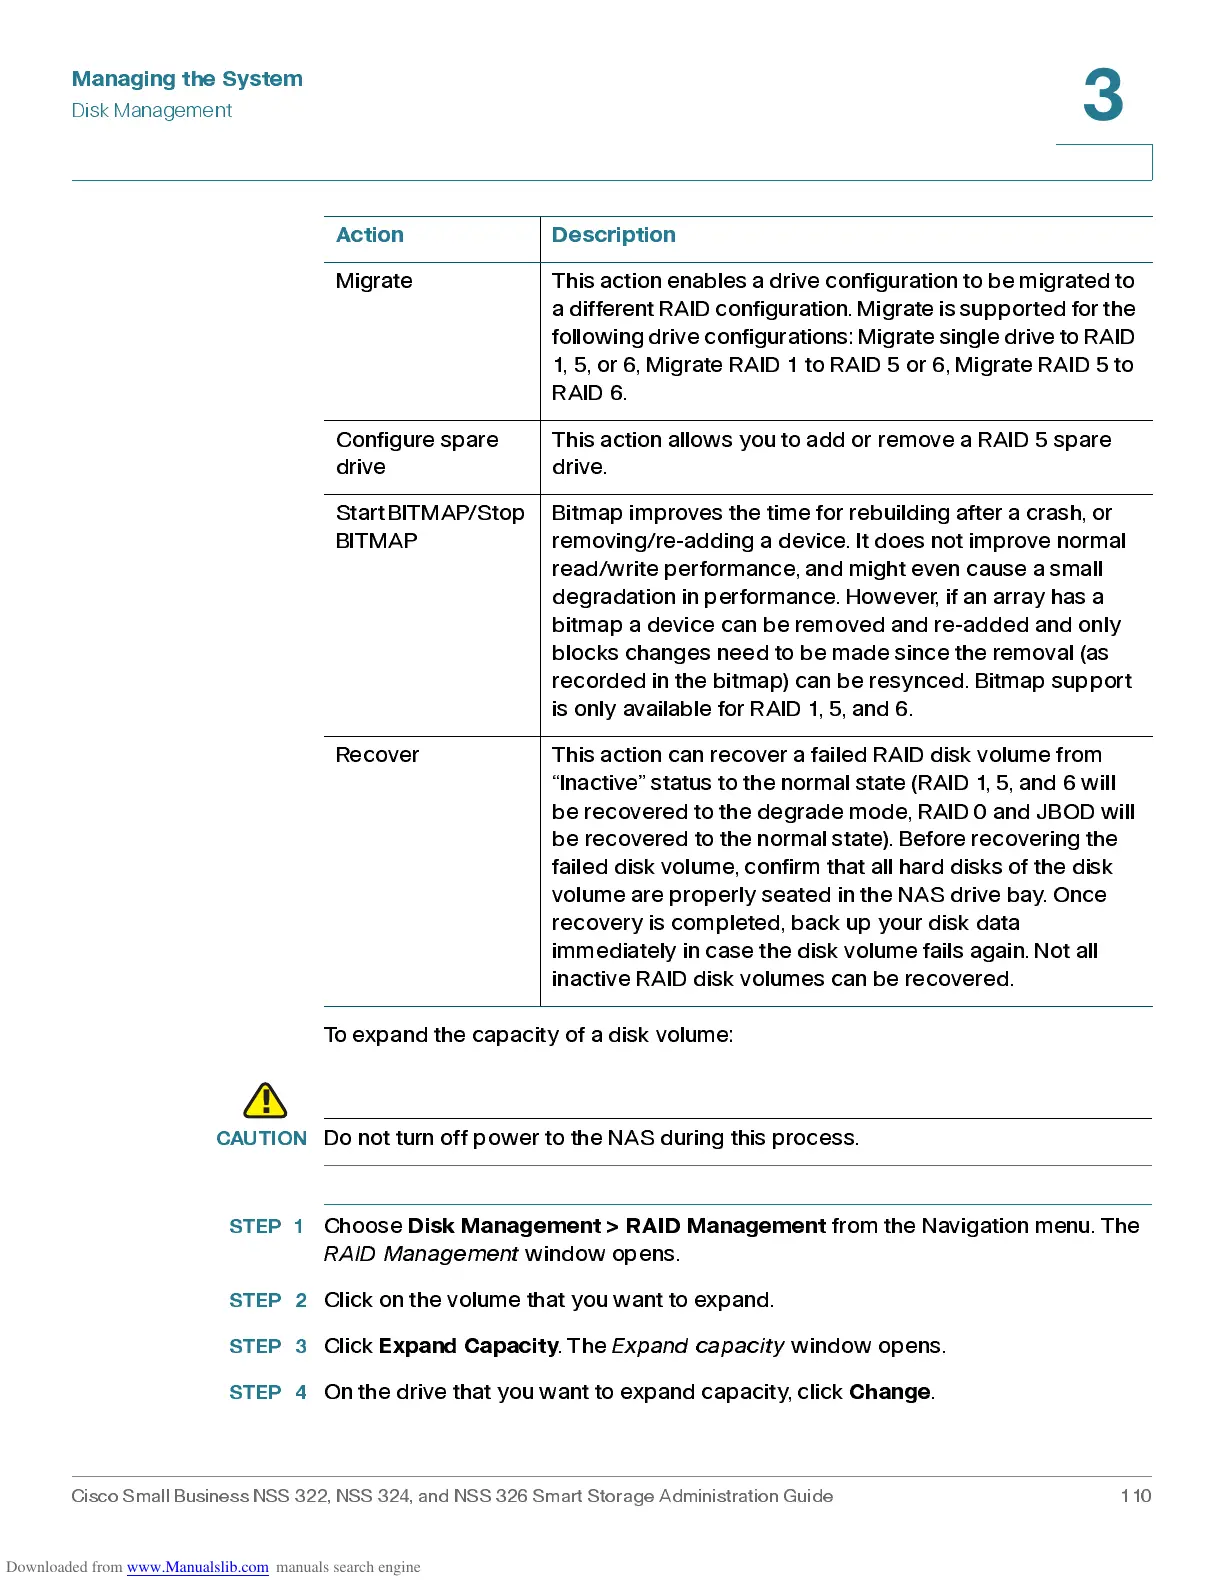
Mi g ra te This act i o n e n ab l e s a d ri v e co nfig ur a t i o n t o be migra t ed to
a differ ent RAID conf iguration. Migrat e is supported f or the
f ollowing drive configurations: Mi grat e single dri ve t o RAID
1, 5, or 6, M igrate R AID 1 to RA ID 5 or 6, Migr ate RA ID 5 to
RAID 6.
Configure spare
drive
This action allows you to add or remove a RAID 5 spare
drive.
Start BITMAP/Stop
BITMAP
Bitmap improves the time for rebuilding after a cras h, or
removing/re-adding a device. It does not improve normal
read/write performance, and might even cause a small
degra dation in performan ce. How ever, if an array has a
bitmap a device can be removed and re-added and only
blocks changes need to be made since the removal (as
recorded in the bitmap) can be resynced. Bitmap support
is only available for RAID 1, 5, and 6.
Recover This action can recover a failed RAID disk volume from
“Inactive” status to the normal state (RAID 1, 5, and 6 will
be recovered to the degrade mode, RAID 0 and JBOD will
be recovered to the normal state). Before recovering the
failed disk volume, confirm that all hard disks of the disk
volume are properly seated in the NAS drive bay. Once
recovery is completed, back up your disk data
immediately in case the disk volume fails again. Not all
inactive RAID disk volumes can be recovered.
Action Description