Managing the System
Applications
Cisco Small Business NSS 322, NSS 324, and NSS 326 Smart Storage Administration Guide 151
3
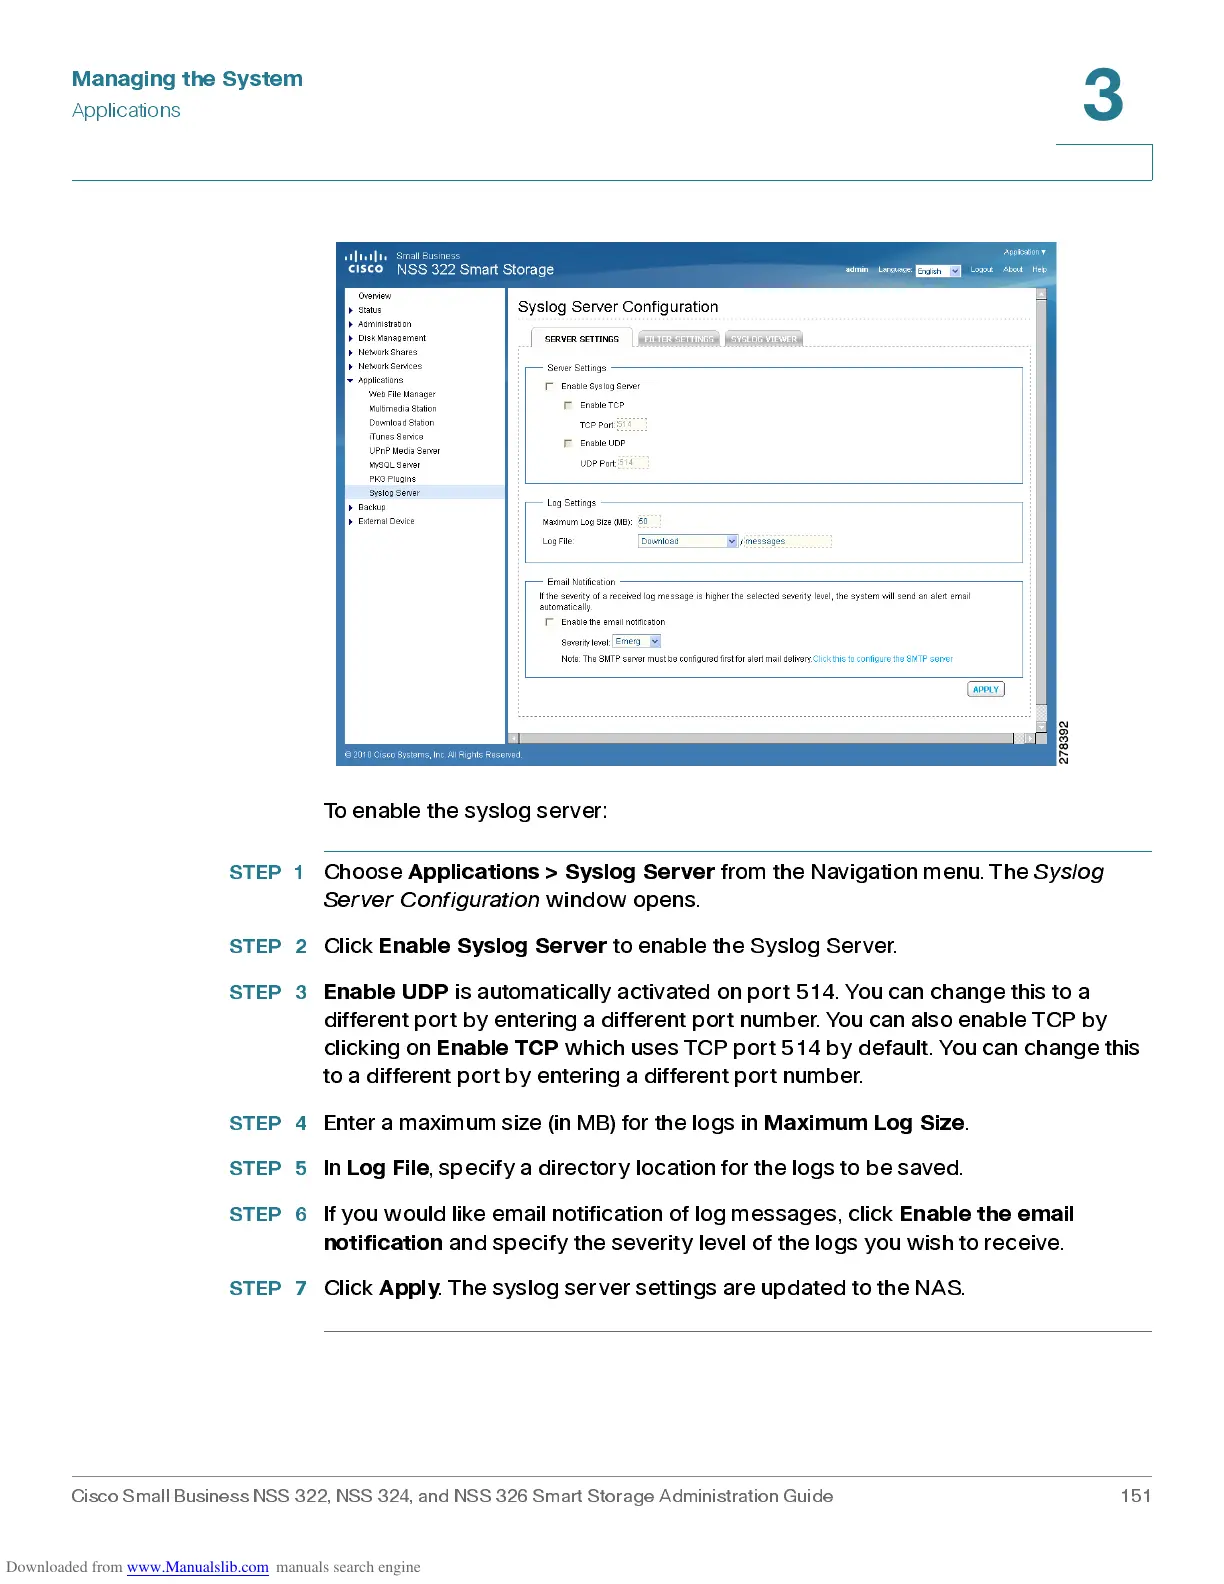
To enable the syslog server:
STEP 1
Choose
Applications > Syslog Ser ver
from the Navigation menu. The
Syslog
Serve r C o nfig urat io n
window opens.
STEP 2
Click
Enab le Sys lo g S erver
to enable the Sy slog S erver.
STEP 3
Enab le UDP
is automatically activated on port 514. You can change this to a
different por t by entering a different por t num b er. You can als o enable TC P by
clicking on
Enable TCP
which uses TCP port 514 by default. You can change this
to a different port by entering a different por t num b er.
STEP 4
Enter a maximum size (in MB) for the logs in
Maximum Log Size
.
STEP 5
In
Log File
, specify a directory location for the logs to be saved.
STEP 6
If you would like email notification of log m ess age s , click
Enable the email
notification
and sp ecif y the sev erit y level of the logs you wis h to rec eive.
STEP 7
Click
Apply
. The syslog server settings are updated to the NAS.