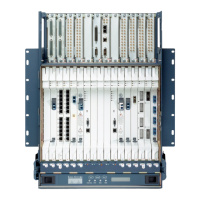
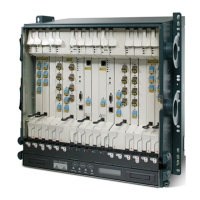
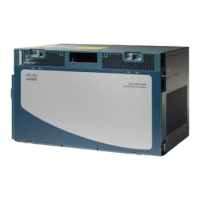
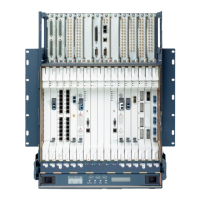
Remove the temporary door by removing the tape on top of the door.
• NTP-G259 Open and Remove the Standard Door of the ONS 15454 M6 Shelf
, on page 327
• DLP-G576 Open the Standard Door of the ONS 15454 M6 Shelf , on page
328
• Connect the chassis to the office ground. For detailed instructions on how to
ground the chassis, see the Electrostatic Discharge and Grounding Guide for
Cisco CPT and Cisco ONS Platforms.
• NTP-G253 Install the ECU or ECU-S Module, on page 349
• NTP-G524 Install the Power Modules in the ONS 15454 M6 Shelf , on page
355
• NTP-G255 Install the LCD Module in the ONS 15454 M6 Shelf, on page 366
• NTP-G256 Install Power and Ground to the ONS 15454 M6 Shelf , on page
370
• NTP-G257 Install the Fan-Tray Assembly in the ONS 15454 M6 Shelf, on
page 388
• NTP-G290 Install the Cable and Fiber Modules, on page 391
• NTP-G312 Attach Wires to Alarm, Timing, LAN, and Craft Pin Connections
in Cisco ONS 15454 M6, on page 397
Prerequisite
Procedures
As neededRequired/As Needed
OnsiteOnsite/Remote
NoneSecurity Level
Use the deep-front panel when ONS-SC+-10G-C pluggables are installed on ONS 15454 M6 shelf.
Note
When the deep front-panel is installed, the total chassis depth is 12.9 inches. The deep front-panel extends
from the rack by 1.8 inches.
Note
The deep-front panel does not have a hinge and cannot be rotated like a standard door. Rotating the deep-front
panel can damage the deep-front panel, shelf hinges, other devices and cables placed below the ONS 15454
M6 shelf.
Caution
Procedure
Step 1 Connect the ground strap cable to the shelf:
a) Loosen and remove the ground nut from the shelf.
b) Insert the lug of the ground strap cable and tighten the nut on the shelf to a torque value of 11.5 in-lb (1.3
N-m). See the following figure.
Cisco ONS 15454 Hardware Installation Guide
333
Installing the ONS 15454 M6 Shelf
NTP-G327 Install the Deep-Front Panel of the ONS 15454 M6 Shelf
 Loading...


