Configuration with the web interface
6-18 Chapter 6: Configuration 99-145912-A
To navigate the web interface
• To expand a menu, click the menu in the navigation pane.
• To access status and settings, click the relevant subject in the
navigation pane or click the relevant icon in the icon bar. The status
or settings are displayed in the contents section.
• To get an overview over the submenus available, click SITE
MAP in the navigation pane. Click on items in the site map to go
directly to the relevant location.
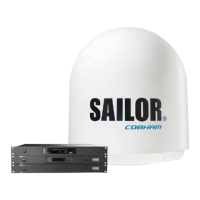
To connect a PC
To connect a PC to the ACU do as follows:
1. Connect a PC to LAN interface 3 (Service port, standard Ethernet)
of the ACU or to the front LAN connector of the ACU.
If you want to use another LAN port to access the web interface you
must configure it according to your network requirements. See To
configure the LAN network on page 6-24 for more information.
2. Open your Internet browser and enter the IP address of the ACU
(Default IP address: http://192.168.0.1).
Icon Explanation
An event is active. Click the icon to see a list of active
events. For explanations of the event messages, see Event
messages – overview on page C-1. Note that this icon will
remain in the icon bar as long as the event is active.
Table 6-6: Web interface: Event icon
You can give access to some configuration settings for users
that are not administrators. For information see To set up user
permissions (guest login) on page 6-34.
 Loading...