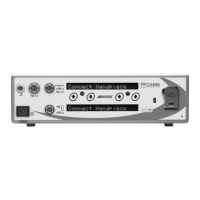
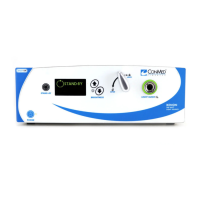
CONTROLLER
OPERATION
46
A
2.1.3.11 Switch 6 (Bottom Row Only) -
Special Handpiece Operating
Mode Selection (
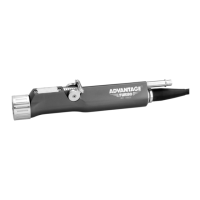
PowerPro
Two-Trigger Handpiece Only)
NOTES:
1. This description for switch 6 applies to
the Power
Pro controller and the bottom
portion only (Port 3) of the Advantage
controller. It works in conjunction with
switch 3.
2. To maintain the original electrical
handpiece operation, place switch 6 of
the Power
Pro controller and the bottom
portion only (Port 3) of the Advantage
controller to the “OFF” position.
This selection allows the user to switch
the functionality of the Power
Pro
Electric Two-Trigger Handpiece
(PRO2200E) to function like either the
Power
Pro PRO5200 or PRO5250 Battery
Handpiece (Reference the associated Power
Pro
handpiece instruction manual on handpiece
operation).
1. To set the controller to operate the
Power
Pro Two-Trigger Electric handpiece
like the Power
Pro PRO5200 Battery
Handpiece, place switch 6 to the “ON
position, and switch 3 to the “OFF” position
of the Power
Pro controller or bottom
portion only of the Advantage controller.
2. To set the controller to operate the
Power
Pro Two-Trigger Electric handpiece
like the Power
Pro PRO5250 Battery
Handpiece, place switch 6 to the “ON”
position, and switch 3 to the “ON” position
of the Power
Pro controller or bottom
portion only of the Advantage controller.
2.1.3.12 Switch 7 - Shaver Button
Setting
NOTES:
1. The description for this switch applies to
the E9000 controller and the top portion
only of the Advantage controller.
2. This option applies only to the MC9828,
C9824, C9828, D9824, and D9924
handpieces.
This switch is used to enable or disable all
handpiece buttons.
1. To enable the buttons on these handpieces,
place switch 7 to the “OFF” position.
2. To disable the buttons on these handpieces,
place switch 7 to the “ON” position.