Click the Apply button to accept the changes made for each individual section.
DHCPv6 Relay Settings
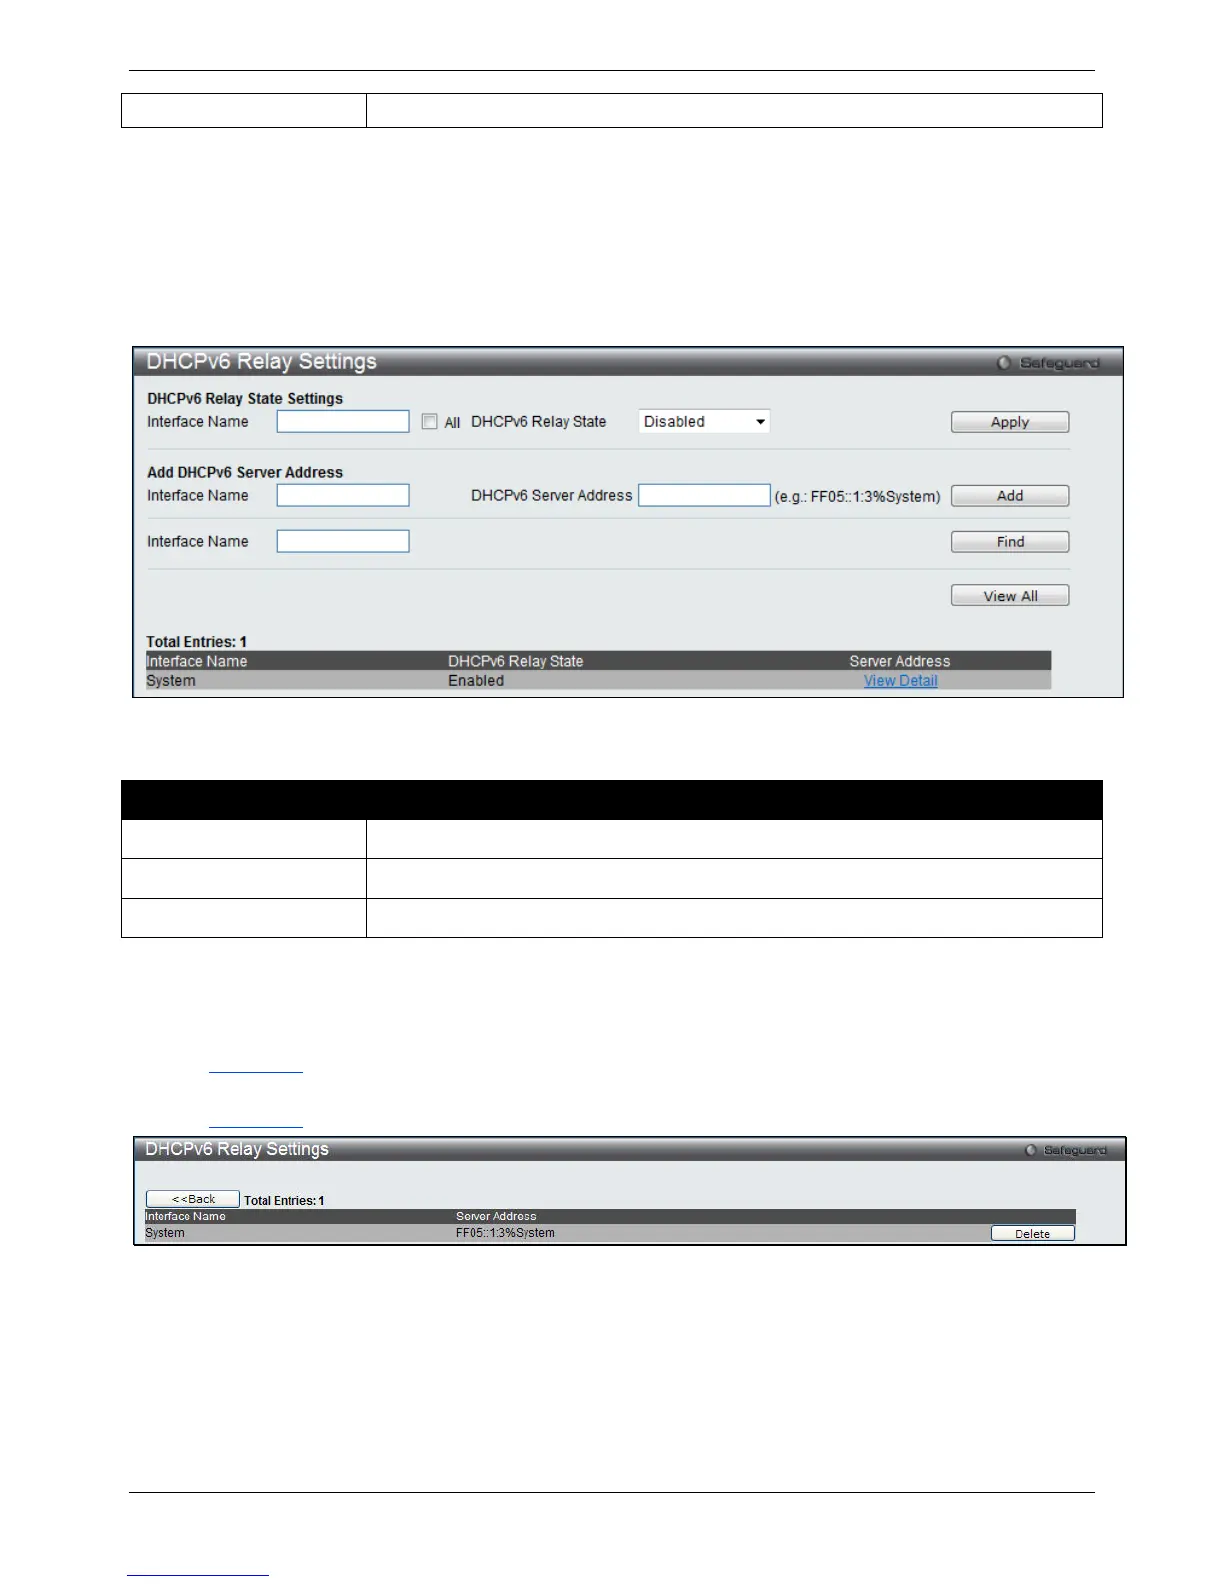
This window is used to configure DHCPv6 relay settings.
To view this window, click Network Application > DHCP > DHCPv6 Relay > DHCPv6 Relay Settings, as shown
below:
Figure 9-17 DHCPv6 Relay Settings
The fields that can be configured are described below:
Parameter Description
Interface Name
Enter a name of the interface. Tick the All check box to apply to all the interfaces.
DHCPv6 Relay State
Use the drop-down menu to enable or disable the DHCPv6 relay.
DHCPv6 Server Address
Enter the DHCPv6 Server address.
Click the Apply button to implement the changes made.
Click the Add button to add a new entry based on the information entered.
Click the Find button to locate a specific entry based on the information entered.
Click the View All button to display all the existing entries.
Click the View Detail link to view the detailed information about the specific interface.
Click the View Detail link to see the following window:
Figure 9-18 DHCPv6 Relay Settings - View Detail window
Click the <<Back button to return to the previous page.
Click the Delete button to remove the specific entry.

 Loading...