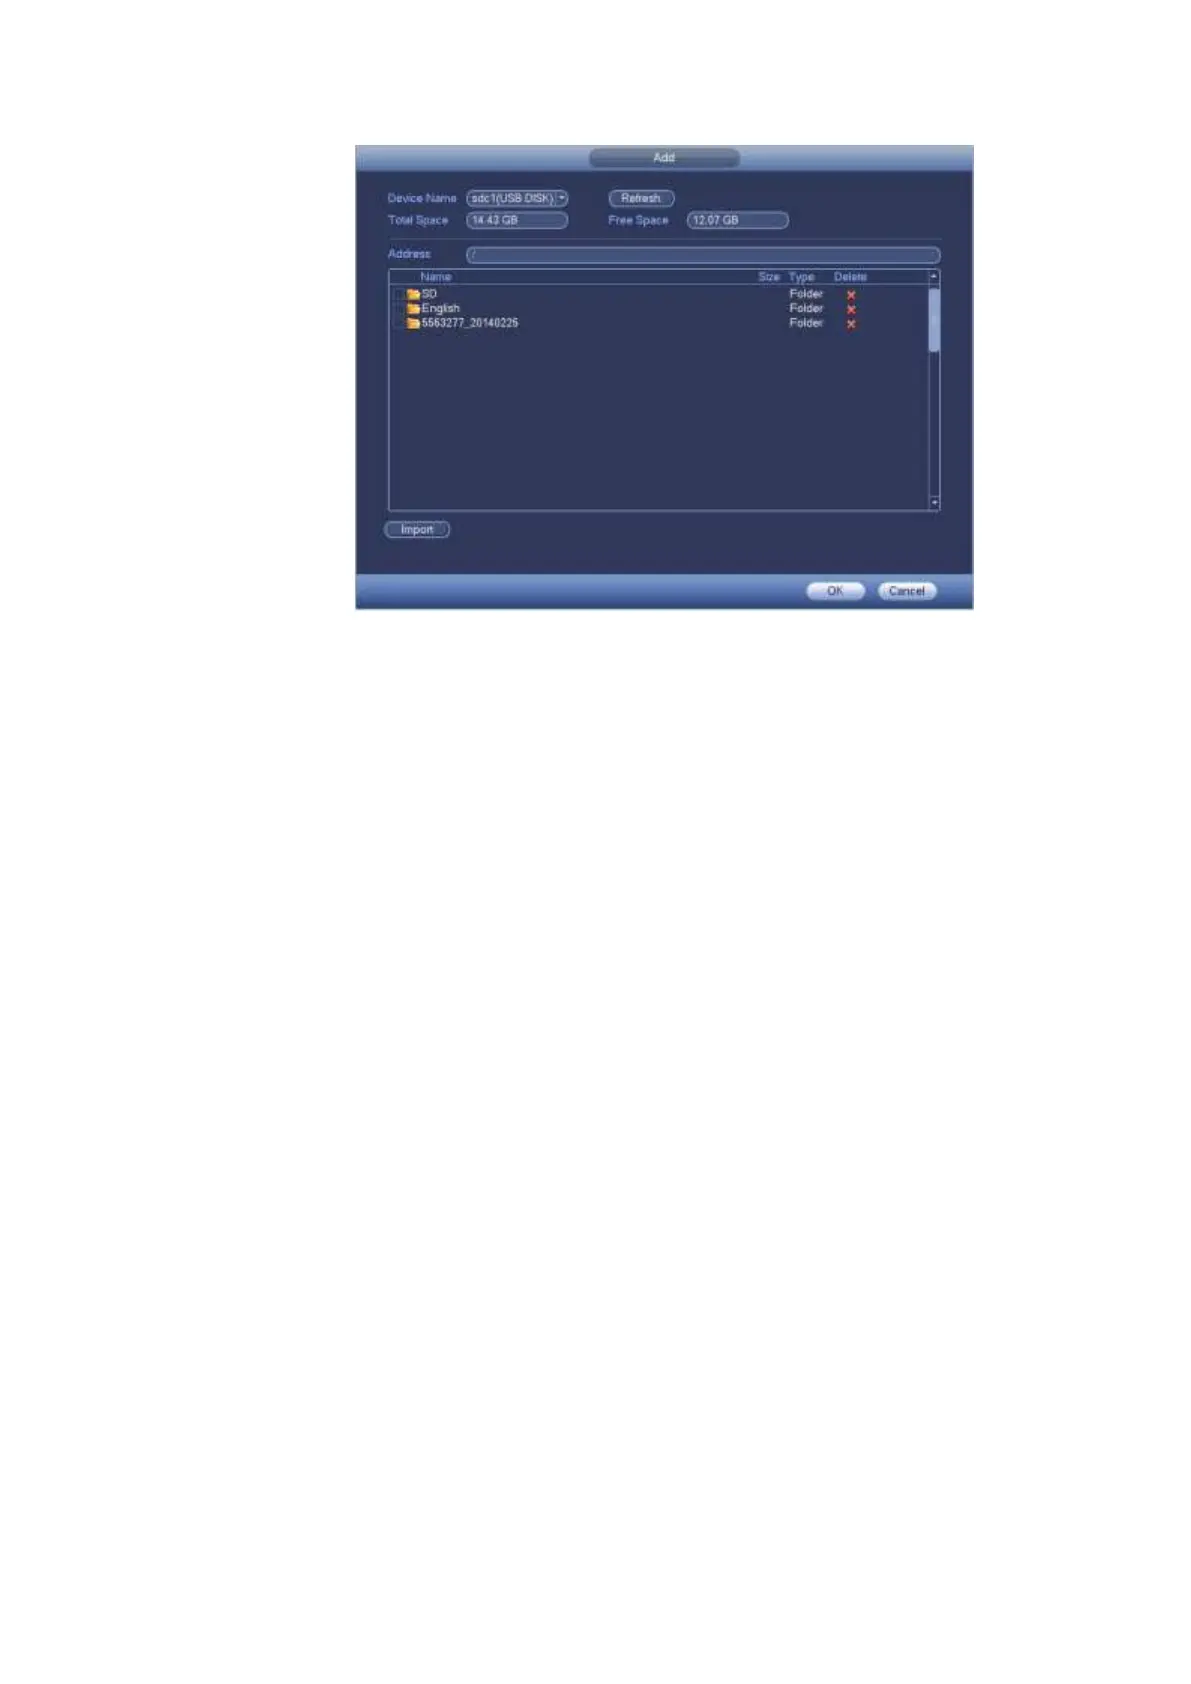
Figure 4-131
The audio file can be saved on the HDD or on the USB device.
In Figure 4-130, when it is HDD mode, the newly added audio file can be saved on the HDD
automatically. You do not need to connect to the USB device if you want to use it the next time.
In Figure 4-130, when it is USB mode, after you imported, you need to connect the USB device all
the time; otherwise, the audio link function may fail. So, if you want to use the audio trigger function,
please make sure the audio file is on the UBS device and the USB device has connected to the DVR
before the DVR boots up. You need to make sure the USB device connection is always there if you
want to manage and use the audio file function.
If there is a USB device (containing the audio file) and the HDD (containing the audio file) at the
same time, the HDD mode has higher priority. That is to say, DVR uses the audio file from the HDD.
4.14.2 Schedule
From main menu->Setting->System->Voice->Schedule, you can go to the following interface. It is to set
schedule broadcast function. You can play the different audio files in the specified periods. See Figure
4-132.
Period: There are six periods. Check the box to enable current setup.
File name: Select audio file you want to play.
Interval: It is the audio file repeated interval in the specified period.
Repeat: It is to set audio file repeat times in the specified period.
Output port: There are two options: MIC (default)/audio. When reuse the MIC port and bidirectional
talk port, the bidirectional port has the higher priority. Please make sure your purchased product has
audio port, otherwise, you can not use this function.
Note
The audio file end time depends on the audio file size and the interval setup.
Priority: Bidirectional talk>Event trigger alarm>Trial listening>Audio schedule broadcast.
 Loading...