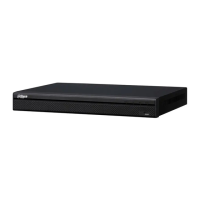
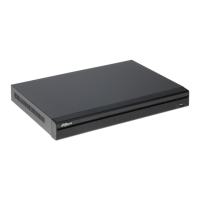
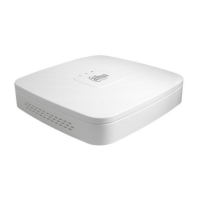
Figure 4-13
4.2.4 Registration
Note
You can only see the registration interface if you have set IP channel (Chapter 4.17.3). The DVR
supports ONVIF standard protocol.
Tips
From the main menu->Setting->Camera->Registration, or on the preview window and then right click
mouse and then select Camera Registration, you can go to the following interface.
Click Next button, you can go to the Camera registration interface to add the camera to the
corresponding channel. See Figure 4-14.
Please note you can not see the following interface if there is no digital channel. You can go to Main
menu->Setting->Camera->Channel type to set IP channel first.
IP search: Click it to search IP address. It includes device IP address, port, device name,
manufacturer, type. Use your mouse to click the item name, you can refresh display order. Click IP
address, system displays IP address from small to large. Click IP address again, you can see icon,
system displays IP address from large to small. You can click other items to view information
conveniently. For the network device already added to the device, you can see there is a small icon
“*” after the SN in case there is repeatedly add operation.
Add: Click it to connect to the selected device and add it to the Added device list. Support Batch add.
You can see the corresponding dialogue box if all digital-channel has connected to the front-end.
System can not add new device if the device you want to add has the same IP and TCP port as the
device in the list.
Show filter: You can use it to display the specified devices from the added device.

 Loading...


