370 Scanning
FILE LOCATION: C:\Users\fxstdpc-
admin\Desktop\0630_UG??\Mioga_AIO_UG_FM\Mioga_AIO_UG_FM\section19.fm
DELL CONFIDENTIAL – PRELIMINARY 9/13/10 - FOR PROOF ONLY
NOTE: You can select any folder in the USB memory but cannot create a
new folder in this step. You should always create a new folder before
connecting the memory to the printer.
If the name of the scanned image has already existed in the folder, the printer
automatically generate a new file name to save the data.
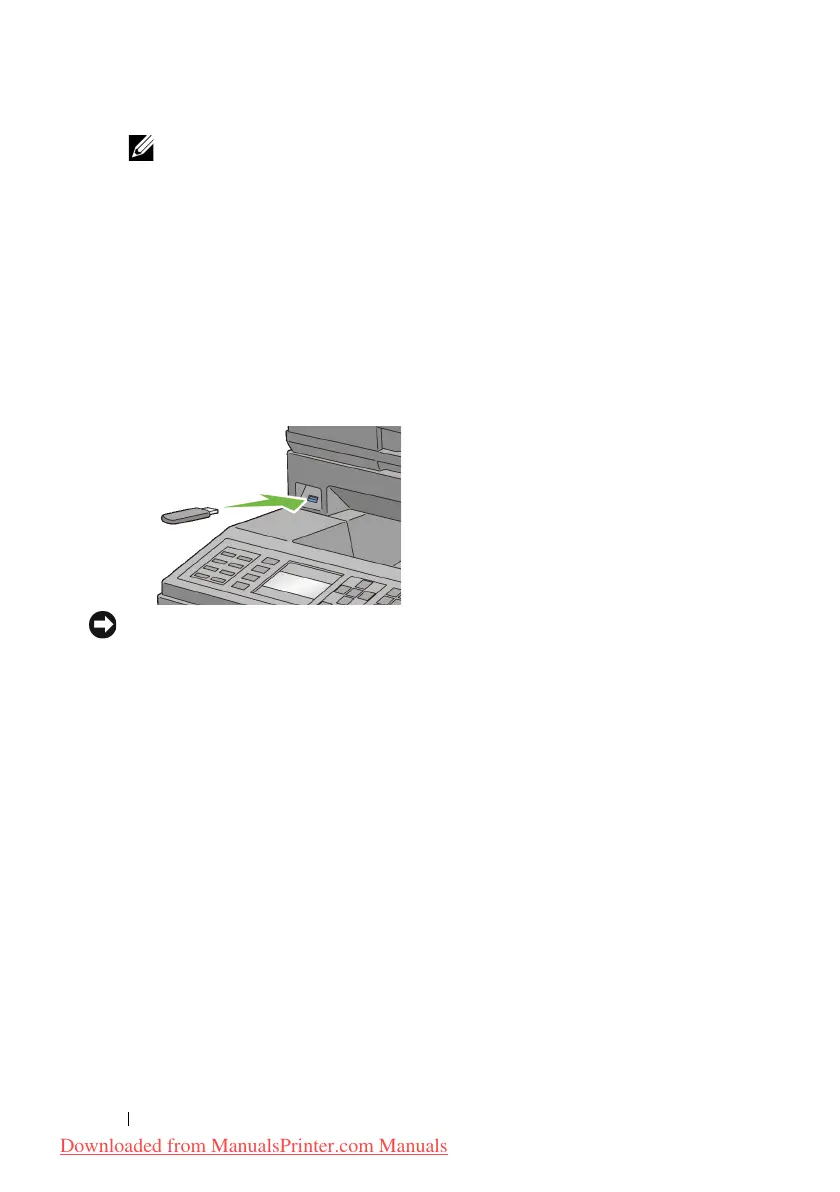
Inserting and Removing a USB Memory
You can insert the USB memory before scanning images.
Before removing the USB memory, ensure that the printer is not accessing the
USB memory.
NOTICE: If you remove the USB memory while the printer is accessing, the data
in the USB memory or the USB memory device itself may be destroyed.
Sending an E-Mail With the Scanned Image
To send an e-mail attached with the scanned image from your printer, follow the
steps below:
• Set E-Mail Alert
• Register a user
• Start to send e-mail with the scanned file
Setting an E-Mail Alert
1
From the
Dell Printer Configuration Web Tool
, click
E-Mail Alert
.
The
E-Mail Server Settings
page appears.
Downloaded from ManualsPrinter.com Manuals