652 Removing Options
FILE LOCATION: C:\Users\fxstdpc-
admin\Desktop\0630_UG??\Mioga_AIO_UG_FM\Mioga_AIO_UG_FM\section29.fm
DELL CONFIDENTIAL – PRELIMINARY 9/13/10 - FOR PROOF ONLY
8
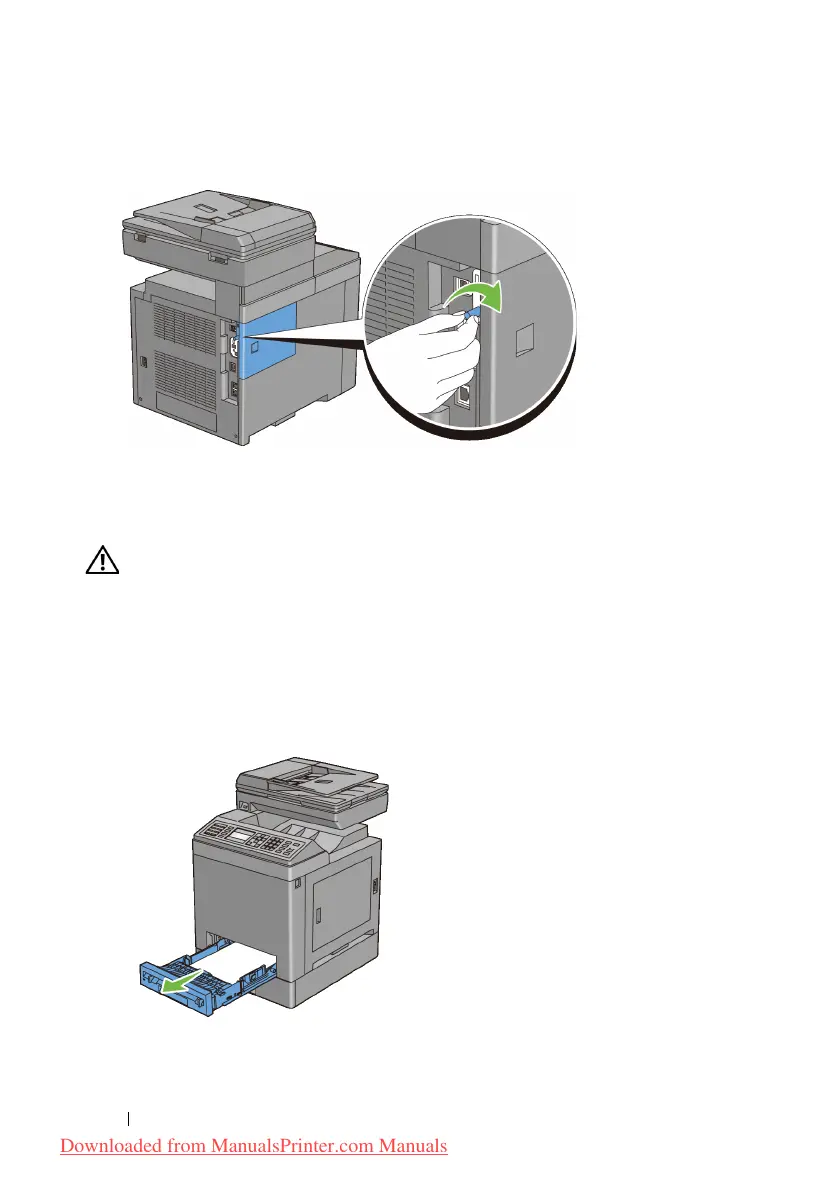
Turn the screw clockwise.
9
Turn on the printer.
Removing the Optional 250-Sheet Feeder
CAUTION: When you remove the optional 250-sheet feeder, be sure to turn off
the printer, unplug the power cable, and disconnect all cables from the back of the
printer before starting these tasks.
1
Turn off the printer and unplug the power cable. Then, disconnect all cables
from the back of the printer.
2
Pull the standard 250-sheet tray out of the printer about 200 mm. Hold the
tray with both hands, and remove it from the printer.
3
Remove the two screws joining the printer and the optional 250-sheet feeder
by unscrewing them with a coin or similar object.
Downloaded from ManualsPrinter.com Manuals