36
4
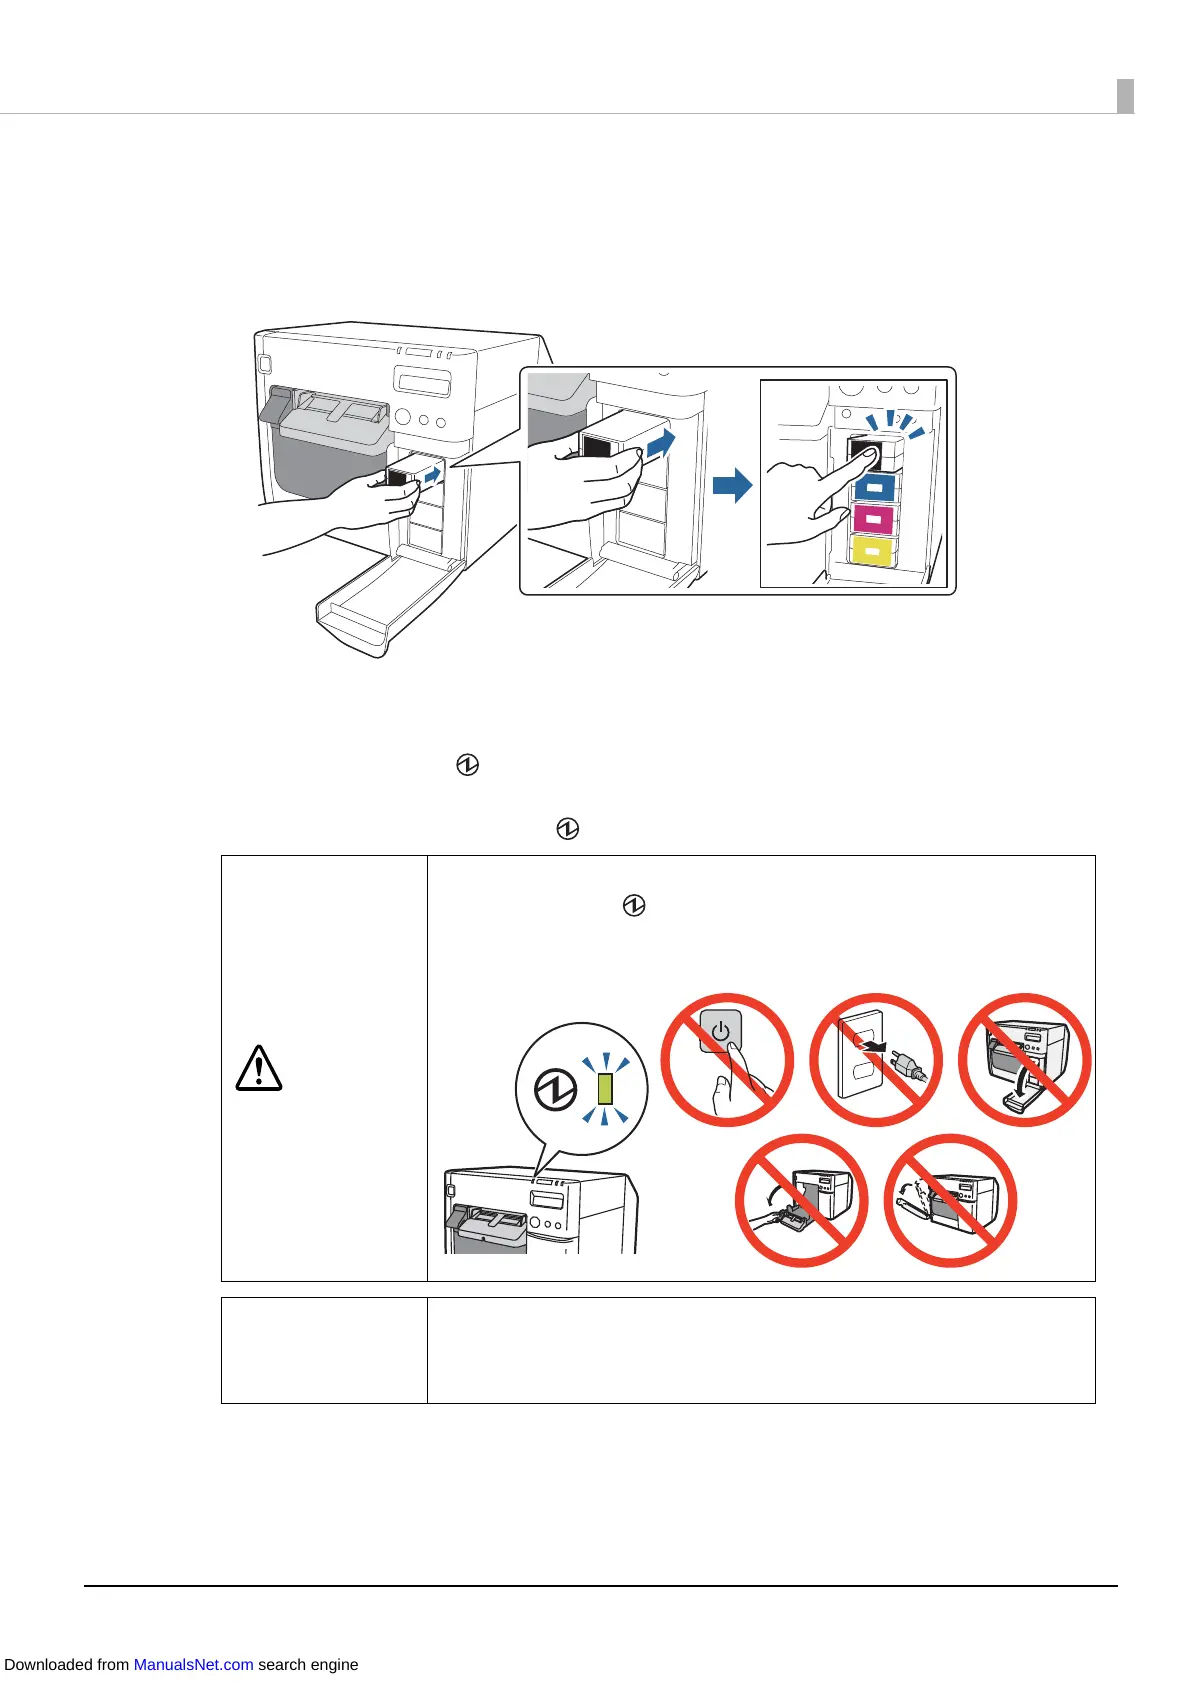
Push the ink cartridges of all four colors gently into the printer until they
click into place. Make sure that the color of each cartridge label matches the
color of the label on the cartridge insertion part.
5
Close the ink cartridge cover.
Ink charging starts. The (power) LED flashes during ink charging. It takes up to 10
minutes to charge the ink the first time ink cartridges are installed in the printer.
When ink charging completes, the (power) LED changes from flashing to on.
The installing of ink cartridges is now complete.
CAUTION
Never open any cover of the printer or turn off the printer during ink
charging (while the (power) LED is flashing). Doing so will consume
a large amount of ink, which may result in the need to replace the ink
cartridges before the completion of charging.
Q Note
The ink cartridges included in the product package are used for initial
charging. The printer uses ink to prepare for printing (ink charging)
when the ink cartridges are installed for the first time.
Downloaded from ManualsNet.com search engine