Operating of the Machine
Paraquda Startup & Safety © Essemtec AG
4-81
0000003/11 / November 4, 2014
Create Component
First of all, the above created carrier type has to be saved.
Teach
Component
The dialog pops up to save the created carrier type.
Yes to save the new created carrier type.
In the Save as dialog, type in a name for the carrier type and press Save
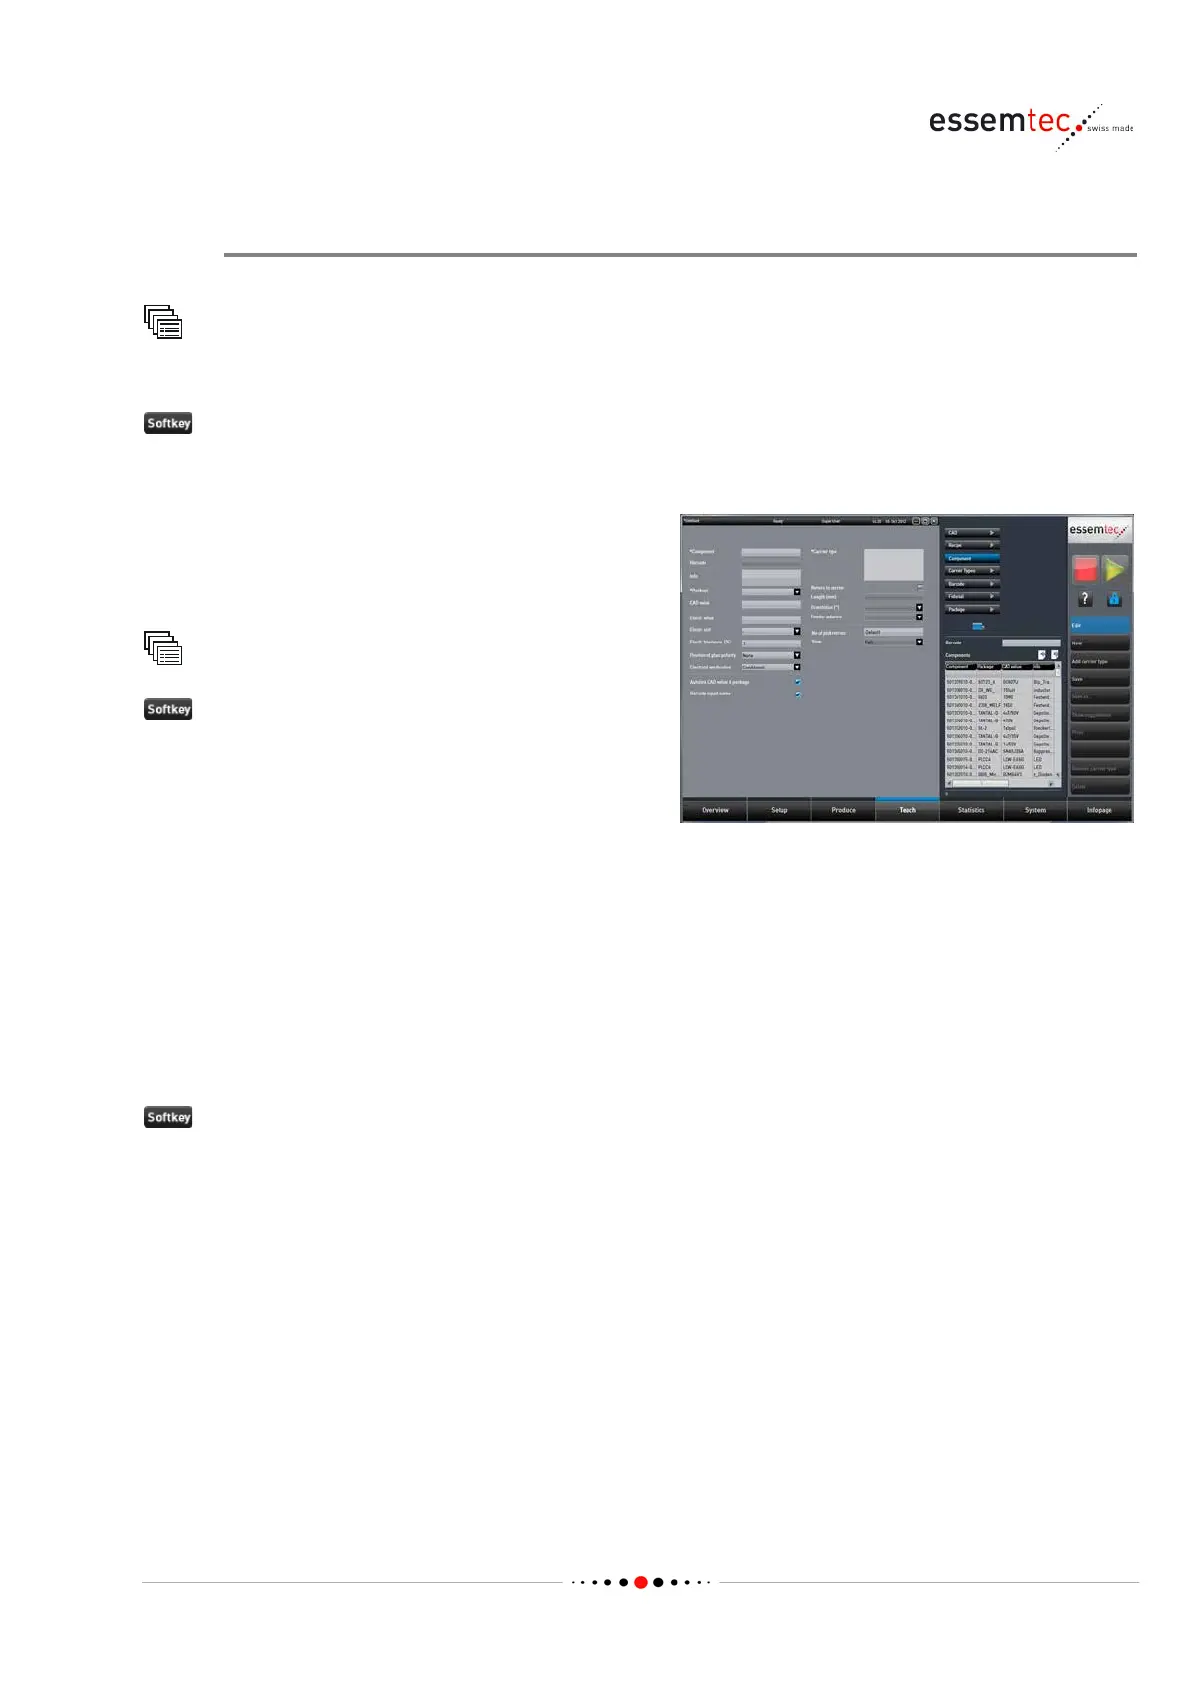
Create a component with the package,
representing the label on the carrier
(component which can be picked and placed by
the machine).
Component
to create a new component. The button
lights up.
Define the following data (see online context
help for details):
• Package, the name of the above defined
package (label), as suggestion the same
name is also entered to Component and
Barcode automatically, if 'Autolink CAD
value & package' is checked.
• Component, name of component, if not
same as package (label)
• Barcode, name of barcode, if not same as
Add carrier type to select the correct carrier type. The button Add carrier type lights up and a
dialog to select the carrier type opens.
Select the appropriate carrier type, defined in the previous step and press Add.
The width (size X) of the carrier type (tape) shall always be 56 mm so that the tape is centered on
the label feeder. The pitch in Y has to be according to the tape where the label is on.
The created component will be stored in the next step.