8
Turn the instrument approximately 90°.
Adjust screw C, till the bubble in the center
of the level.
Repeat above steps until the bubble remains in the center of the plate level while
the instrument is rotated to any position.
5. Center the surveying point again
Loosen the centering screw slightly. Looking through the optical plummet
eyepiece, slide the instrument over the tripod head until the surveying point is
exactly centered in the reticle. Re-tighten the centering screw securely.
6. Check again to make sure the bubble in the plate level is centered.
If not, repeat procedure 4.
2.4 Accurate Levelling-Up with Electronic Level on screen
It is convenient for 670/680 series to level-up with electronic level, especially
when it is difficult to observe the circular level and plate level.
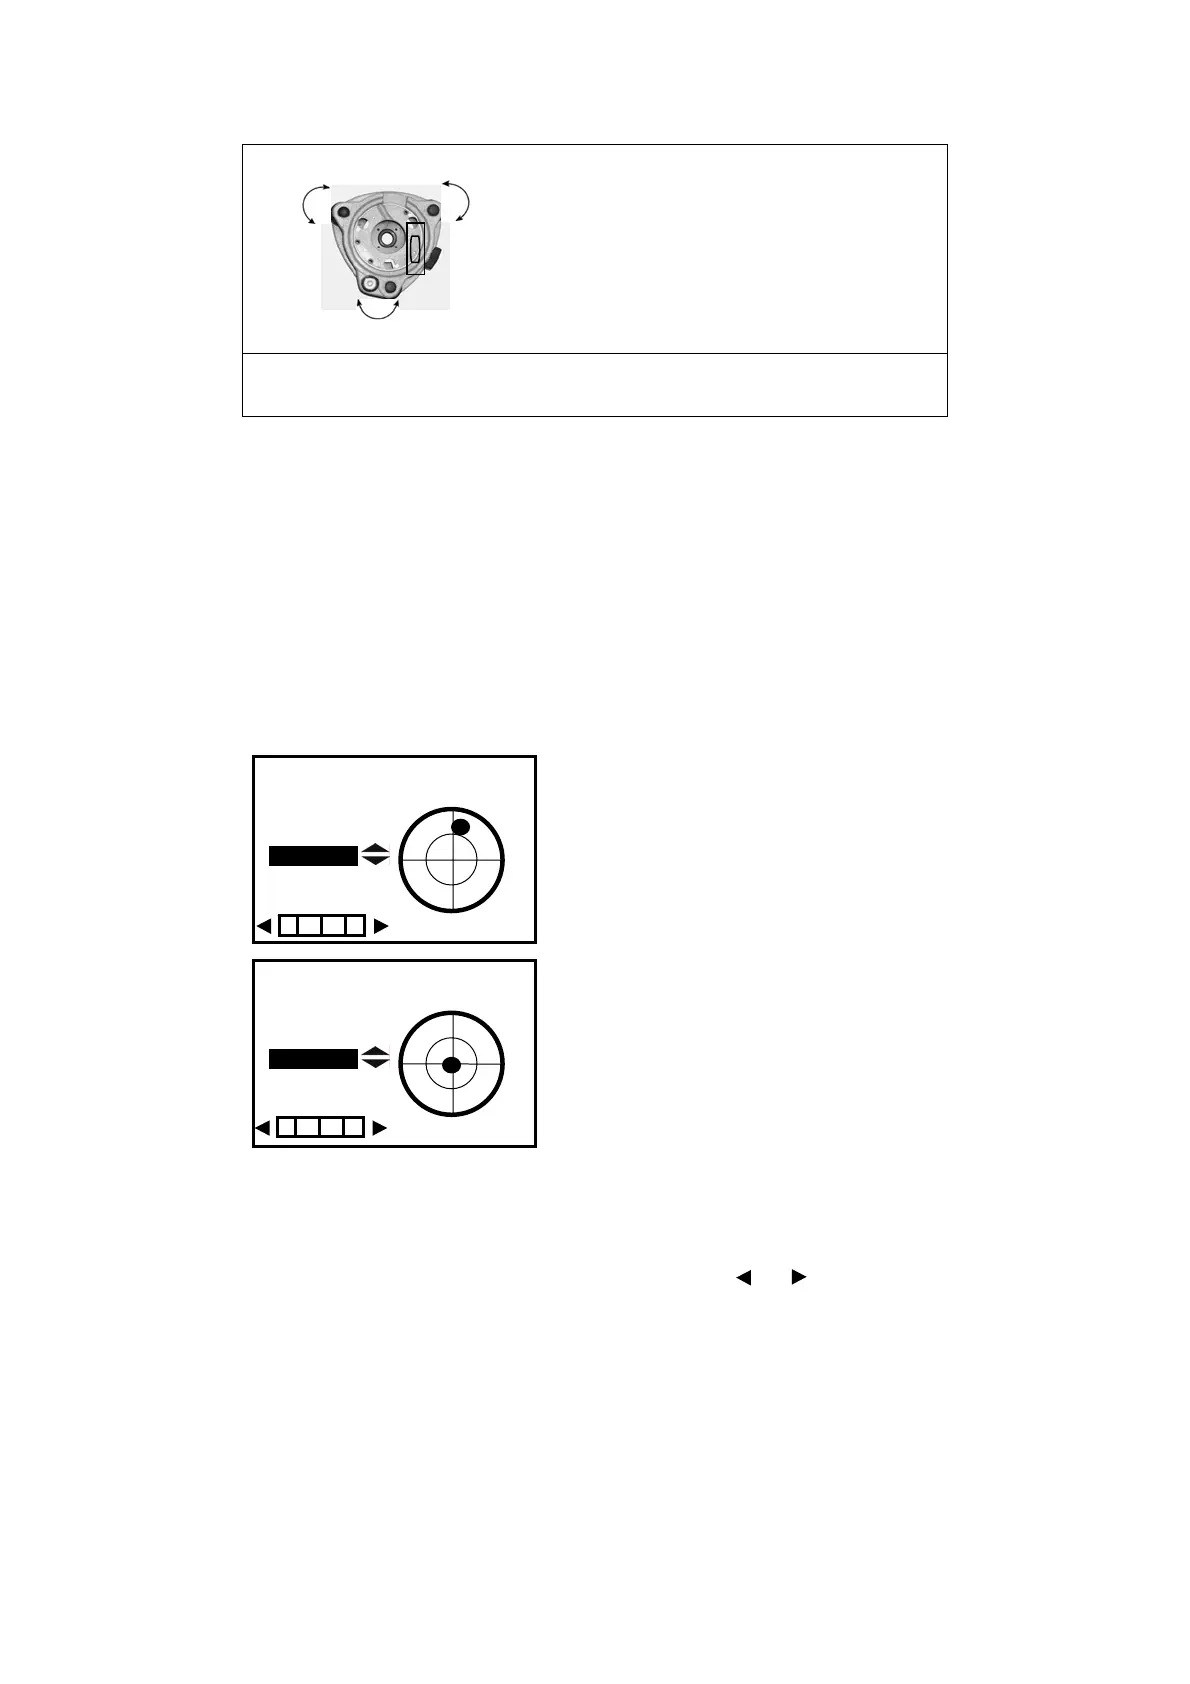
1. Power on the instrument and enter into
measurement mode, press F1: [TILT] at P3
or press key {
BS} directly, and the electric
level displays on screen.
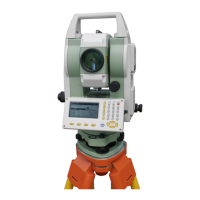
2. Level it by turning three foot screws, see
above operation “3. Center the bubble in the
plate level”. Be sure the ● is always in the
center.
Note: 1. On this menu you can turn on/off the X/Y compensator by pressing ▲
or ▼ key.
2. If the instrument is equipped with laser plummet, after opening this menu, the
laser plummet adjusting bar will display. With pressing or key the laser
lightness can be adjusted.
Screw A
Screw B
Screw C
Tilt Value
X OVER X
Y OVER
Tilt Mode
XONYON
Lightness
Tilt Value
X -0°00’02’’ X
Y -0°00’03’’
Tilt Mode
XONYON
Lightness
Y
0
0
Y
 Loading...