8 Computer Operations
234
Computer Operations
8
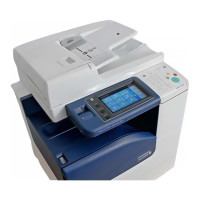
3 In the [Mailbox No.] field, enter the
mailbox number (001 - 200) that
contains the document to be
imported. In the [Password] field,
enter a password (up to 20 digits).
Note • When you check the [Save
Password] check box, you can skip steps 2 to 4 the next time you select the same mailbox.
• Clicking [Change Scanner] returns to step 2, where you can reselect a scanner.
4 Click [Open Mailbox].
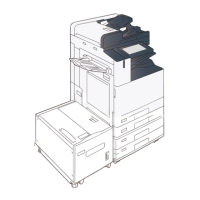
5 Select a document from the list, and
click [Import].
Note • One or more documents can
be selected.
For information on Mailbox Viewer2
settings, refer to "Import settings for
scanned documents" (P.234).
6 Clicking on the [Import] button
removes stored documents from the mailbox, and saves them in the specified
directory.
Changing Mailbox Viewer2 Settings
To learn about fields in the displayed dialog box, click [Help] to see the Mailbox Viewer2 online help.
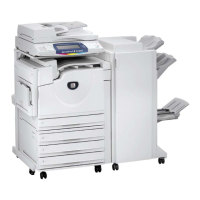
Changing display of scanner names
You can change the display of
scanner names listed.
To change the display of scanner
names, click [Change Display] in the
scanner selection dialog box.
To display scanners on other
subnetworks, register them in
[Scanner Registration].
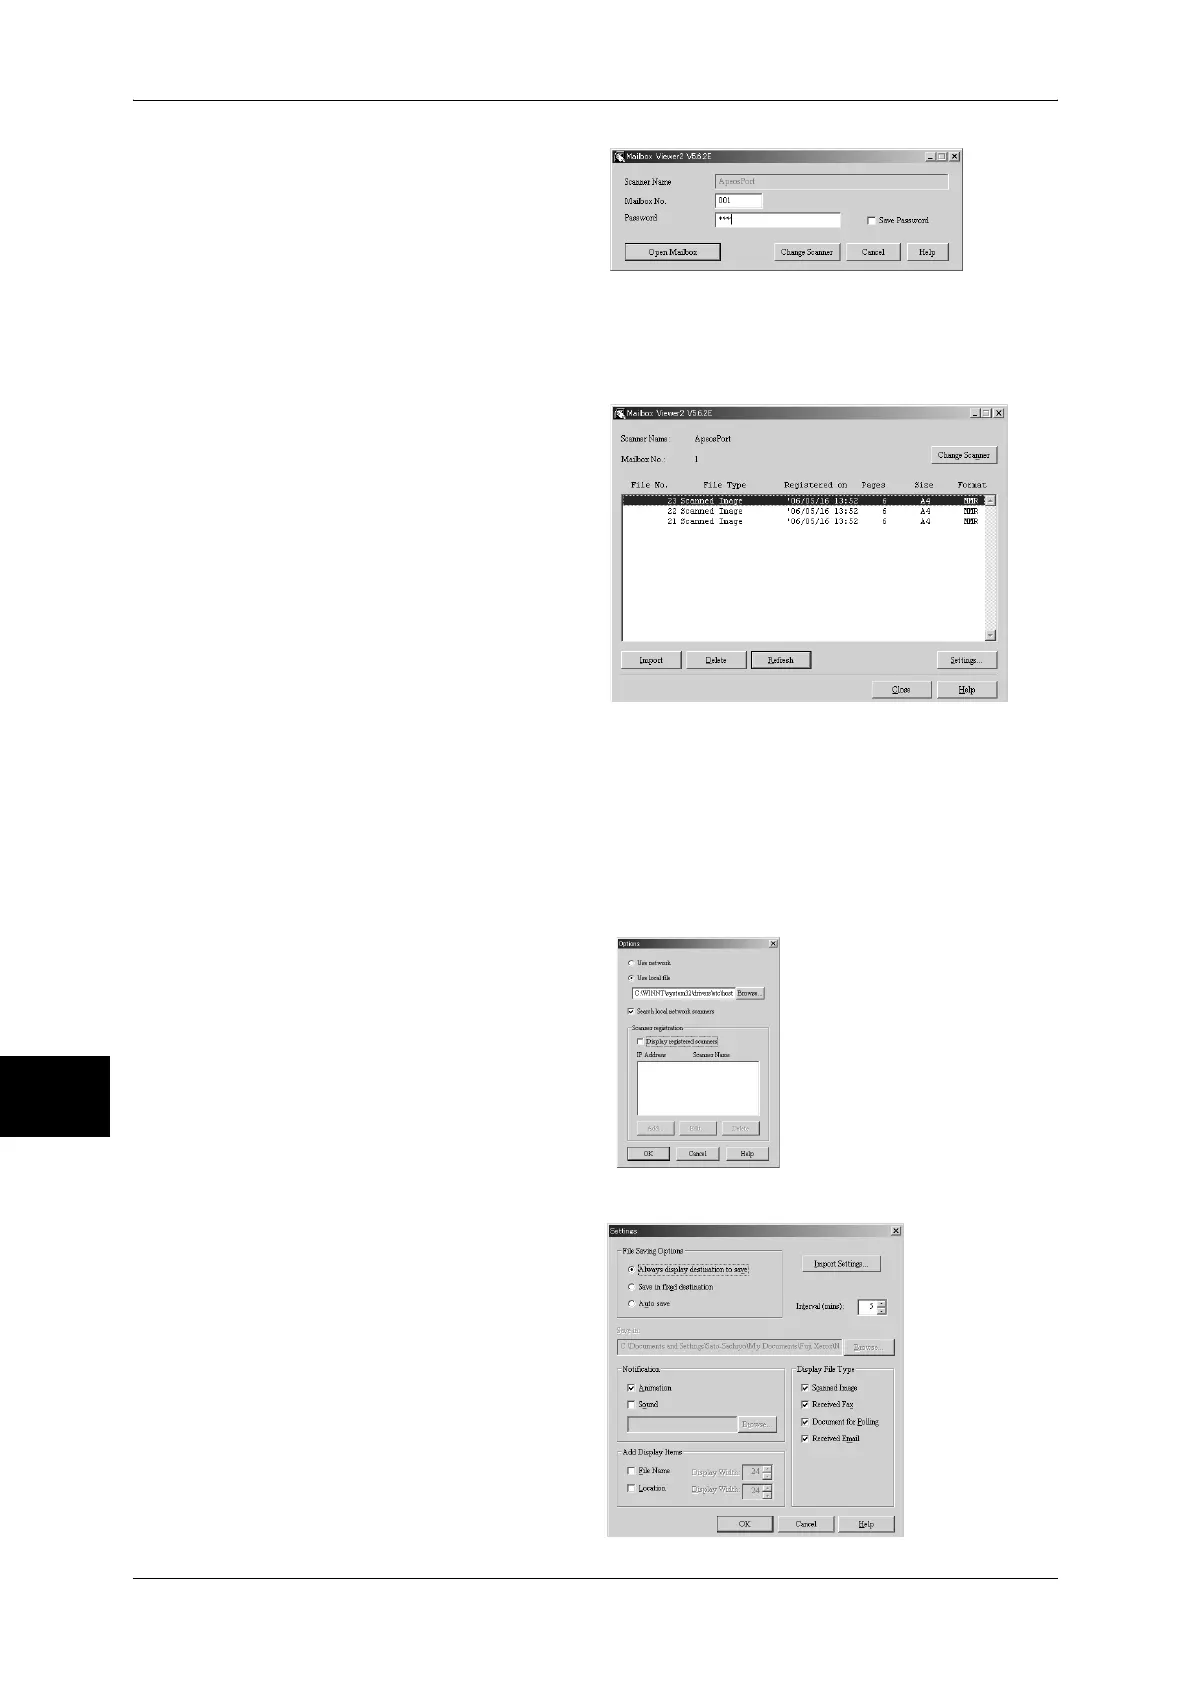
Import settings for scanned documents
You can change the display and
the import settings for documents
scanned from a mailbox.
To change the import method,
click [Settings] in the document
select dialog box, and configure
the settings in the dialog box that
appears.
Import Settings
 Loading...