provided for this purpose. Put the antennas in the required position before tightening
the screw nut. Once the screw nut has been tightened, it may not be possible to rotate
the radiator any more.
If two antennas are connected to the device, these must be installed at least 6 cm
and preferably 12 cm apart so that antenna diversity can be used.
In highly reflective environments, it may make sense to maintain an angle of 90° in
the direction of the antennas. For this, arrange the antennas in a V shape.
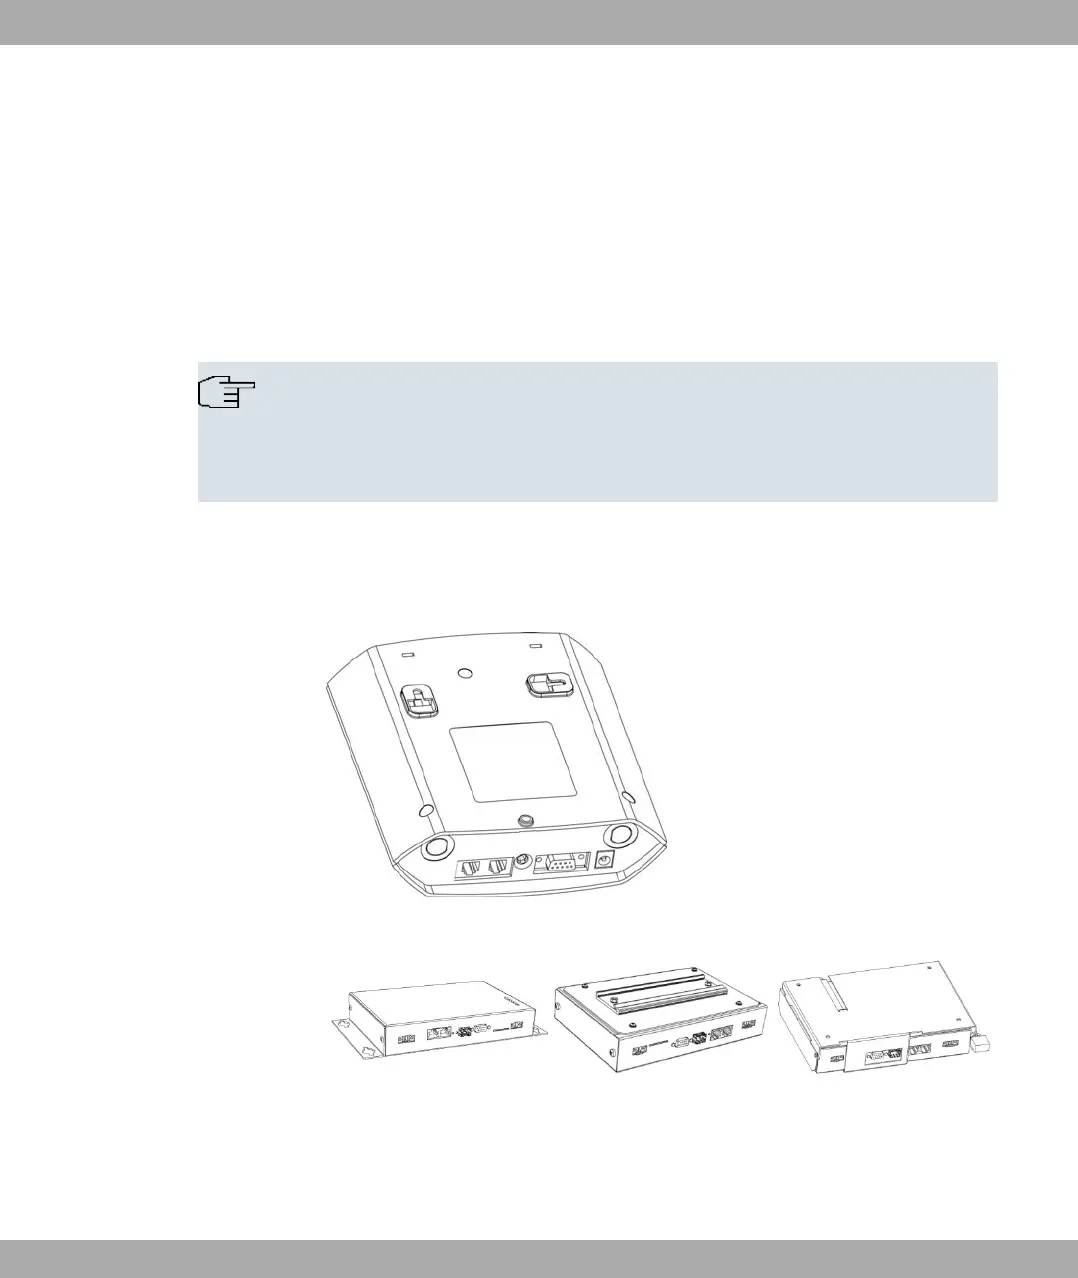
(2) To attach the device to the wall, use the brackets on the back of the housing. Optional
wall mounting with theft protection is available.
Note
Before drilling, make sure that there are no building installations where you are drilling.
If gas, electricity, water or waste water lines are damaged, you may endanger your life
or damage property.
- Screw the mount to the wall with the 2 screws.
- Hang the device in the mount with the screw nut but do not tighten it. Make sure
the device connections are accessible.
- Protect the device against theft with the lock supplied.
Fig. 9: Wall mounting straps for funkwerk W1002 and funkwerk W2002
Fig. 10: Wall mounting of the funkwerk WIx040 (standard design, top-hat rail or theft pro-
tection optional)
Funkwerk Enterprise Communications GmbH
2 Quick Install Guide
funkwerk W1002/W2002/WIx040/WIx065 13
 Loading...