GE HEALTHCARE
DIRECTION 2286865, REVISION 14 LOGIQ™ 7 SERVICE MANUAL
6-16 Section 6-5 - Monitor and LCD Adjustments
6-5-5-1 For Gaudi LCD (cont’d)
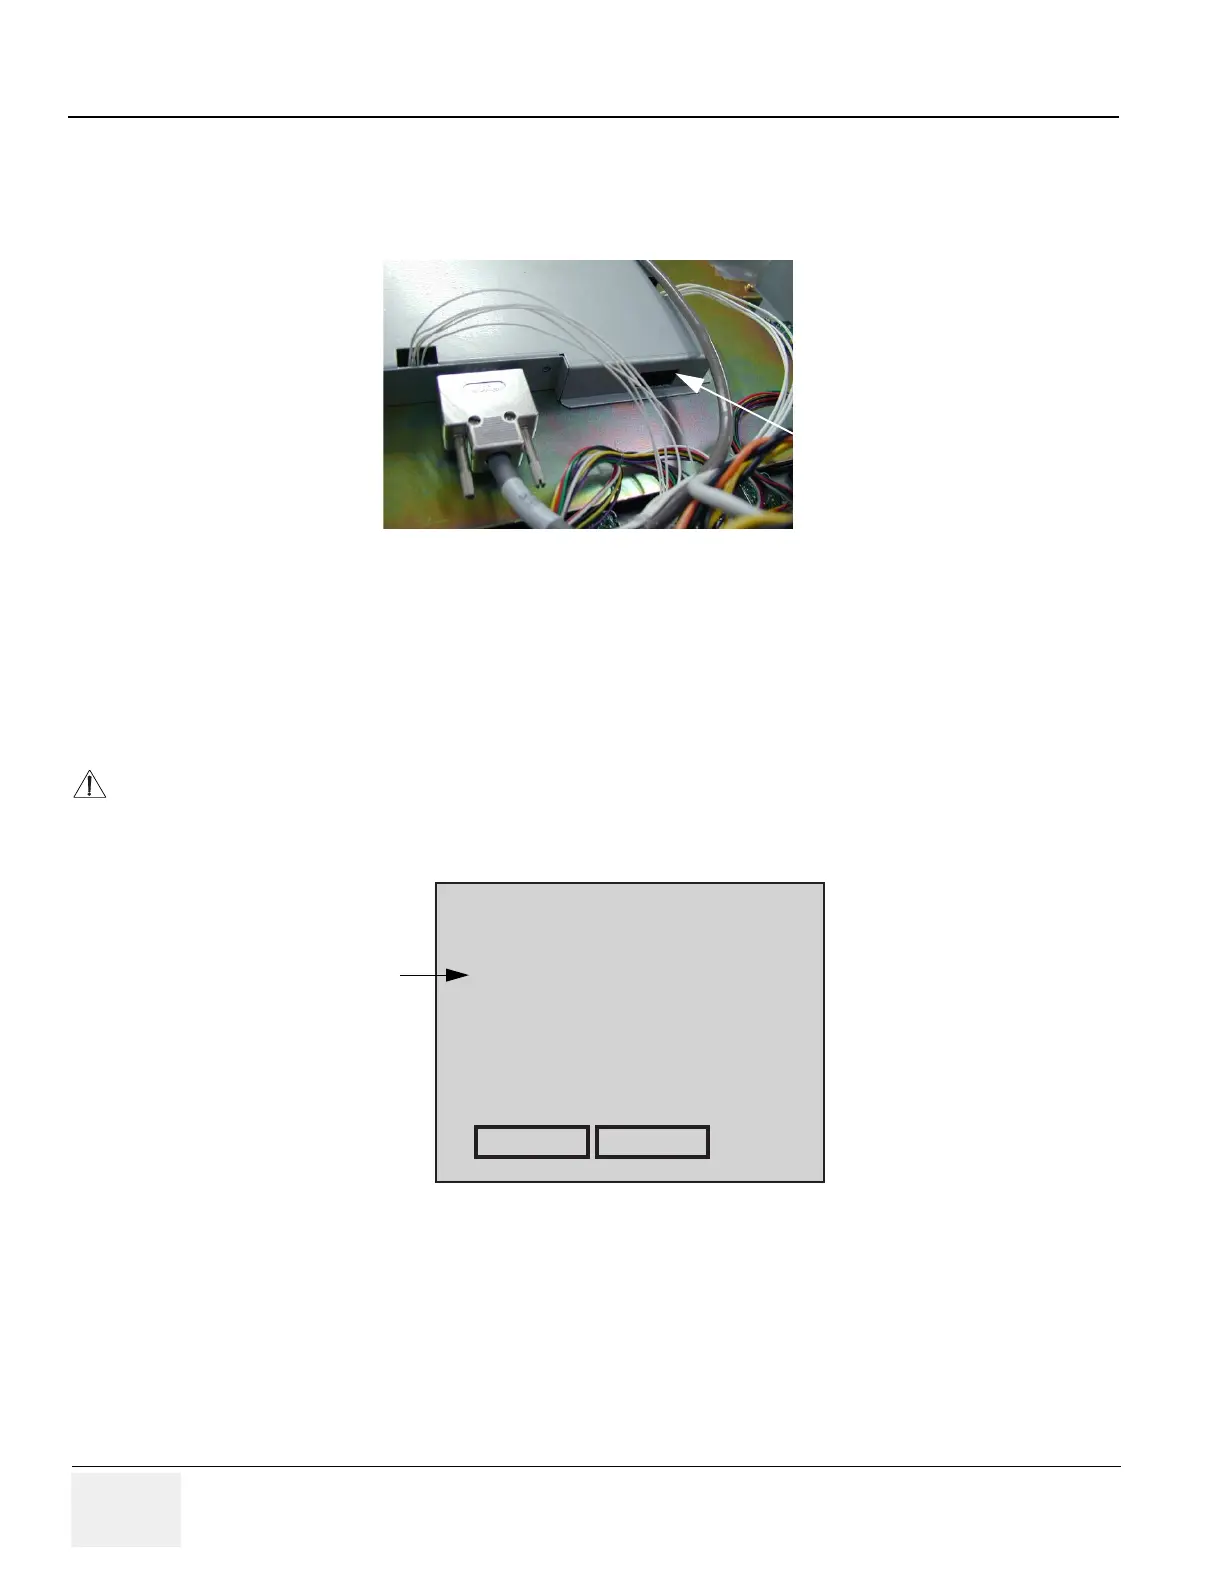
5.) Find out the notch to access OSD Switch located at backside of the LCD as shown in Figure 6-18.
Press the switch inside of the notch.
NOTE: Be careful not to cut fingers with notch.
6.) OSD menu is shown on the LCD display.
7.) Remove the maintenance rod, and re-install the OP Panel temporarily to use the LCD touch panel.
Refer to Replacement Procedure in chapter 8 for the procedures.
8.) Using SELECT button, select AUTO ADJUST. The letters will be blue when it is selected.
9.) Make sure that the AUTO ADJUST is selected, then touch ENTER.
10.)LCD display Auto Adjustment procedures will be started automatically.
Figure 6-18 Switch Location
NOTICE
Never select AUTO CONTRAST in this menu. Selecting AUTO CONTRAST might occur in an improper
contrast.
Figure 6-19 OSD Softmenu 1
Notch
to access
OSD SW
10A5V1.0
MANUAL ADJUST
AUTO ADJUST
AUTO CONTRAST
EXIT
SELECT ENTER