126
Install Remote Aux Panel Software
Remote Aux Button Descriptions
Aux Panel Row Button Label Description
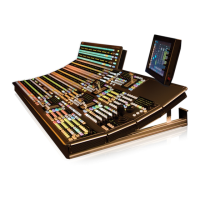
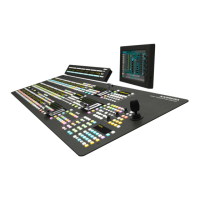
GV-RAP-100/200
M/E 1 M/E 1 Fixed Output Source (M1 A)
M/E 2 M/E 2 Fixed Output Source (M2 A)
M/E 3 M/E 3 Fixed Output Source (M3 A)
PGM PST PGM PST Fixed Output Source (Pg A)
Hold Source Hold—Other external devices cannot
change the source, e.g. another router
Un-Shift Buttons 1-32 Unshifted mode—Sources 1-32
Shift Buttons 1-32 Shifted mode—Sources 33-64
Key Split Map a different source to the B or key side of the
Video/Key pair (Aux bus must be in paired mode)
Install Remote Aux Panel Software
The NetConfig utility is used to install the Aux Panel software.
1 Install the NetConfig application from the K-Frame Installer (see the
Kayenne/Karrera/GV Korona Release Notes).
2 Launch the Netconfig application.
3 Select the
Load SW button (top-left) in the NetConfig application.
4 In the “Select devices to load:” pane, select Switcher, RAP.
5 Select the
AMD-DCC6/ASD E27E Aux Panels and NetConfig will search for the panel IP
Addresses.
Result: Located Aux Panels of that type are displayed in the list, right.
6 Select the check box next to the panels to be updated.
7 Select the
Load button below the list.
8 Reboot the Aux Panel to complete the installation.
Configure the Remote Aux Panel System
Configure the Remote Aux Panel System through the Product Web Access page.
1 Enter the Aux Panel IP address into your browser.
Result: the Product Web Access page for the Aux Panel is displayed.
2 Select
Panel System on the left.
3 Set the parameters by entering values into the fields for Panel Device Name, Asset Tag,
etc.
4 Select the
Do reset.
5 Se
lect Save New Settings.
Configure the Remote Aux Panel Network
Configure the Remote Aux Panel Network through the Product Web Access page.

 Loading...