MAINTENANCE MANUAL
INTEL
®
FALCON™ 8+ UAS
SERVICE / MAINTENANCE
108 © 2017 Intel Corporation. All rights reserved.
REV 00
APR 2017
INITIAL SET UP
When using the Intel
®
Falcon™ 8+ UAS system for the first time, some additional steps are
required, which only need to be performed once. It might be necessary to repeat them only in
rare exceptions. In detail these steps are:
Establishing the initial connection between Intel
®
Falcon™ 8+ UAS and Intel
®
Cockpit GCS.
Set the system date and time on the touch screen Tablet of the Intel
®
Cockpit GCS.
Perform a payload and compass calibration with every payload. See Section 4.3.2.
8.5.1 Initial Setup of the Intel
®
Cockpit GCS
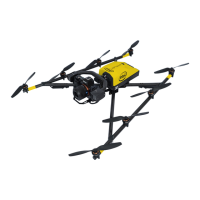
1. Open the lid of the battery compartment and slide the Intel
®
Powerpack™ Battery with
the colored label facing downwards into the battery compartment. Slide it all the way in
until it is stopped and flush with the end of the slot. The Intel
®
Powerpack™ Battery feeds
the Intel
®
Cockpit GCS as well as the Tablet.
2. Install the shoulder harness by connecting the carabiners of the harness to the first
eyelet of the integrated holder on each side of the Intel
®
Cockpit GCS.
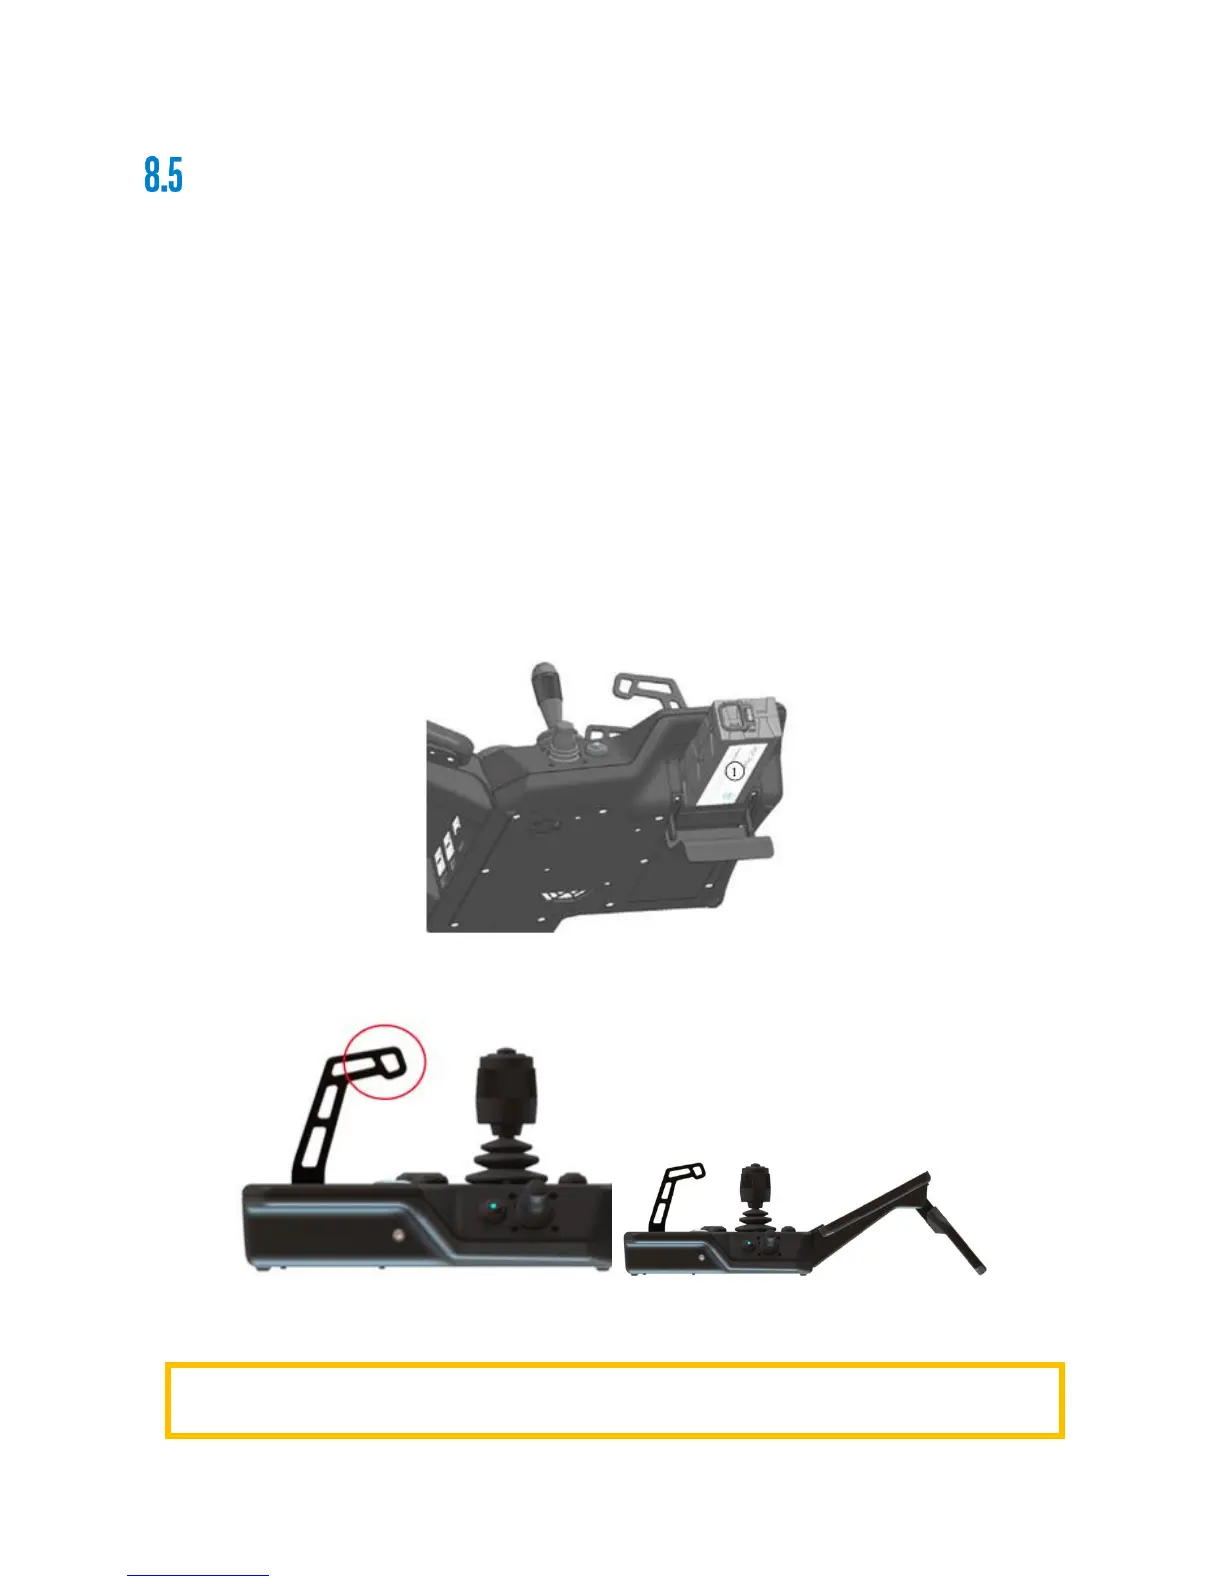
3. Unfold the Antenna Panel on the backside of the Tablet. The Antenna Panel must always
be pointed at the Intel
®
Falcon™ 8+ UAS to ensure best possible transmission quality.
CAUTION: DO NOT POWER ON OR OPERATE THE INTEL
®
COCKPIT GCS WITHOUT FULLY
EXTENDING THE ANTENNA PANEL.