MAINTENANCE MANUAL
INTEL
®
FALCON™ 8+ UAS
SERVICE / MAINTENANCE
116 © 2017 Intel Corporation. All rights reserved.
REV 00
APR 2017
8.8.2 Field Repair
Field repair is limited to items as listed in Section 8.7 Remote Pilot Conducted Preventative
Maintenance.
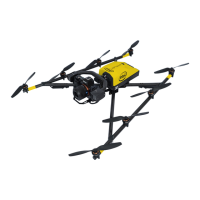
Propeller Removal
Remove Intel
®
Powerpack™ Battery (See Procedure 30.24.2480).
Loosen the nut of the Propeller with a 5.5 mm
wrench.
Lift the Propeller carefully. Do not apply too
much pressure downwards on the Motor.
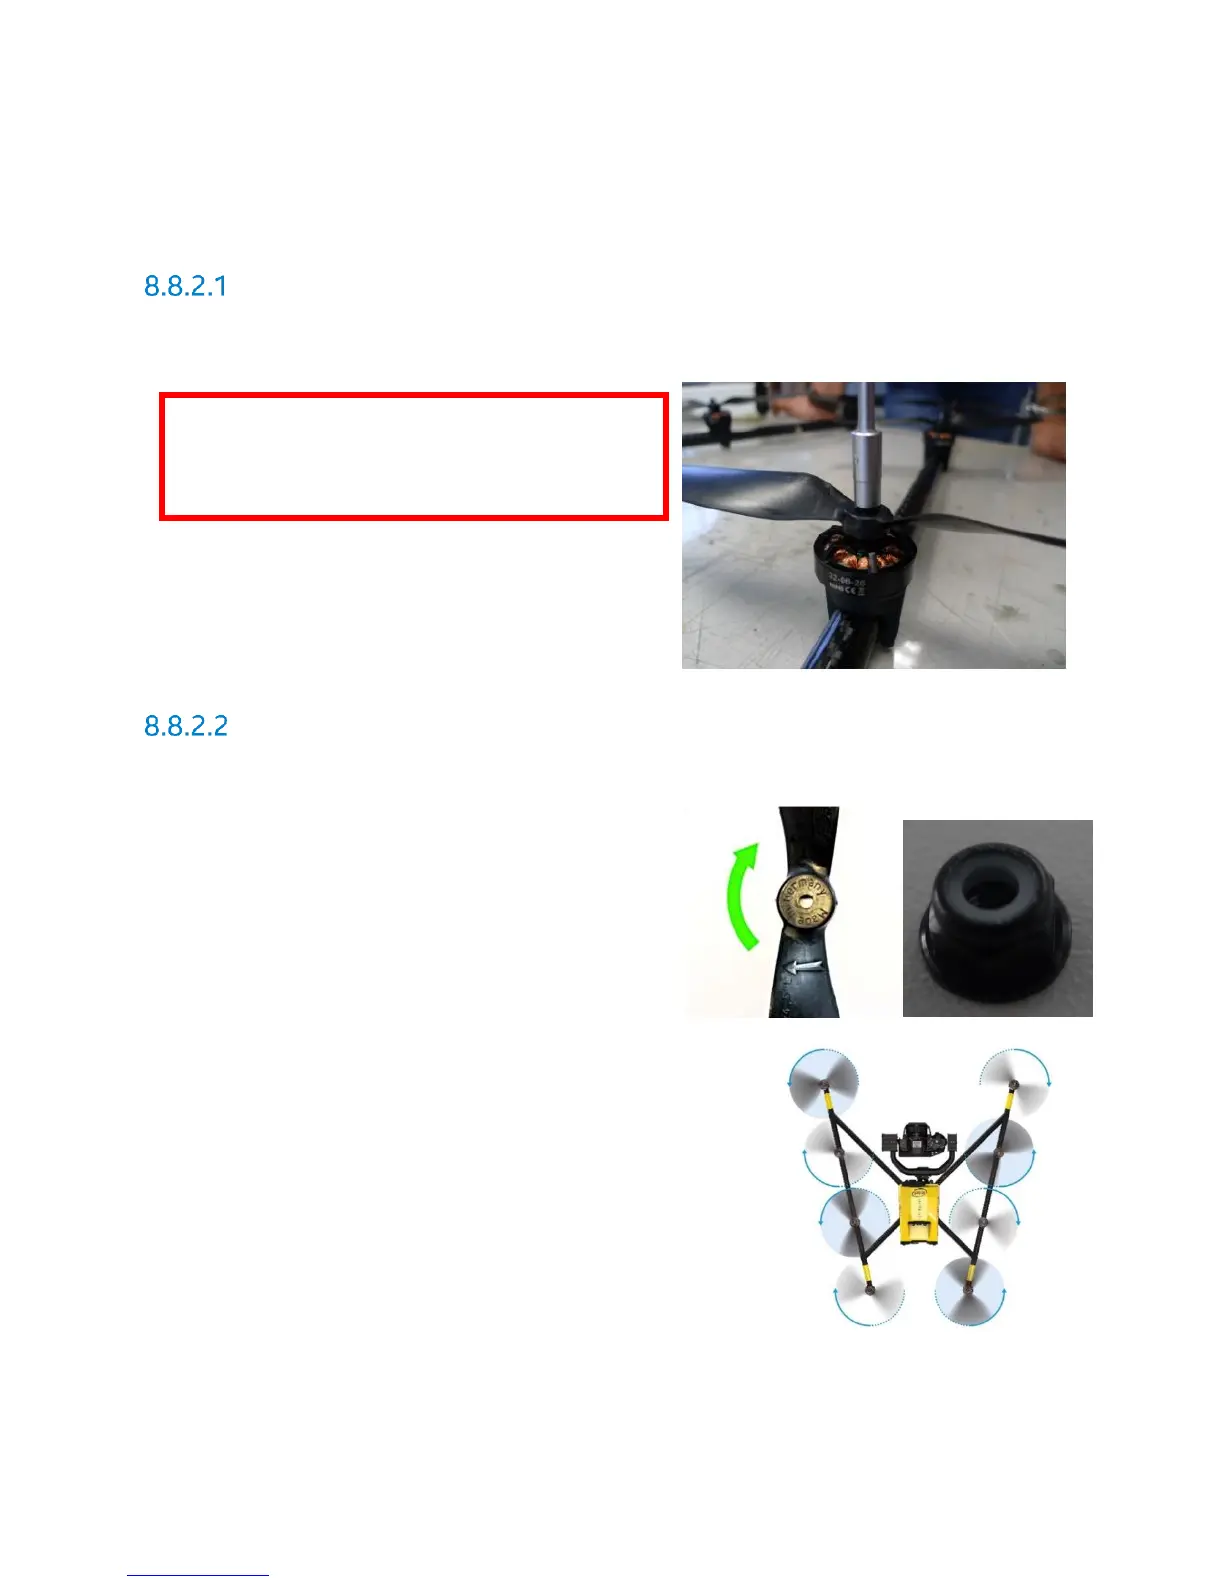
Propeller Installation
Align the new Propeller with the correct propeller spin to fit onto the Propeller Mount.
Press the Propeller completely down onto the
mount.
Put the self-tightening nut onto the Motor
Shaft.
Hold the Motor Head with thumb and index
finger of one hand to prevent the Motor Shaft
from spinning.
Tighten the nut with the 5.5 mm torque wrench,
applying the following torque: 0.3Nm + 0 – 5 Ncm
Check if the Propeller is spinning freely when nudged.
Depending on the applied force, the Propeller should
make several turns.
Check the orientation of the Propeller once more, and
compare the movement with the other Propellers.
WARNING: REMOVE INTEL
®
POWERPACK™
BATTERY TO PREVENT UNINTENDED
START THAT RESULTS IN INJURY TO
PERSONNEL.